Chapter 1 Walkthrough
Your first and most important decision is choosing your four-person party. This selection dictates your combat style, spell access, and equipment options for the entire game.
For a detailed breakdown of each class and our recommended party builds, check out the Final Fantasy 1 Beginners Guide.
Your adventure in the Final Fantasy 1 Pixel Remaster begins as soon as you gain control of your party, standing on the world map just south of Cornelia. Walk directly north into the town. Don’t explore the world map just yet - at level 1 with no equipment, even basic enemies can destroy your party.
Equip Your Party
With 500 Gil starting money, you can afford most essential equipment. Head to the weapon shop in the eastern part of town first. Purchase weapons based on your party composition:
- Warriors and Red Mages should buy a Rapier (8 Gil)
- Monks should buy Nunchaku (8 Gil)
- Thieves can use the Rapier (8 Gil)
- White Mages should buy a Hammer (8 Gil)
- Black Mages should buy a Staff (4 Gil)
Next, visit the armor shop in the western part of town. Armor prices vary significantly, so prioritize your front-line fighters:
- Buy Chain Mail (65 Gil) for your Warrior - the best early defense
- Buy Leather Armor (40 Gil) for Thieves, Monks, and Red Mages
Purchase Essential Magic and Items
The magic shops are in the northern section of Cornelia. Each Level 1 spell costs 50 Gil, making them quite affordable:
- White/Red Mages: Buy Cure (50 Gil) - absolutely essential for survival
- Black/Red Mages: Buy Fire (50 Gil) - your primary damage spell
- Consider: Sleep (50 Gil) is excellent for disabling enemies
- Consider: Protect (50 Gil) can reduce physical damage significantly
Visit the item shop near the center of town. With Potions at 40 Gil each and your remaining budget, you should stock up:
- 8-10 Potions (40 Gil each) - Buy as many as your remaining Gil allows
- Sleeping Bag (50 Gil) - Cheaper than the Inn for field healing
- Phoenix Down (500 Gil) - Too expensive for now, skip it
- Save some Gil for the Inn (30 Gil per rest)
With 500 Gil, a balanced party can typically afford: weapons (20-32 Gil), armor (100-150 Gil), 2-4 spells (100-200 Gil), and a stock of Potions. You might even have enough for a Sleeping Bag (50 Gil) for field healing.
Visit Cornelia Castle
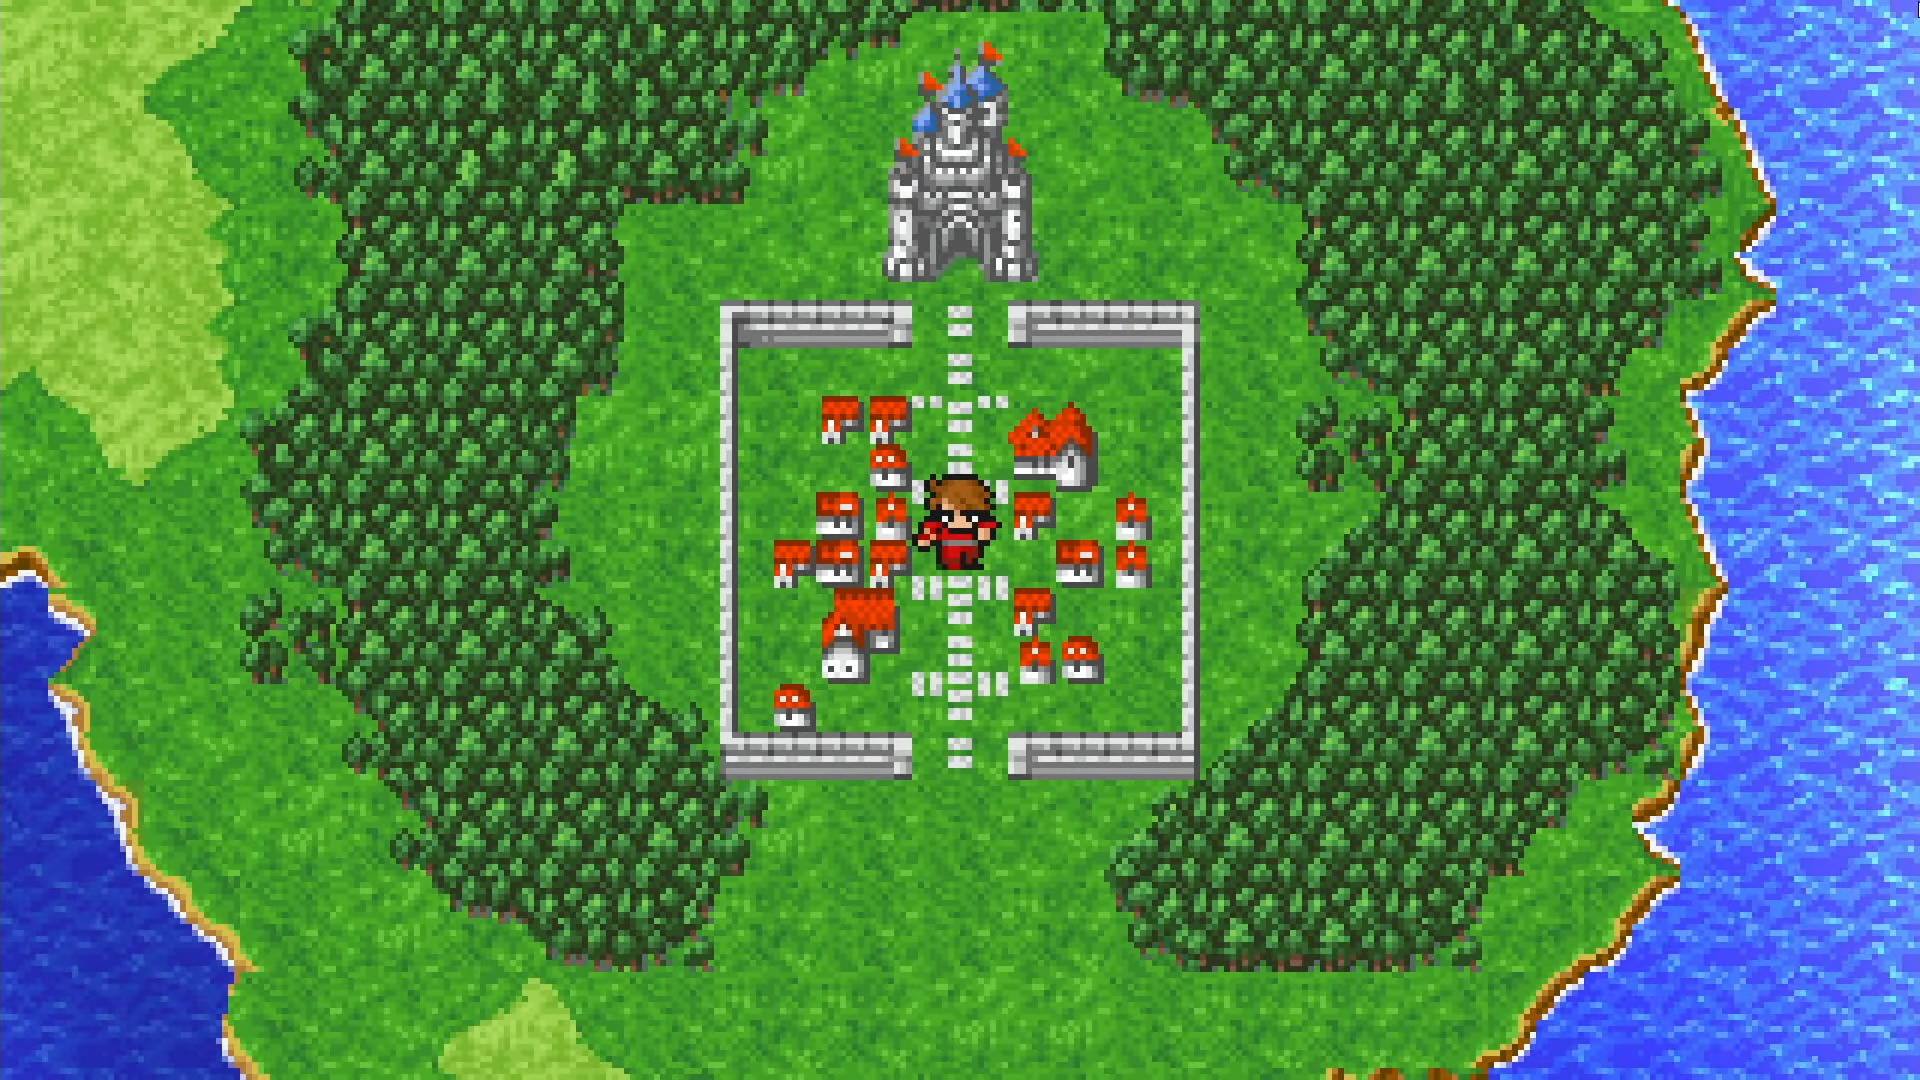
Walk to the northwestern part of town to find Cornelia Castle. Enter through the main gates. You’ll notice several locked doors and treasure chests - ignore these for now as you need the Mystic Key (obtained in Chapter 3).
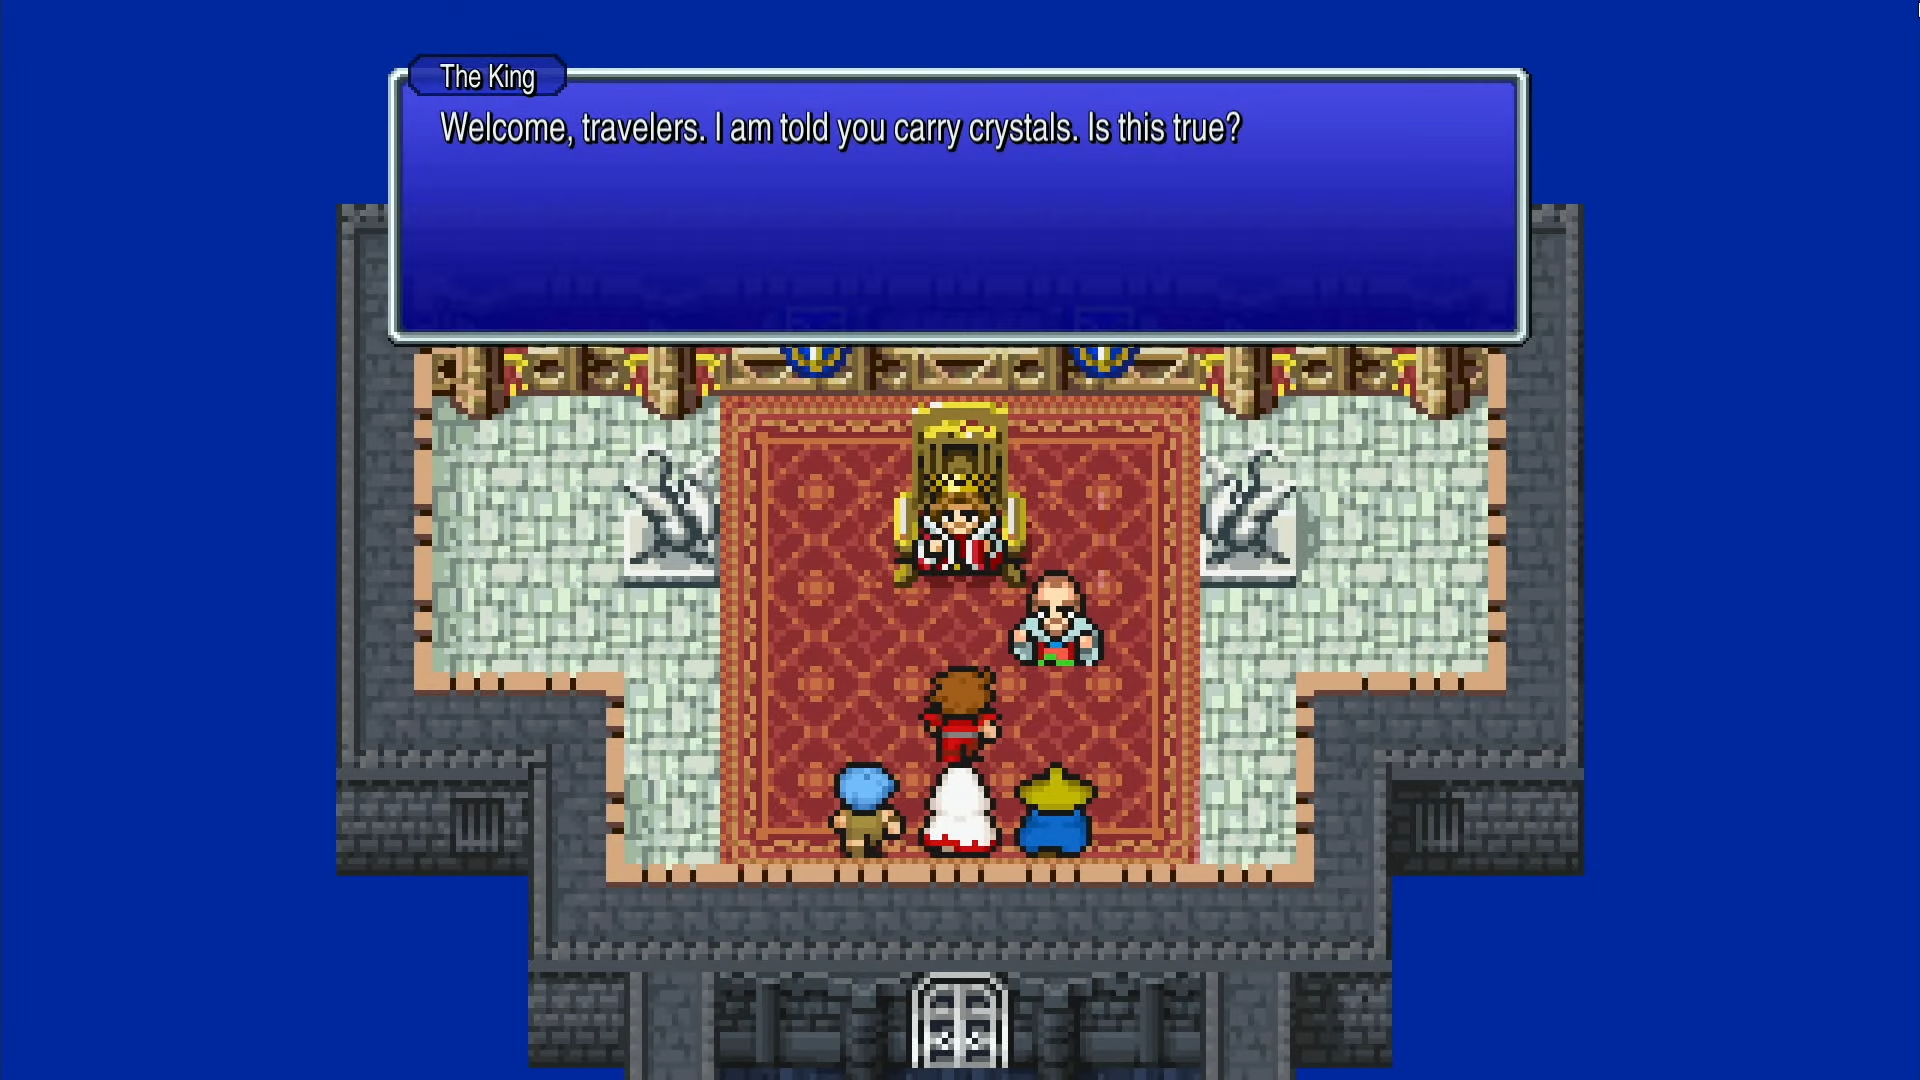
Navigate to the throne room in the center of the castle. Approach King Cornelia and speak with him. He’ll explain that his daughter, Princess Sarah, has been kidnapped by Garland, a knight who once served the kingdom but has now turned to darkness. The King begs you to rescue her from the Chaos Shrine to the north.
Preparing for Battle
Level Up Outside Town
Leave Cornelia and prepare for your first battles. Stay close to town so you can quickly retreat to the Inn.
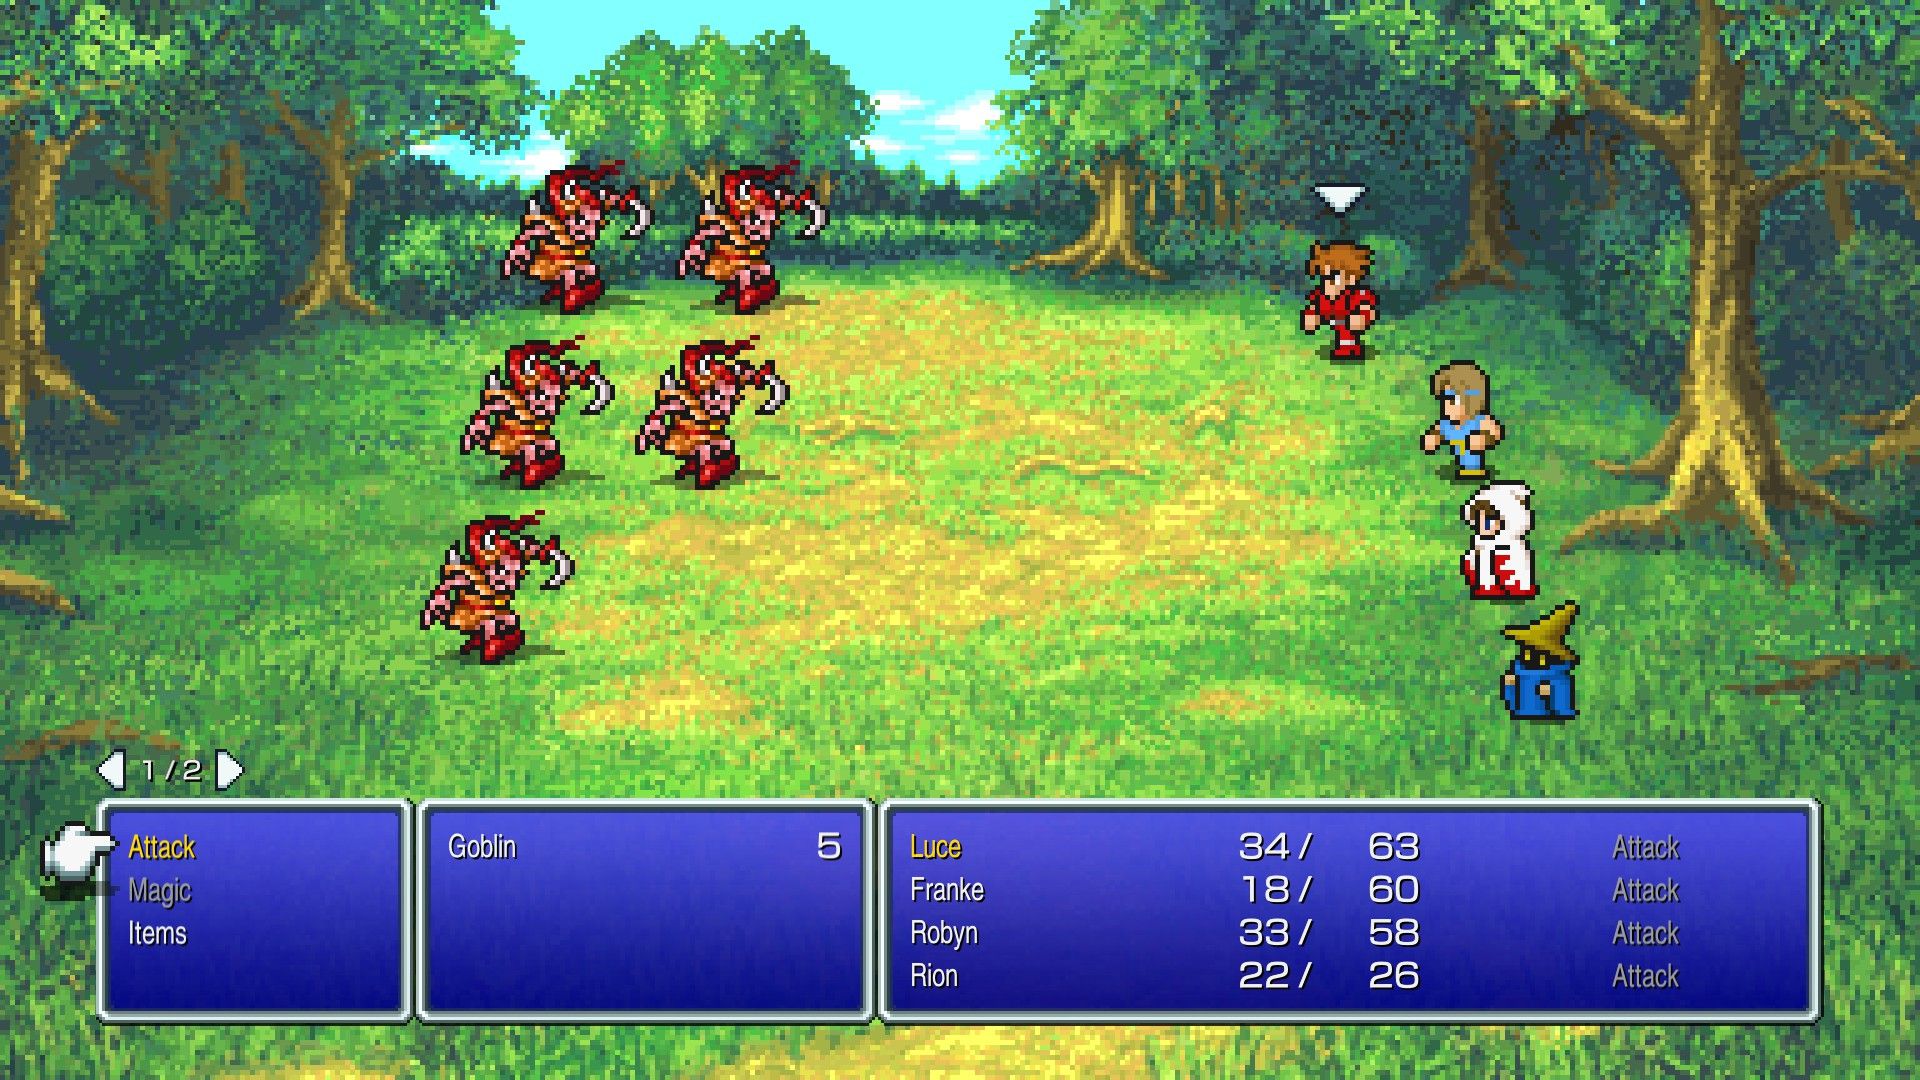
Target the enemies on the grasslands immediately surrounding Cornelia:
- Goblins (8 HP) - Your easiest targets, perfect for level 1.
- Wolves (20 HP) - Slightly tougher but manageable.
- Crazy Horses (64 HP) - Avoid these at level 1; they are much easier at level 2+.
Battle until all party members reach level 2. This typically takes 5-8 battles and dramatically increases your survivability. If you want to make the upcoming boss fight trivial, continue grinding to level 3.
Use the auto-battle feature to speed through these early battles. Your party will repeat their last actions, perfect for grinding weak enemies. This and other quality-of-life features are covered in more detail in our Beginners Guide.
The Chaos Shrine
Journey to the Shrine
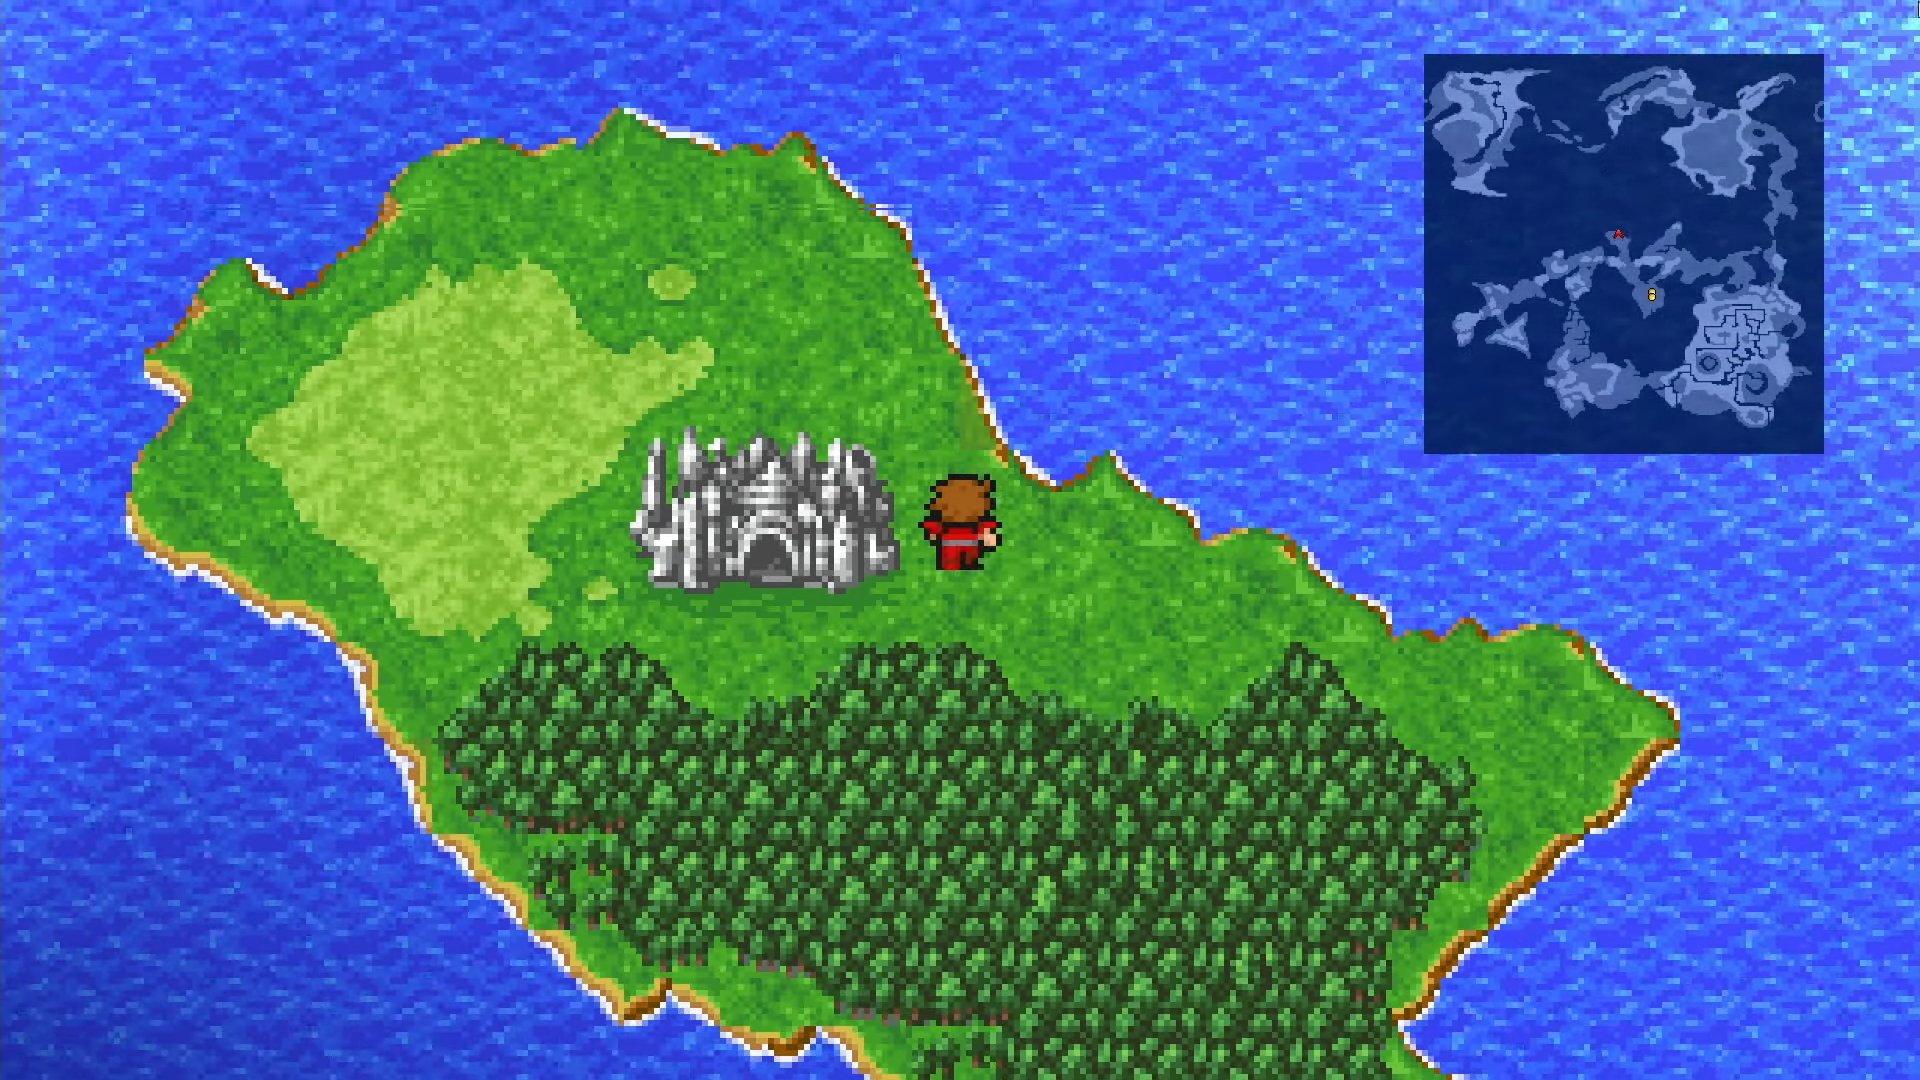
Before heading out, rest at the Inn. Exit Cornelia through the north gate, cross the bridge, and follow the path northwest to the large, ominous shrine.
On your way, you’ll encounter new enemies like Skeletons (weak to Fire) and Ghouls, which can paralyze your party members. Focus them down quickly.
Inside the Chaos Shrine
The layout is a straightforward central path with small rooms on either side. The side rooms contain a Leather Cap and 2 Potions. Proceed north through the central hall to find Garland.

Before stepping forward to trigger the boss battle, heal your party with Potions or Cure.

Garland
Garland is a straightforward physical attacker dealing 15-25 damage per turn. Have your fighters attack while your Black Mage opens with Fire for guaranteed damage. Your White Mage should heal anyone who drops below 30 HP immediately.
After the Battle
Return to Cornelia
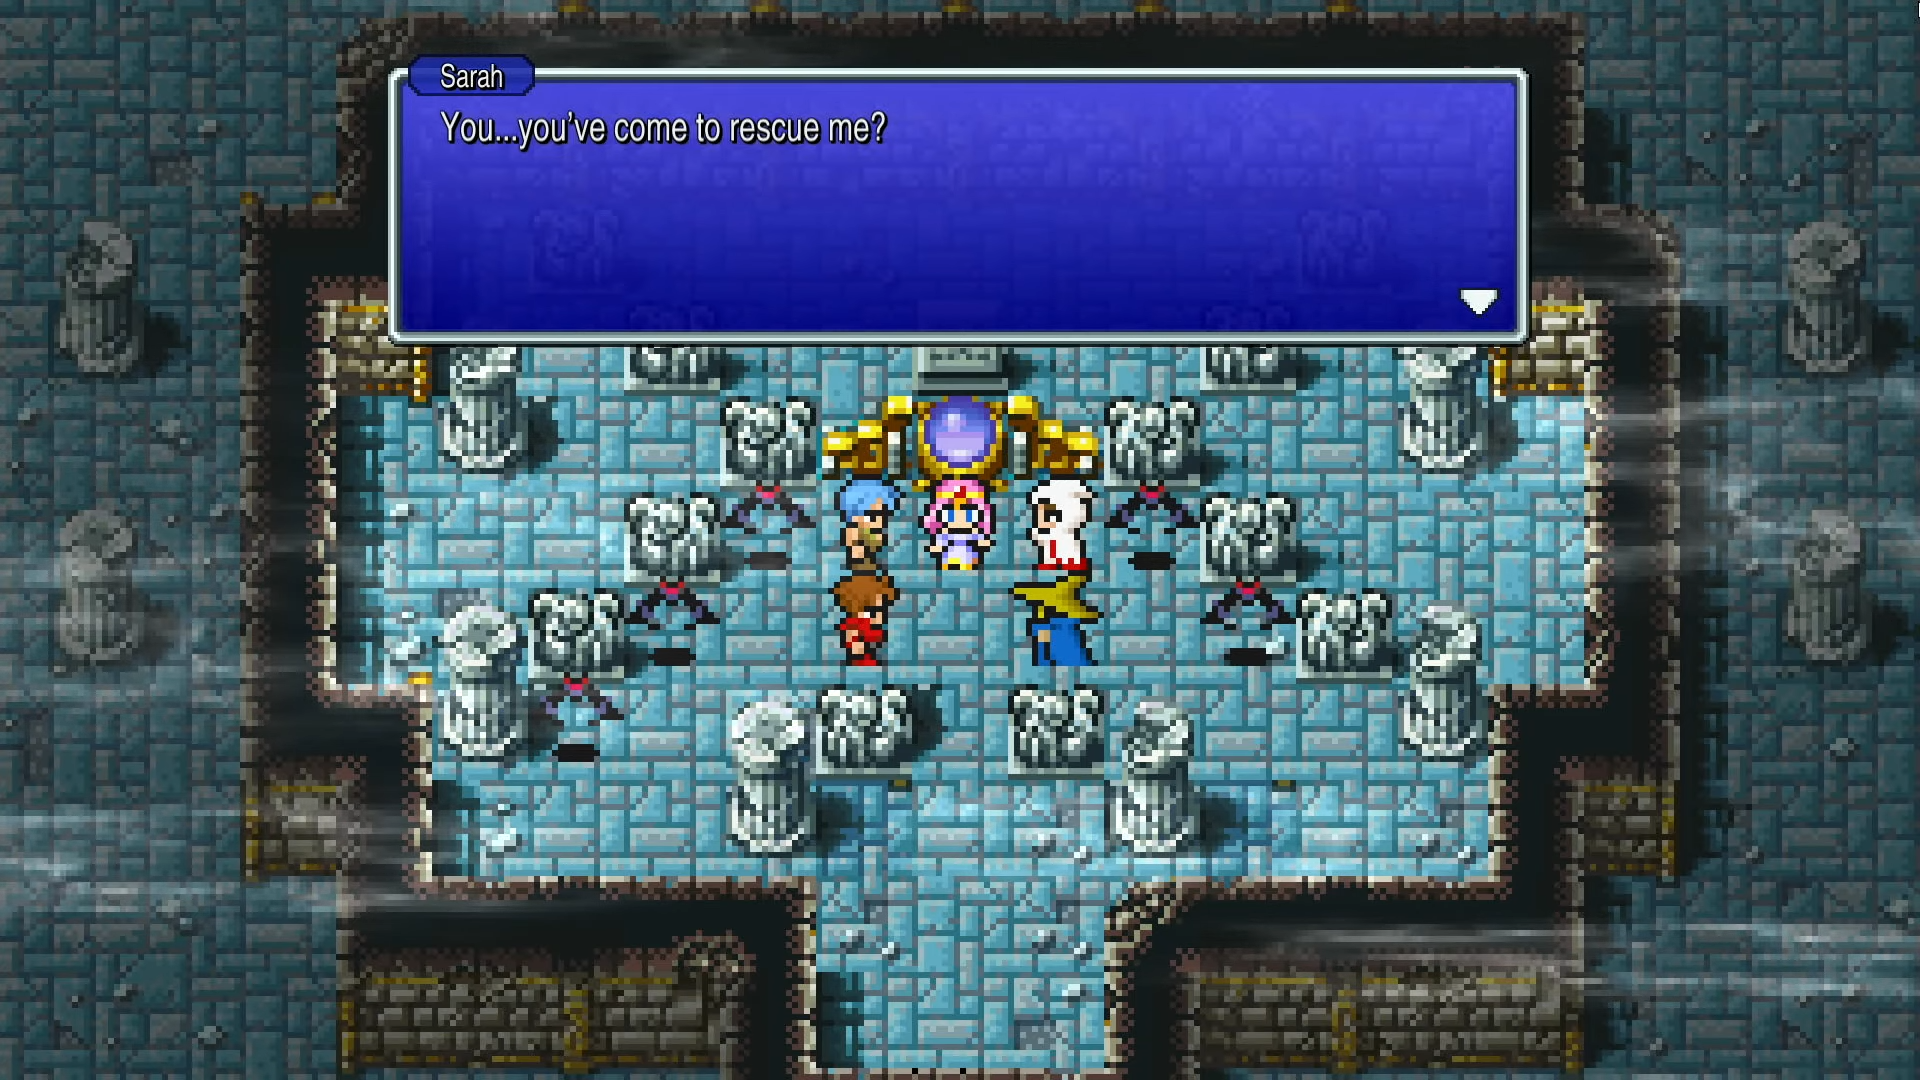
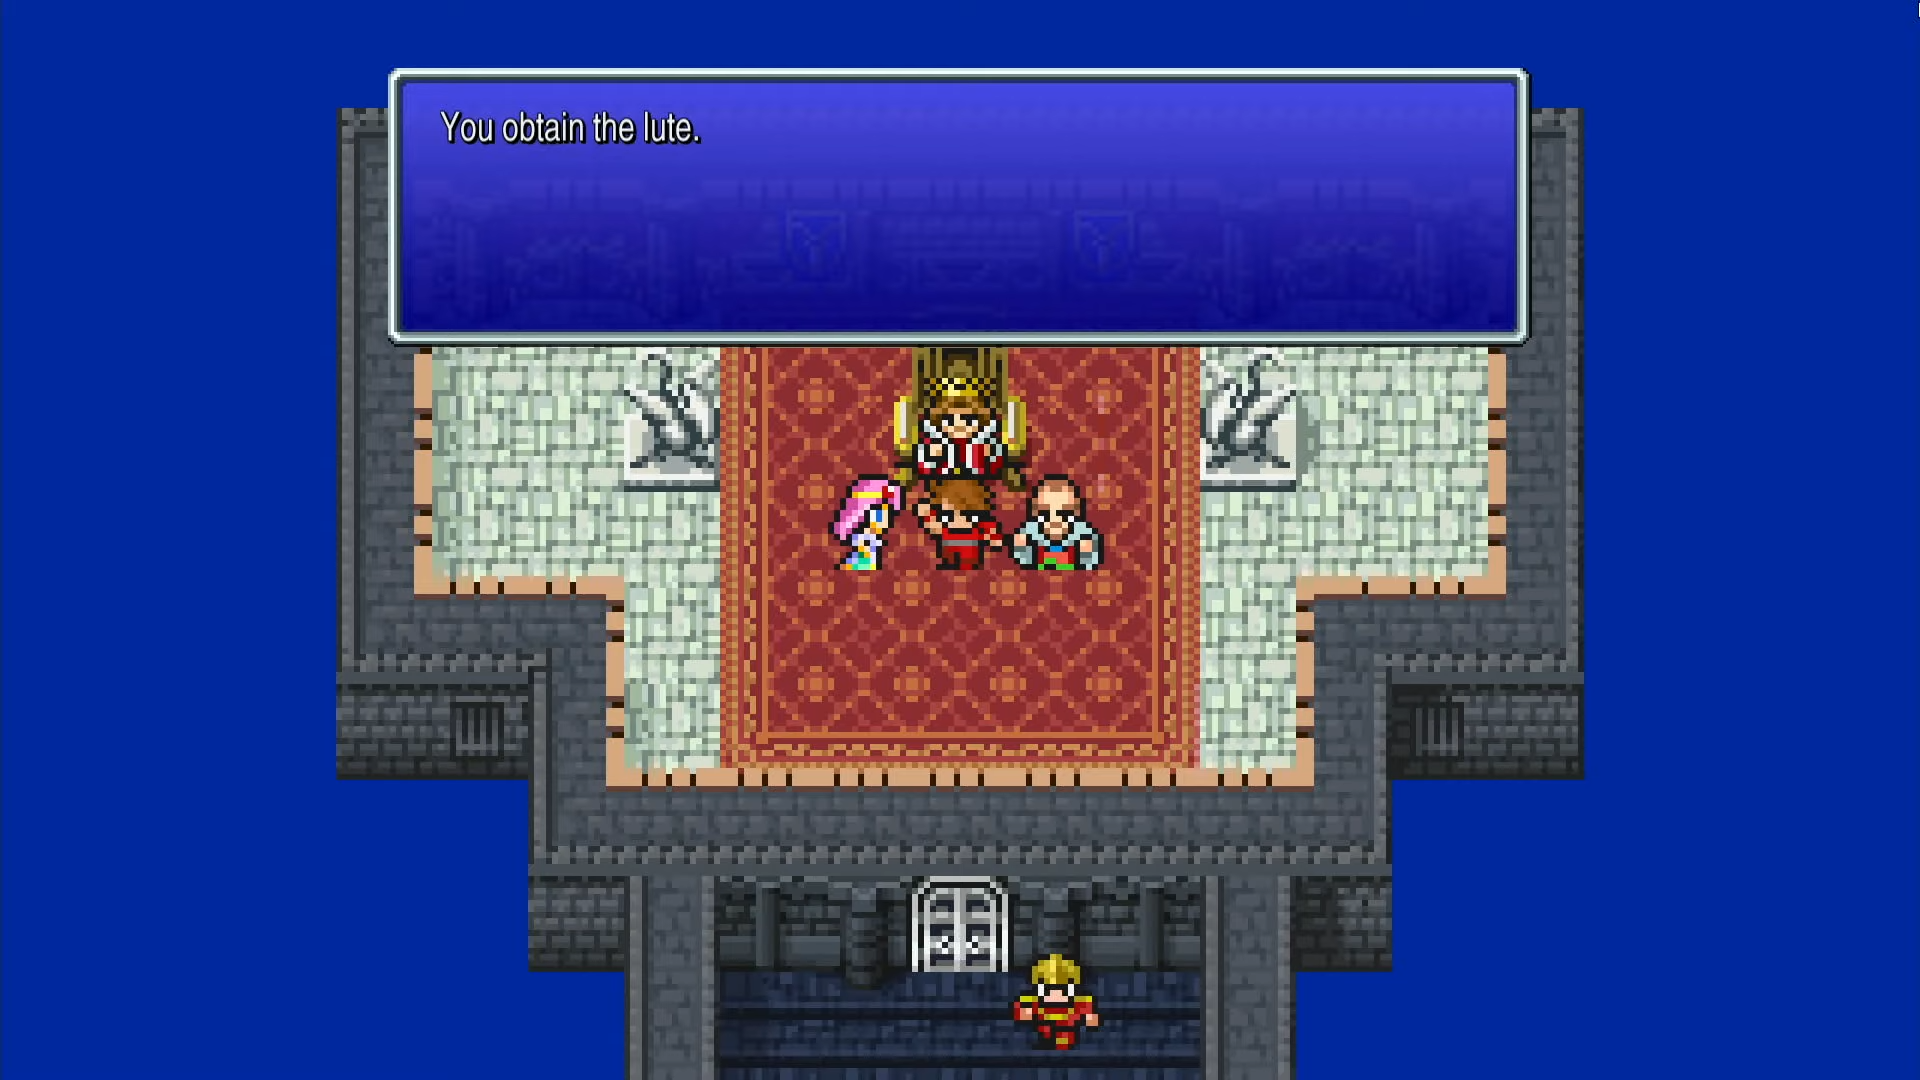
After defeating Garland, speak with Princess Sarah. You are then automatically transported back to Cornelia Castle. In the throne room, the King thanks you profusely. As a reward, he will repair the northern bridge, and Princess Sarah will give you the Lute, a key item that will be crucial.
Prepare for Chapter 2
The difficulty spike between Chapter 1 and 2 is significant. Before crossing the newly repaired bridge:
- Grind to level 4 if you haven’t already.
- Ensure everyone has the best available equipment.
- Consider buying a Tent (160 Gil) for healing during long journeys.
Shops
Weapons - Cornelia
| Weapon | Price | Attack | Classes |
|---|---|---|---|
| Nunchaku | 8 Gil | 12 | Monk |
| Knife | 4 Gil | 5 | WarriorThiefRed MageWhite Mage |
| Staff | 4 Gil | 6 | WarriorRed MageWhite MageBlack Mage |
| Rapier | 8 Gil | 9 | WarriorThiefRed Mage |
| Hammer | 8 Gil | 9 | WarriorWhite Mage |
Armour - Cornelia
| Armour | Price | Defense | Classes |
|---|---|---|---|
| Clothes | 8 Gil | 1 | All Classes |
| Leather Armor | 40 Gil | 4 | WarriorThiefMonkRed Mage |
| Chain Mail | 65 Gil | 15 | WarriorRed Mage |
Black Magic - Cornelia
| Spell | Price | Level | Classes |
|---|---|---|---|
| Fire | 50 Gil | 1 | Black MageRed Mage |
| Sleep | 50 Gil | 1 | Black MageRed Mage |
| Focus | 50 Gil | 1 | Black MageRed Mage |
| Thunder | 50 Gil | 1 | Black MageRed Mage |
White Magic - Cornelia
| Spell | Price | Level | Classes |
|---|---|---|---|
| Cure | 50 Gil | 1 | White MageRed Mage |
| Dia | 50 Gil | 1 | White Mage |
| Protect | 50 Gil | 1 | White MageRed Mage |
| Blink | 50 Gil | 1 | White Mage |
Enemies
| Enemy | HP | Attack | Defense | Weaknesses | Rewards | Location | # |
|---|---|---|---|---|---|---|---|
 Goblin Goblin | 8 | 4 | 4 | N/A | 6 EXP 6 Gil Potion (5%) | Cornelia Area | 001 |
 Goblin Guard Goblin Guard | 16 | 8 | 6 | N/A | 18 EXP 18 Gil Potion (5%) | Cornelia Area, Chaos Shrine | 002 |
 Wolf Wolf | 20 | 8 | 0 | N/A | 24 EXP 6 Gil | Cornelia Area | 003 |
 Crazy Horse Crazy Horse | 64 | 10 | 2 | N/A | 63 EXP 15 Gil Potion (5%) | Pravoka Area | 004 |
 Skeleton Skeleton | 10 | 10 | 0 | Fire Dia | 9 EXP 3 Gil Echo Grass (5%) | Chaos Shrine | 005 |
 Black Widow Black Widow | 28 | 10 | 0 | N/A | 30 EXP 8 Gil | Chaos Shrine | 006 |
 Gigas Worm Gigas Worm | 56 | 17 | 8 | Fire | 63 EXP 15 Gil | Pravoka Area | 007 |
 Warg Wolf Warg Wolf | 72 | 14 | 0 | N/A | 93 EXP 22 Gil Antidote (5%) | Elfheim Area | 008 |
 Werewolf Werewolf | 68 | 14 | 6 | N/A | 135 EXP 67 Gil | Marsh Cave | 009 |
 Zombie Zombie | 20 | 10 | 0 | Fire Dia | 24 EXP 12 Gil Staff (5%) | Chaos Shrine | 010 |
 Ghoul Ghoul | 48 | 8 | 6 | Fire Dia | 93 EXP 50 Gil | Chaos Shrine | 011 |
 Garland Garland | 212 | 15 | 8 | N/A | 130 EXP 250 Gil Longsword (Rare Drop) | Chaos Shrine | 012 |
Treasure
Bosses
Garland
Strategy
Garland
Garland is a straightforward physical attacker dealing 15-25 damage per turn. Have your fighters attack while your Black Mage opens with Fire for guaranteed damage.
Your White Mage should heal anyone who drops below 30 HP immediately.