Chapter 11 Walkthrough
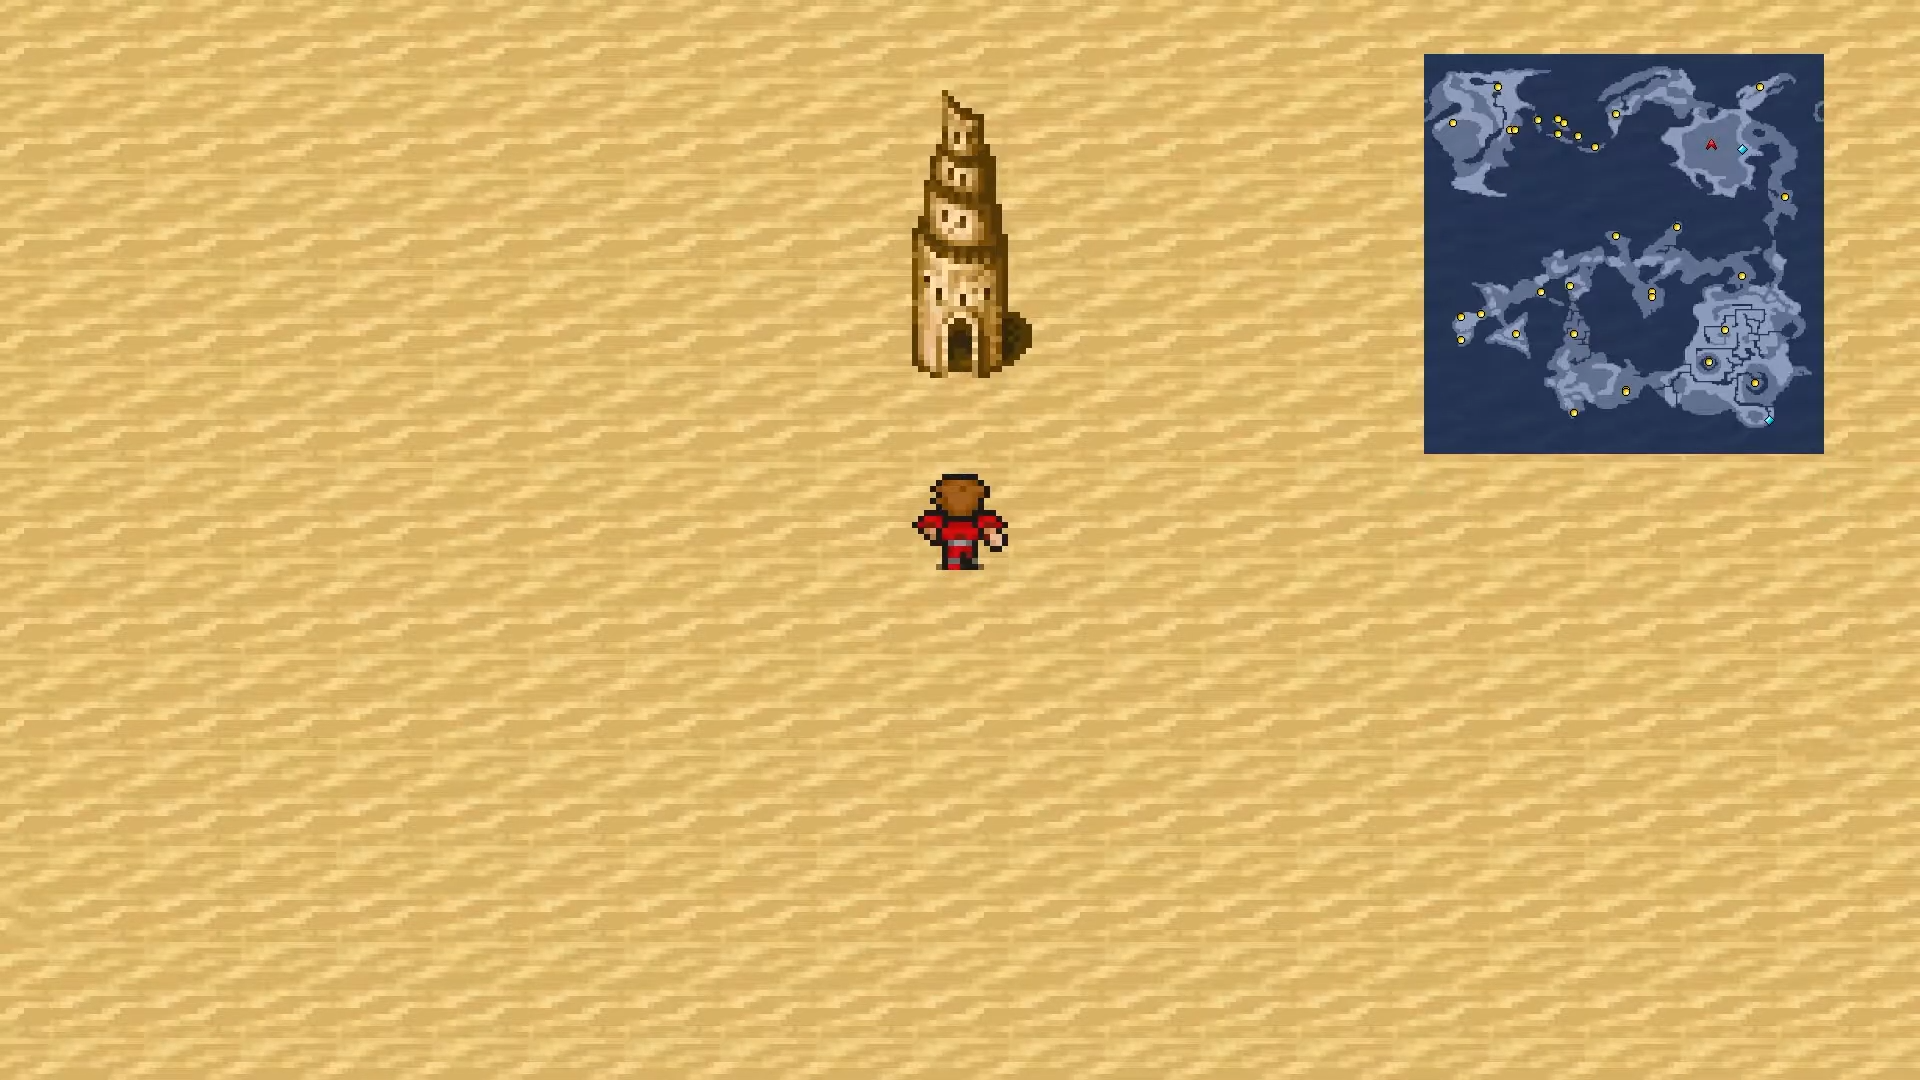
With the Chime from Lufenia, you can finally enter the domain of the final fiend in your Final Fantasy 1 Pixel Remaster adventure. Fly your airship to the large desert located on the northeastern continent. In its center, you will find the shimmering Mirage Tower.
The Mirage Tower
This three-story tower is the gateway to the Flying Fortress. The enemies here are powerful, but the treasure is some of the best in the game.
- Floor 1: The central room contains a trove of treasure, including the Aegis Shield and a Healing Helm, which allows any character to cast Heal when used as an item.
- Floor 2: This floor contains another large haul of treasure. Be sure to collect the Sun Blade, which is powerful against undead enemies, and the Dragon Mail for your Knight.
At the top of the tower on the third floor, you will face a powerful Blue Dragon guarding a teleporter.

Blue Dragon
The Blue Dragon hits hard with physical attacks and its Thunder breath. It resists Lightning, so focus on physical damage. Buff your strongest fighters with Haste and Temper from Elfheim. Your White Wizard should be ready with Curaga or use the Healing Helm to conserve MP.
After defeating the dragon, use the Warp Cube (obtained from the Waterfall Cavern) to teleport to the Flying Fortress. Make sure your party is fully healed before you do so!
The Flying Fortress
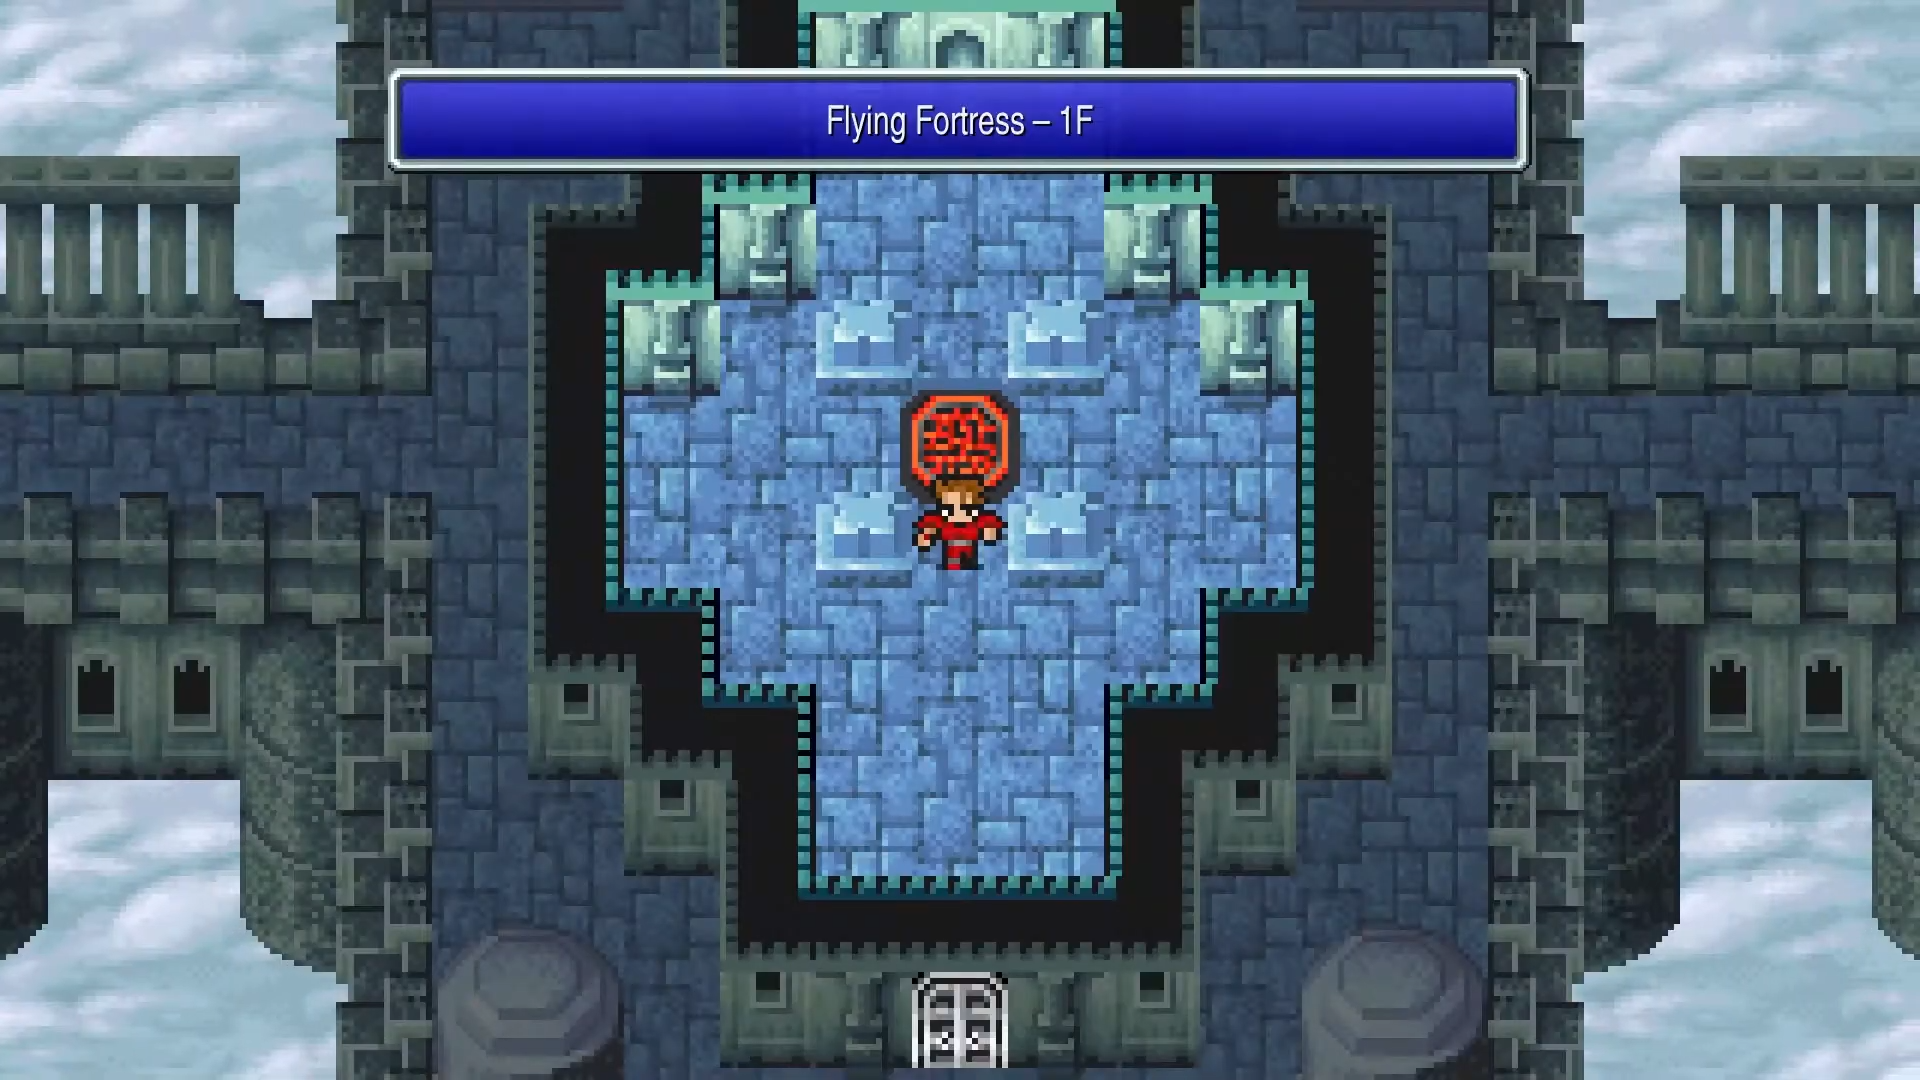
You’ll arrive in a high-tech dungeon floating in the sky. This is the final elemental shrine and is filled with powerful robotic and magical enemies. Your goal is to reach the fifth floor to confront Tiamat. Along the way, you will find the last essential treasures of your journey.
- Key Treasures: Be sure to find the Adamantite (which can be forged into the legendary Excalibur), another Ribbon, and Sasuke’s Blade for your Ninja.
On the long bridge of the 5th floor, there is a very rare chance to encounter Warmech, the game’s secret superboss. It is far more powerful than Tiamat. Unless you are specifically hunting it, it’s best to save frequently and be prepared to flee or reset if you encounter it unexpectedly. Defeating it requires maxed-out buffs and your most powerful spells.
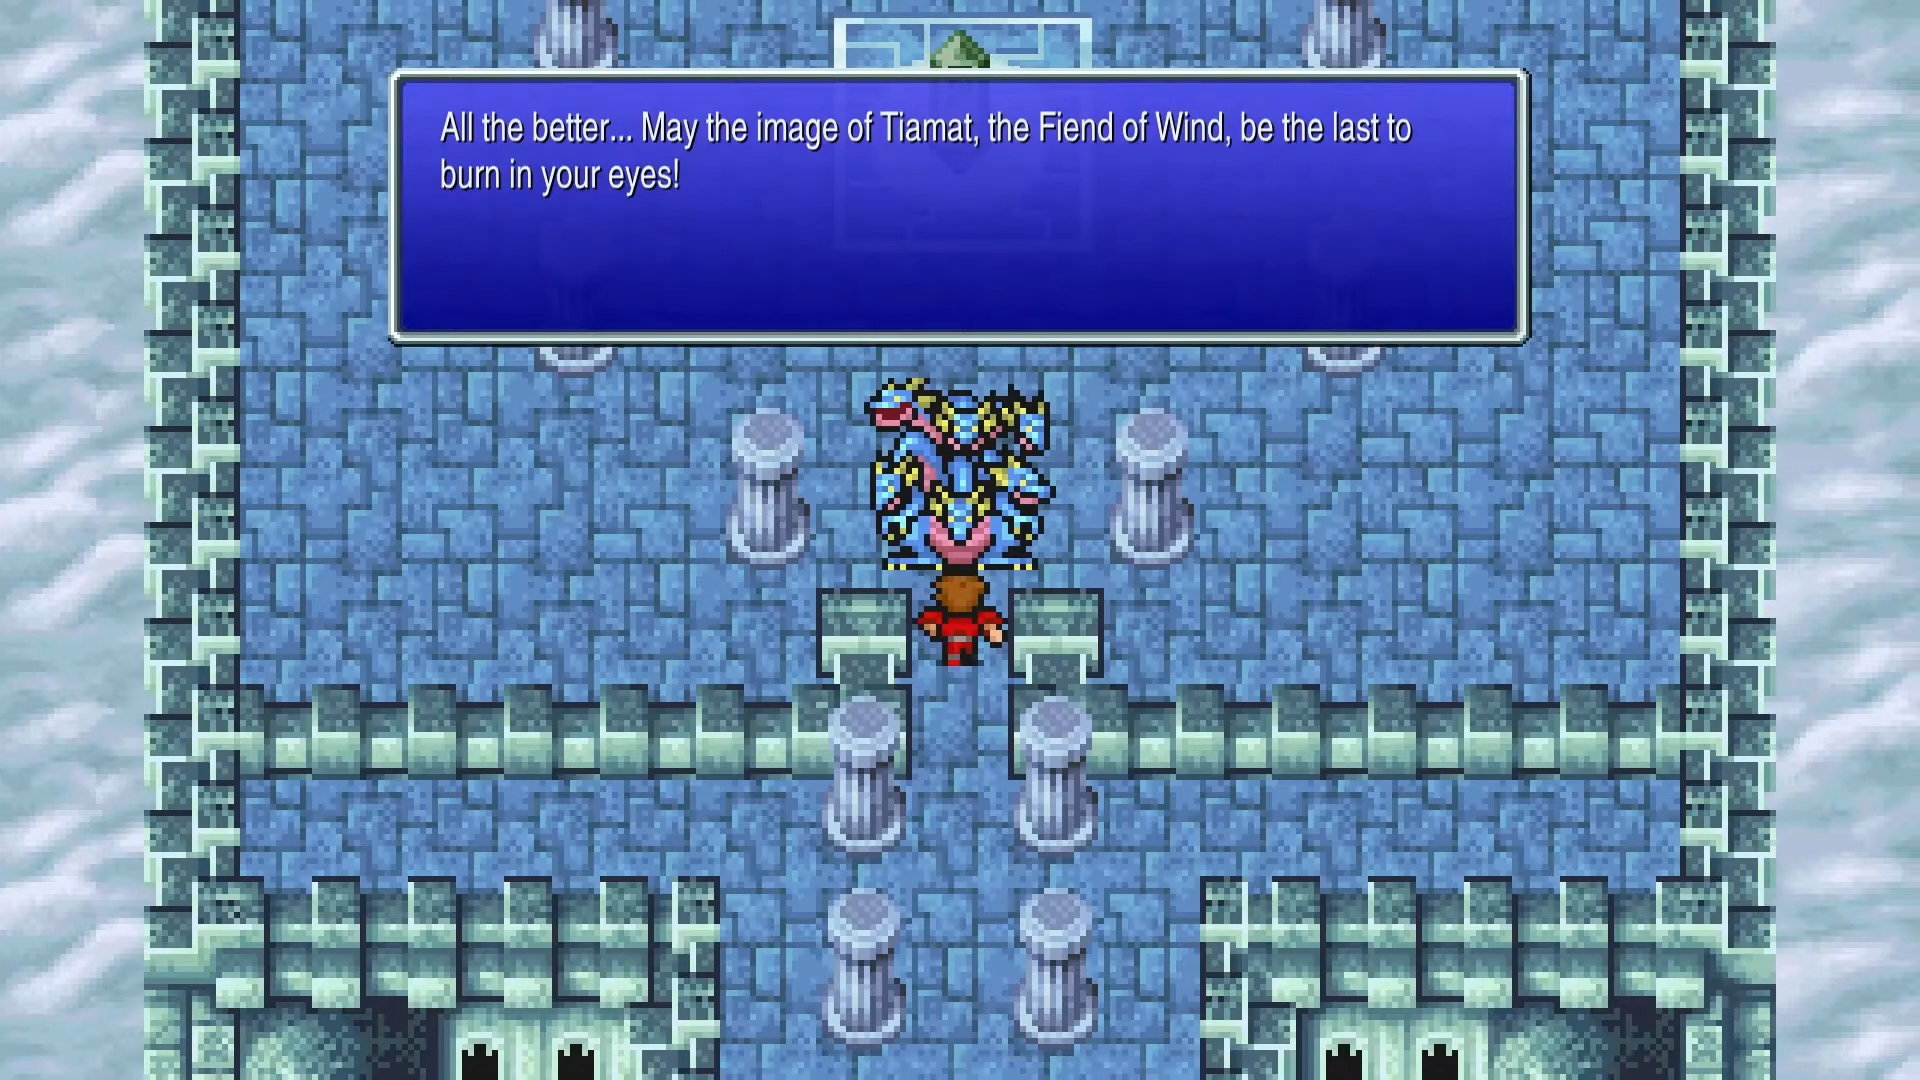
At the end of the fifth floor, you’ll find the Fiend of Wind.
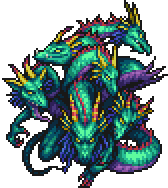
Tiamat
Tiamat has no elemental weaknesses and resists all four primary elements. She unleashes powerful breath attacks like Blaze, Icestorm, and Thunderbolt. Your priority is defense: cast NulAll from Gaia or the individual Nul-element spells. Once buffered, use Haste and Temper on your fighters and attack relentlessly. Non-elemental magic like Flare and Holy are your best magical options.
Wind’s Caress
With Tiamat’s defeat, the Wind Crystal is restored, and the winds of the world are calmed. All four crystals now shine with their restored light.
Forging the Ultimate Weapon
Before proceeding to the finale, you have one crucial task remaining. With the Adamantite you found in the Flying Fortress, you can now forge the most legendary sword in the game.
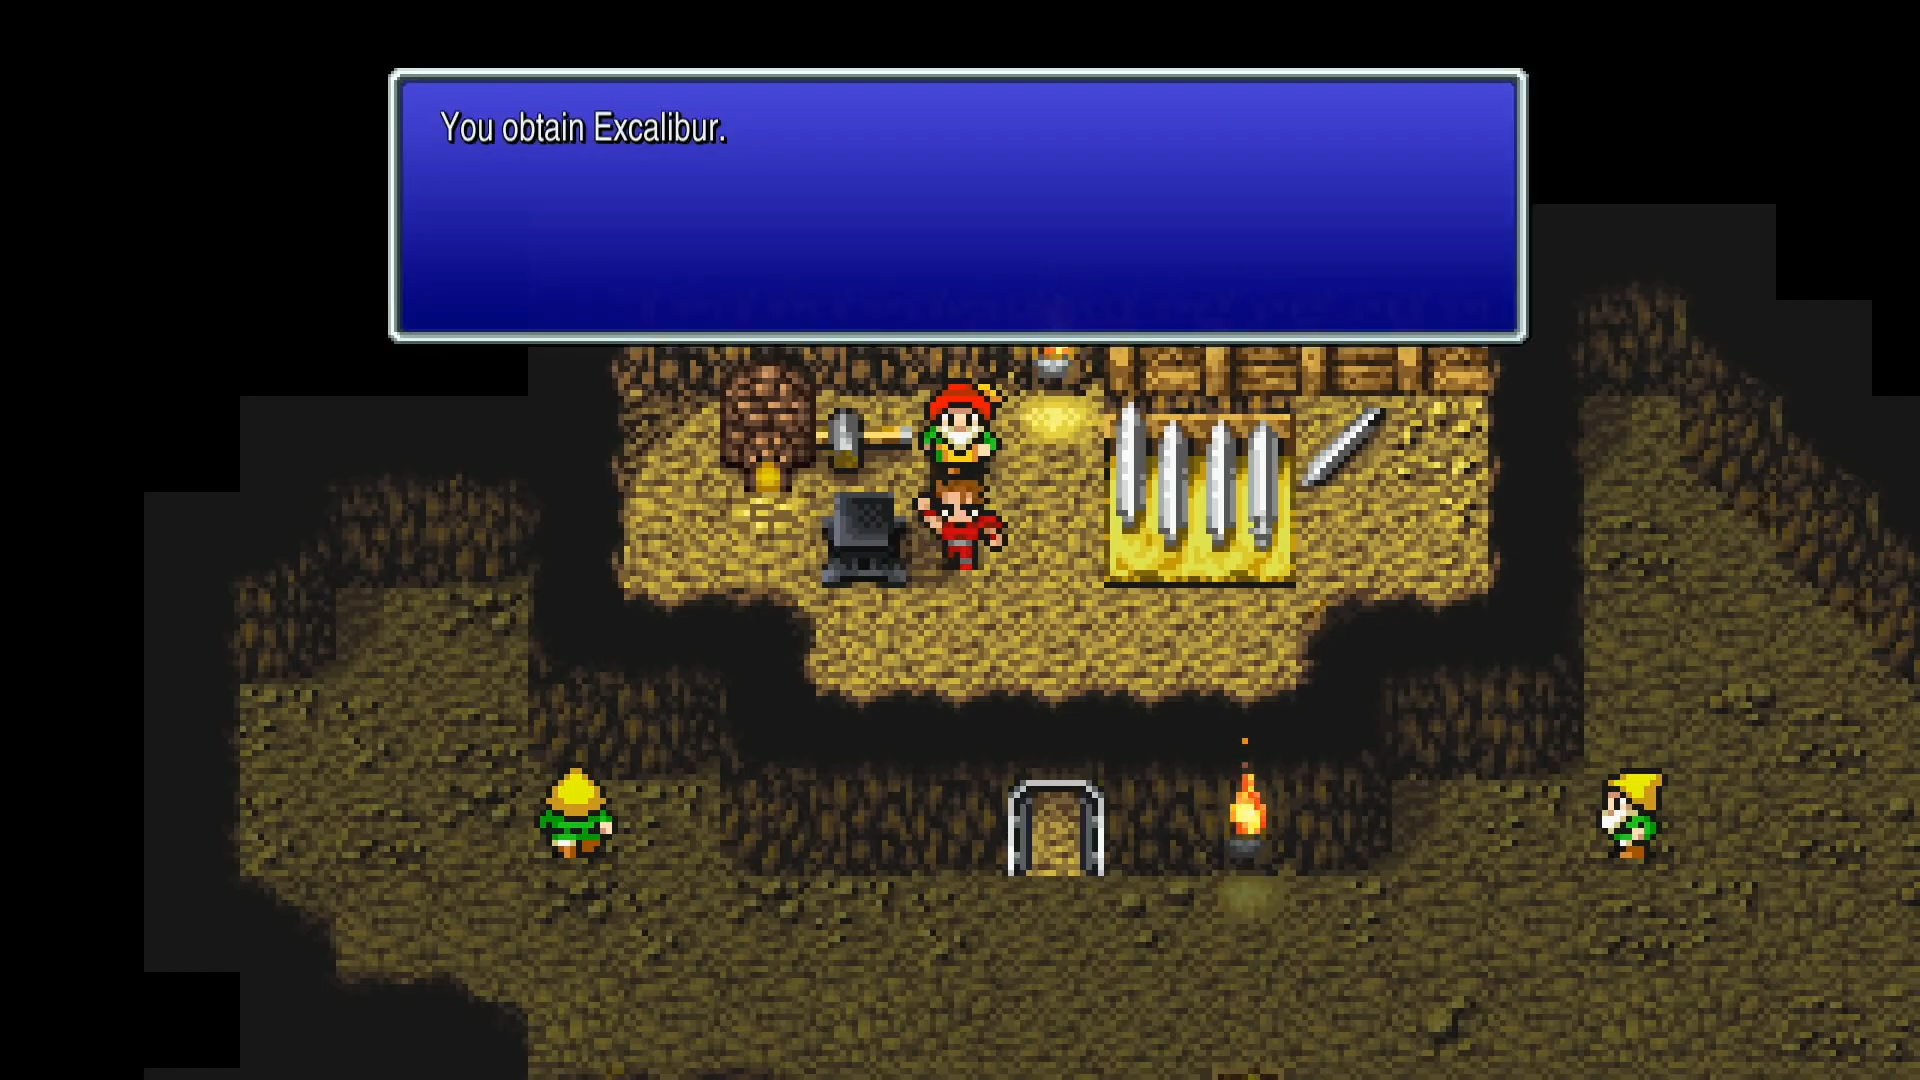
Fly your airship back to Mount Duergar (the Dwarf Cave) from Chapter 4. Navigate to the northern room where you’ll find Smyth, the master blacksmith. Speak with him while carrying the Adamantite, and he will offer to forge it into the legendary Excalibur.
The Excalibur is one of the most powerful weapons in Final Fantasy 1, with exceptional attack power and the ability to deal critical hits more frequently. This sword will be invaluable for the final battles ahead. Make sure to equip it on your Knight immediately.
With the ultimate weapon now in your possession, your quest is nearing its end. It is time to return to where it all began: the Chaos Shrine.
Enemies
| Enemy | HP | Attack | Defense | Weaknesses | Rewards | Location | # |
|---|---|---|---|---|---|---|---|
 Rhyos Rhyos | 350 | 40 | 18 | Ice | 4,584 EXP 5,000 Gil Power Staff (5%) | Chaos Shrine (Past) | 120 |
 Death Eye Death Eye | 360 | 120 | 60 | Dia | 1 EXP 1 Gil Elixir (5%) | Chaos Shrine (Past) | 121 |
 Purple Worm Purple Worm | 448 | 65 | 10 | N/A | 4,344 EXP 1,000 Gil | Chaos Shrine (Past) | 122 |
 Iron Golem Iron Golem | 304 | 93 | 100 | N/A | 6,717 EXP 3,000 Gil | Chaos Shrine (Past) | 123 |
Treasure
Bosses
Blue Dragon
Strategy
Blue Dragon
The Blue Dragon is a powerful gatekeeper with a strong physical attack and a dangerous party-wide Thunderbolt breath attack. It is resistant to Lightning damage, so spells like Thundaga are ineffective.
Your strategy should be purely physical. Use Haste and stack Temper on your Knight and Master/Ninja. The Blue Dragon has a large HP pool, so the fight may take a few rounds. Your White Wizard should focus on party healing with Curaga or Healaga to recover from Thunderbolt.
Boss Stats
Rewards
Tiamat
Strategy
Tiamat
Tiamat, the Fiend of Wind, is a multi-headed dragon that resists all four main elements and has no weaknesses. She attacks with a barrage of powerful breath weapons like Thunderbolt, Icestorm, and Blaze.
This is a defensive battle. Your first priority is to cast protective spells. NulAll is the best option, but casting the individual NulShock, NulFrost, and NulBlaze also works. Once your defenses are set, use the classic Haste and Temper combination on your physical attackers. Your Wizards should use their most powerful non-elemental spells: Flare for the Black Wizard and Holy for the White Wizard. Keep your HP high and attack relentlessly once your buffs are in place.