Chapter 4 Walkthrough
With the Mystic Key from your adventure in Elfheim, a treasure hunt across the world awaits before tackling the next crystal in your Final Fantasy 1 Pixel Remaster quest. These treasures provide significant power boosts and are essential for the journey ahead.
The Mystic Key Treasure Hunt
Your first task is to embark on a treasure hunt, using the Mystic Key to open locked doors in locations both old and new.
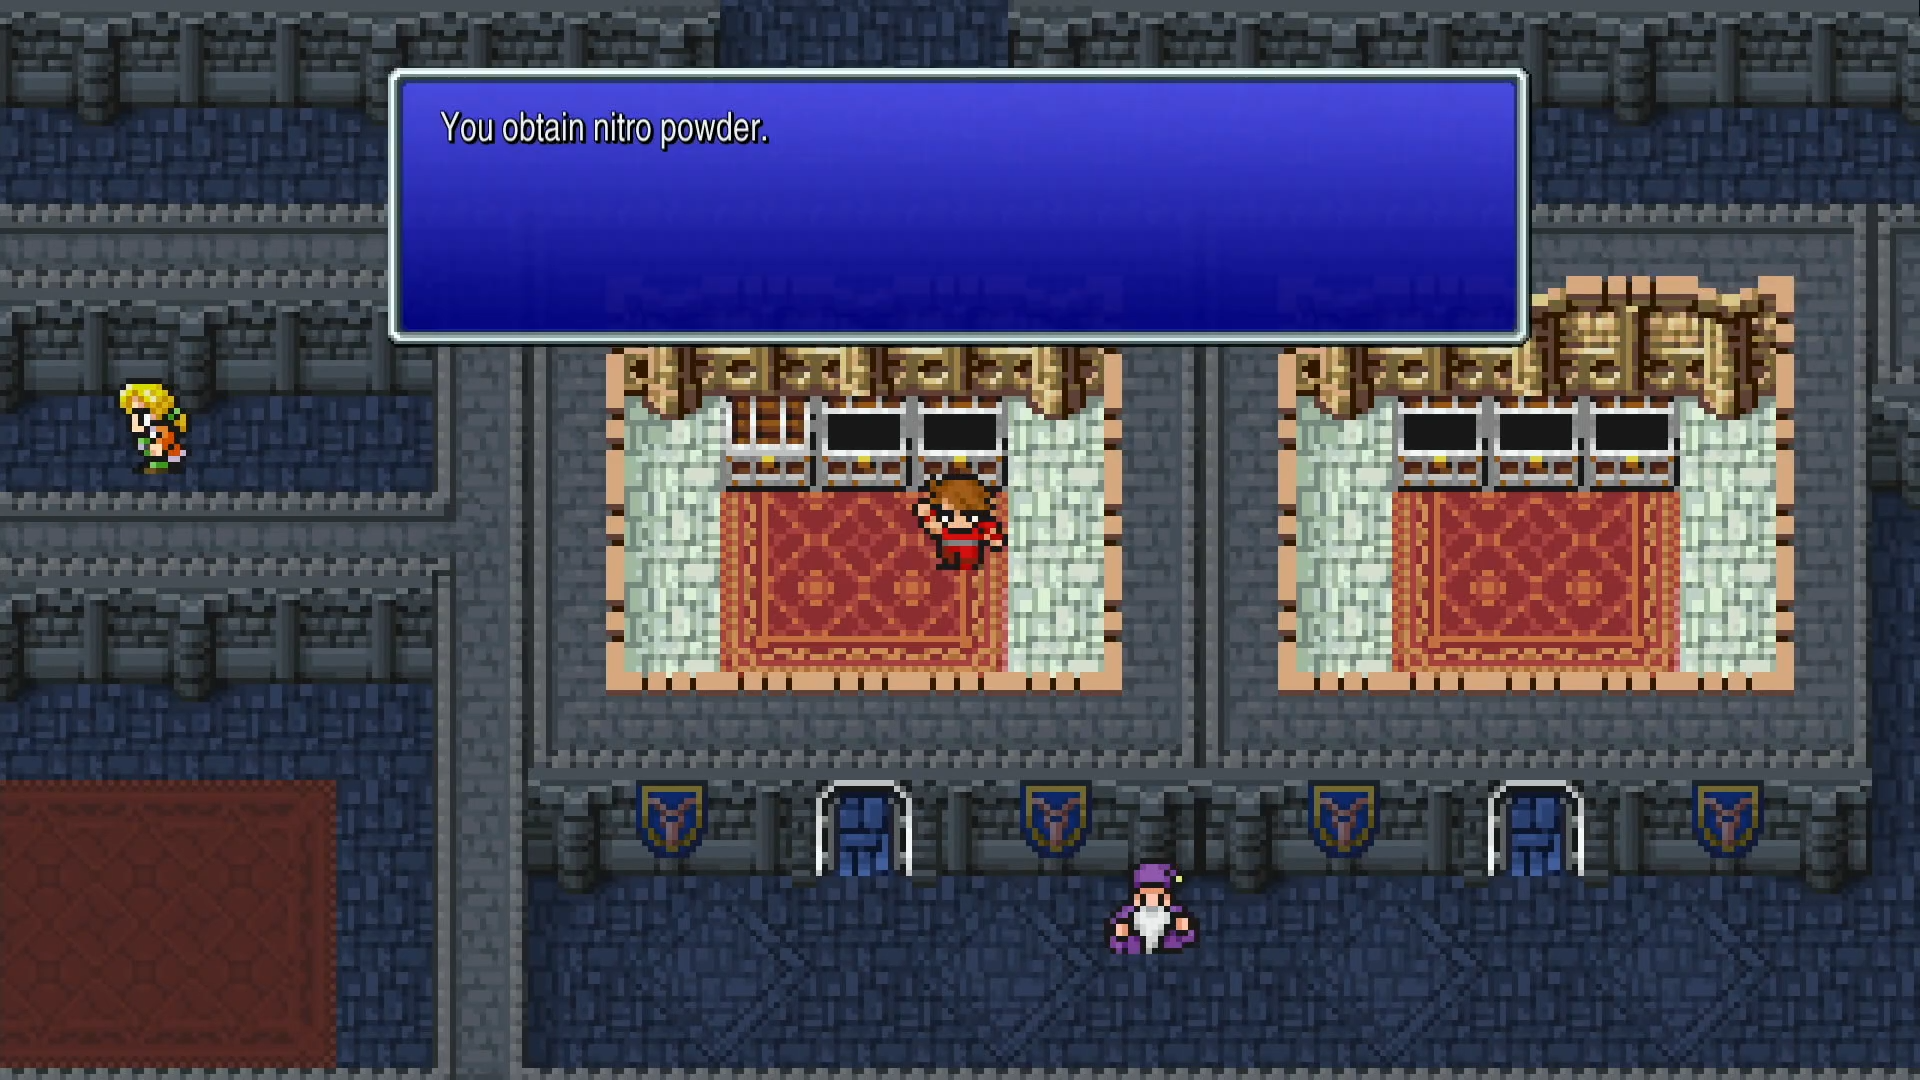
- Cornelia Castle: Open the two rooms on the first floor. The most important item here is the Nitro Powder, a key item needed to progress.
- Chaos Shrine: Open the rooms on the east side to find the powerful Rune Blade.
- Mount Duergar (Dwarf Cave): Sail to the cave northwest of Cornelia. Open the large southern room for a haul of treasure, including the Wyrmkiller sword and Mythril Mail. Before you leave, speak to the dwarf named Nerrick in the southernmost passage and give him the Nitro Powder. He will use it to blast a canal, opening a path to the western seas.
You can also return to the Marsh Cave, Elven Castle, and Western Keep from Chapter 3 to collect other treasures, including the valuable Silver Armlet. It’s worth the trip if you want to be fully equipped.
Journey to Melmond

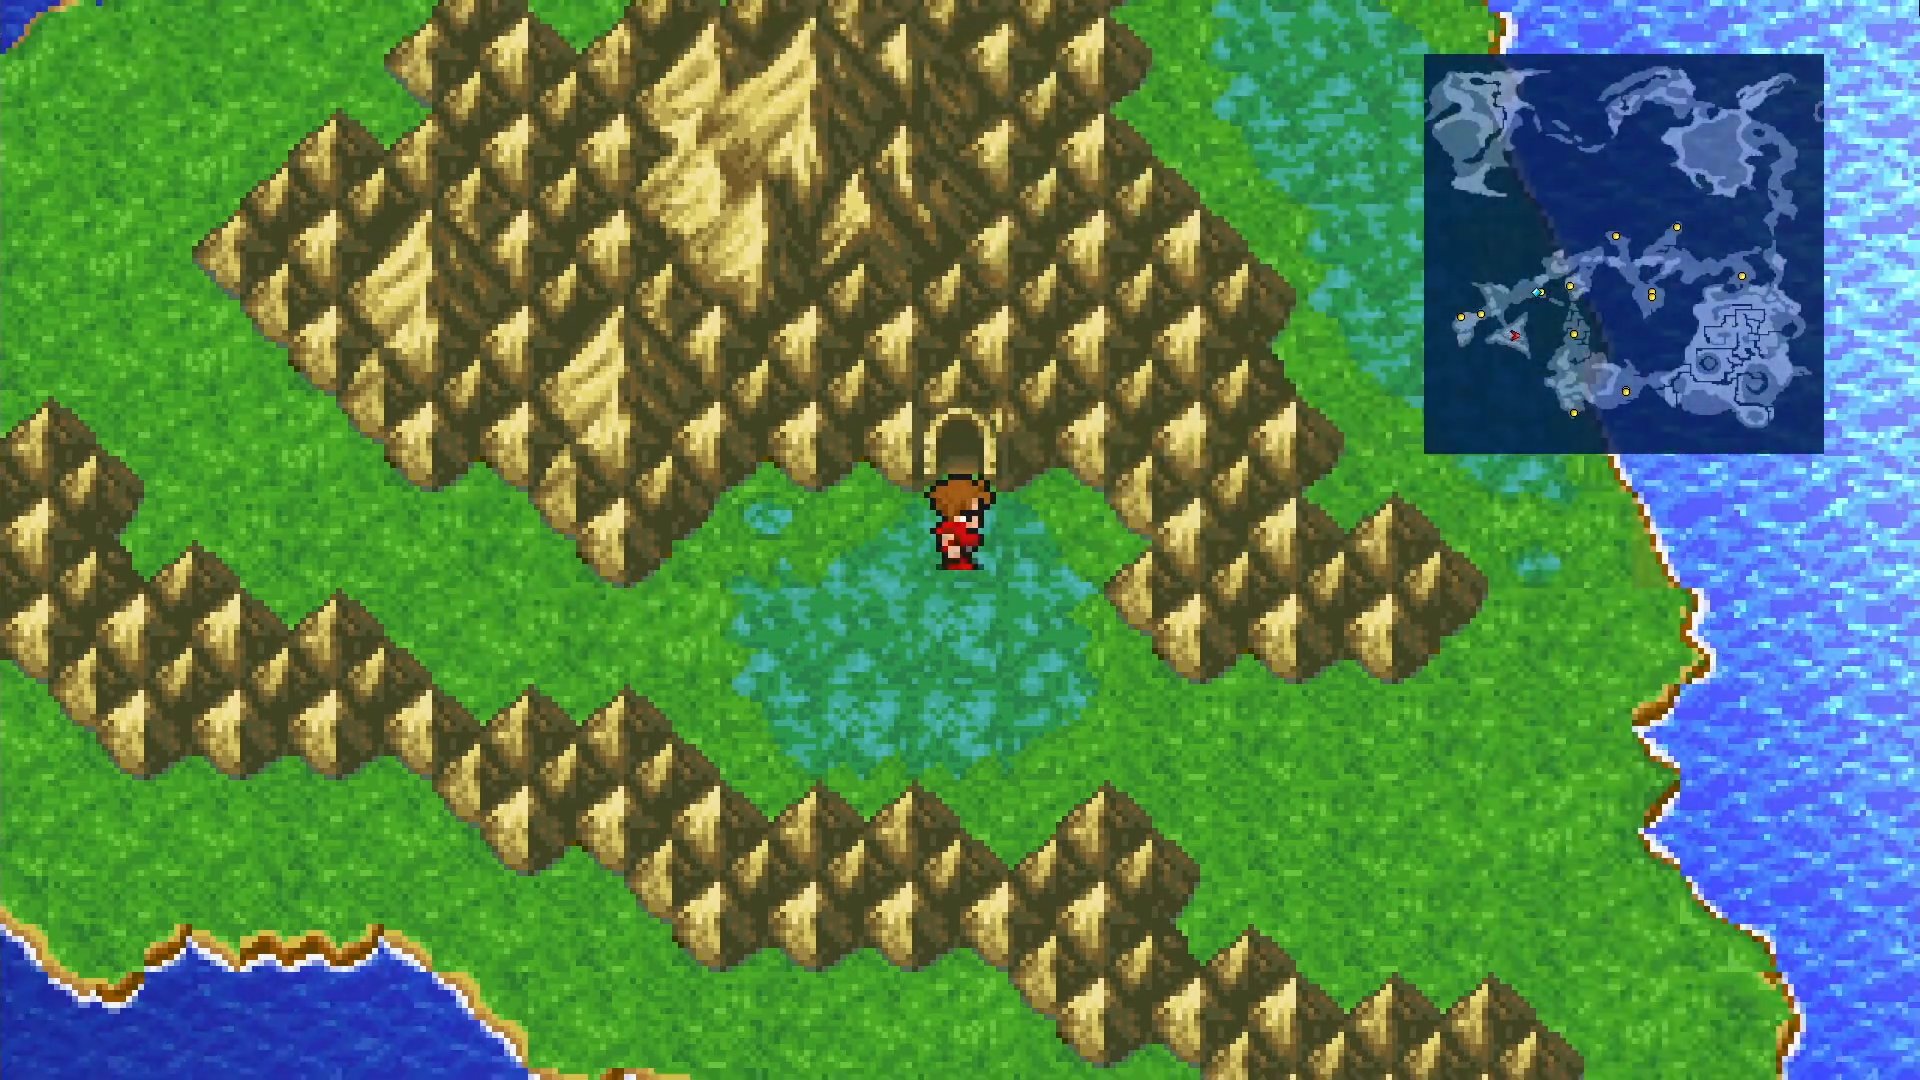
Sail your ship back to the newly created canal west of Mount Duergar. This passage leads to the Aldean Sea. Navigate west across this new body of water until you reach the next continent and dock at the port. The town of Melmond is a short walk from here.
Exploring Melmond
Melmond is a town in decay. The earth is rotting, buildings are crumbling, and the people are desperate. This is your first direct look at the decay caused by the Fiend of Earth. The town offers powerful Level 5 spells and new equipment.
- Magic: Life and Curaga for your White Mage are essential purchases. Firaga is a massive damage upgrade for your Black Mage.
- Armor: The Silver Armlet (4,000 Gil) is an excellent defensive upgrade for any character not in heavy armor. The Knight’s Armor is incredibly strong but prohibitively expensive for now.
The Cavern of Earth - Part 1: The Vampire
After stocking up, head southwest from Melmond to the Cavern of Earth. This dungeon is home to the Fiend of Earth, but your first trip will only take you partway through. Be wary of Cockatrices, whose gaze can petrify your party members.
Navigate through the first two floors, collecting treasure as you go. On the third floor (B3), you’ll find a chamber guarded by a Vampire.

Vampire
The Vampire is weak to both Fire and Dia magic. Have your Black Mage cast Fira or Firaga, and your White Mage cast Diara. He’ll go down quickly if you exploit these weaknesses. His physical attack can paralyze, so defeat him swiftly.
Upon defeating the Vampire, you’ll receive the Star Ruby. You cannot proceed deeper yet. Exit the cavern.
The Quest for the Earth Rod
Your path forward is blocked, but the Star Ruby is the key.
- Giant’s Cave: Travel west from the Cavern of Earth to find a small cave inhabited by a Giant. Give him the Star Ruby. Pleased with the snack, he will clear the path behind him. Loot the treasure room and exit through the back.
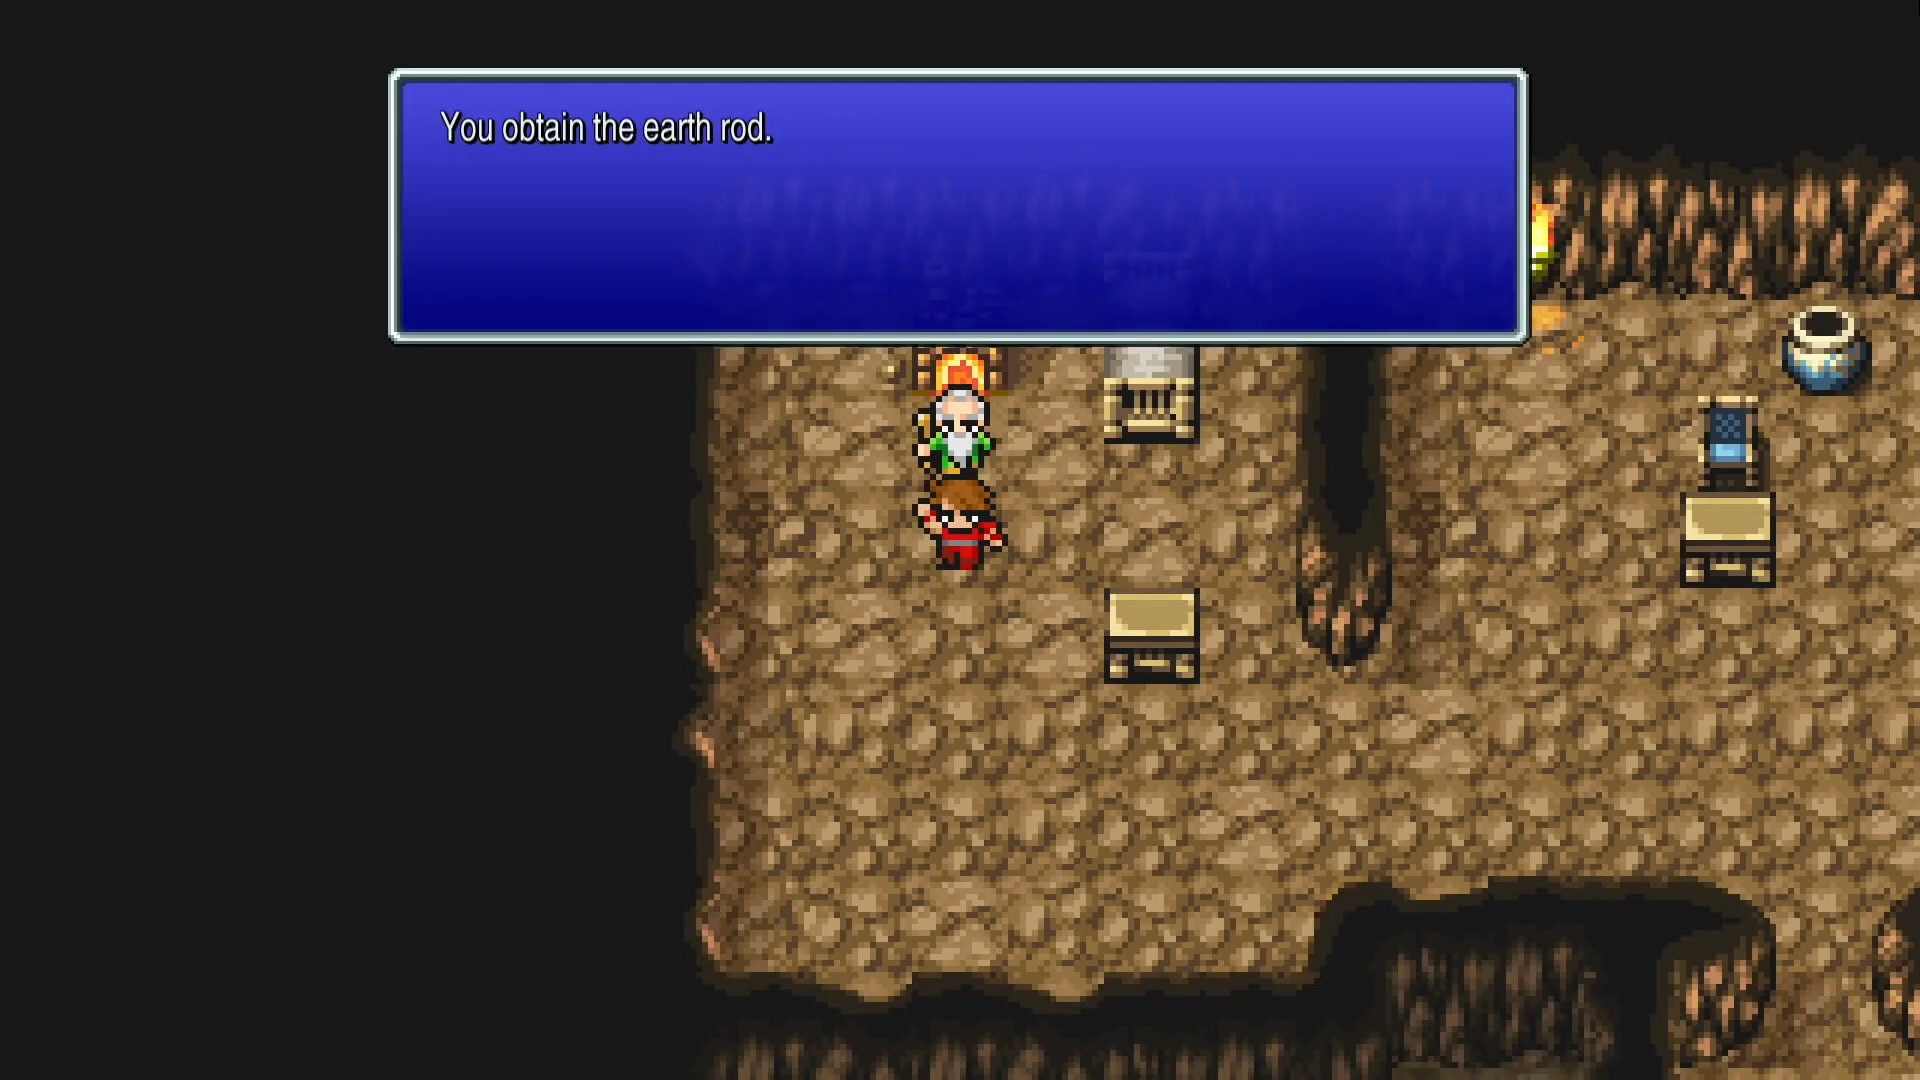
- Sage’s Cave: Follow the path to another small cave. Inside, the sage Sarda will recognize your deeds and grant you the Earth Rod.
The Cavern of Earth - Part 2: The Lich
Return to the Cavern of Earth and make your way back to the Vampire’s chamber on B3. Use the Earth Rod on the stone plate at the back of the room to reveal a staircase to the lower levels.
The final two floors (B4 and B5) are filled with powerful monsters. Conserve your resources for the final battle. At the end of B5, you will find the Earth Crystal and its guardian: Lich, the Fiend of Earth.

Lich
Lich is the first true Fiend and a powerful spellcaster. He is weak to Fire and Dia. Have your Black Mage spam Firaga while your White Mage casts Diaga and heals with Curaga. The most effective strategy is to cast Haste and stack Temper on your strongest fighter. Lich often casts group-wide ice magic, so NulFrost can be very helpful.
Earth’s Blessing
Upon defeating Lich, the Earth Crystal will be restored to its former glory. The rot will recede from the land. Use the portal behind the altar to exit the dungeon and prepare for your next journey in our Chapter 5 guide.
Shops
Weapons - Melmond
| Weapon | Price | Attack | Classes |
|---|---|---|---|
| Crosier | 160 Gil | 14 | WarriorMonk |
| Saber | 360 Gil | 13 | WarriorThiefRed Mage |
| Longsword | 1200 Gil | 20 | WarriorRed Mage |
| Falchion | 360 Gil | 15 | WarriorThiefRed Mage |
Armour - Melmond
| Armour | Price | Defense | Classes |
|---|---|---|---|
| Knight's Armor | 36000 Gil | 34 | Warrior |
| Silver Armlet | 4000 Gil | 15 | All Classes |
| Great Helm | 360 Gil | 5 | Warrior |
| Bronze Gloves | 160 Gil | 2 | Warrior |
| Steel Gloves | 600 Gil | 4 | Warrior |
Black Magic - Melmond
| Spell | Price | Level | Classes |
|---|---|---|---|
| Firaga | 4000 Gil | 5 | Black MageRed Mage |
| Scourge | 4000 Gil | 5 | Black Mage |
| Teleport | 4000 Gil | 5 | |
| Slowra | 4000 Gil | 5 | Black MageRed Mage |
White Magic - Melmond
| Spell | Price | Level | Classes |
|---|---|---|---|
| Curaga | 4000 Gil | 5 | White MageRed Mage |
| Life | 4000 Gil | 5 | White Mage |
| Diaga | 4000 Gil | 5 | White Mage |
| Healra | 4000 Gil | 5 | White Mage |
Enemies
| Enemy | HP | Attack | Defense | Weaknesses | Rewards | Location | # |
|---|---|---|---|---|---|---|---|
 Mummy Mummy | 80 | 30 | 20 | Fire Dia | 300 EXP 300 Gil | Western Keep | 034 |
 Wraith Wraith | 86 | 22 | 4 | Fire Dia | 231 EXP 231 Gil Crosier (5%) | Terra Cavern | 035 |
 Anaconda Anaconda | 80 | 22 | 10 | N/A | 165 EXP 50 Gil | Marsh Cave | 036 |
 Hyenadon Hyenadon | 120 | 22 | 4 | N/A | 288 EXP 72 Gil | Melmond Area | 037 |
 Lesser Tiger Lesser Tiger | 132 | 22 | 8 | N/A | 438 EXP 108 Gil X-Potion (5%) | Giant's Cave | 038 |
 Minotaur Minotaur | 164 | 22 | 4 | N/A | 489 EXP 489 Gil Knife (5%) | Terra Cavern | 039 |
 Hill Gigas Hill Gigas | 240 | 38 | 12 | N/A | 879 EXP 879 Gil Tent (5%) | Terra Cavern | 040 |
 Earth Elemental Earth Elemental | 288 | 66 | 20 | Fire | 1,536 EXP 768 Gil Remedy (5%) | Terra Cavern | 041 |
 Troll Troll | 184 | 24 | 12 | Fire | 621 EXP 621 Gil | Terra Cavern | 042 |
 Wight Wight | 52 | 20 | 12 | Fire Dia | 150 EXP 150 Gil | Terra Cavern | 043 |
 Ochre Jelly Ochre Jelly | 76 | 32 | 6 | Lightning | 252 EXP 70 Gil | Terra Cavern | 044 |
 Cockatrice Cockatrice | 50 | 1 | 4 | N/A | 186 EXP 200 Gil Gold Needle (5%) | Terra Cavern | 045 |
 Vampire Vampire | 280 | 76 | 26 | Fire Dia | 1,200 EXP 2,000 Gil | Terra Cavern | 046 |
 Ogre Mage Ogre Mage | 144 | 23 | 10 | N/A | 723 EXP 723 Gil Eye Drops (5%) | Terra Cavern | 047 |
 Sphinx Sphinx | 228 | 23 | 12 | N/A | 1,160 EXP 1,160 Gil | Terra Cavern | 048 |
 Lich Lich | 1200 | 40 | 40 | Fire Dia | 2,200 EXP 3,000 Gil Dry Ether (Rare Drop) | Terra Cavern | 049 |
Treasure
Bosses
Vampire
Strategy
Vampire
The Vampire is a straightforward fight if you exploit his weaknesses. His primary attacks are physical and can inflict Paralysis. Your main source of damage should come from magic. Have your Black/Red Mage cast Fira or Firaga, and your White Mage use Diara. Your physical attackers can supplement the damage, but the magic is what will end this fight quickly and safely.
Boss Stats
Rewards
Lich
Strategy
Lich
Lich is the first of the Four Fiends and a major step up in difficulty. He uses powerful area-of-effect spells like Blizzara, Fira, and Thundara, and his physical attack can paralyze.
He is weak to Fire and Dia. The core strategy is to buff your strongest fighter with Haste and multiple casts of Temper. While your mages are setting that up, your White Mage should be ready with Curaga. Once buffed, your fighter will deal immense damage. Have your Black Mage continuously cast Firaga to speed up the process.