Chapter 8 Walkthrough
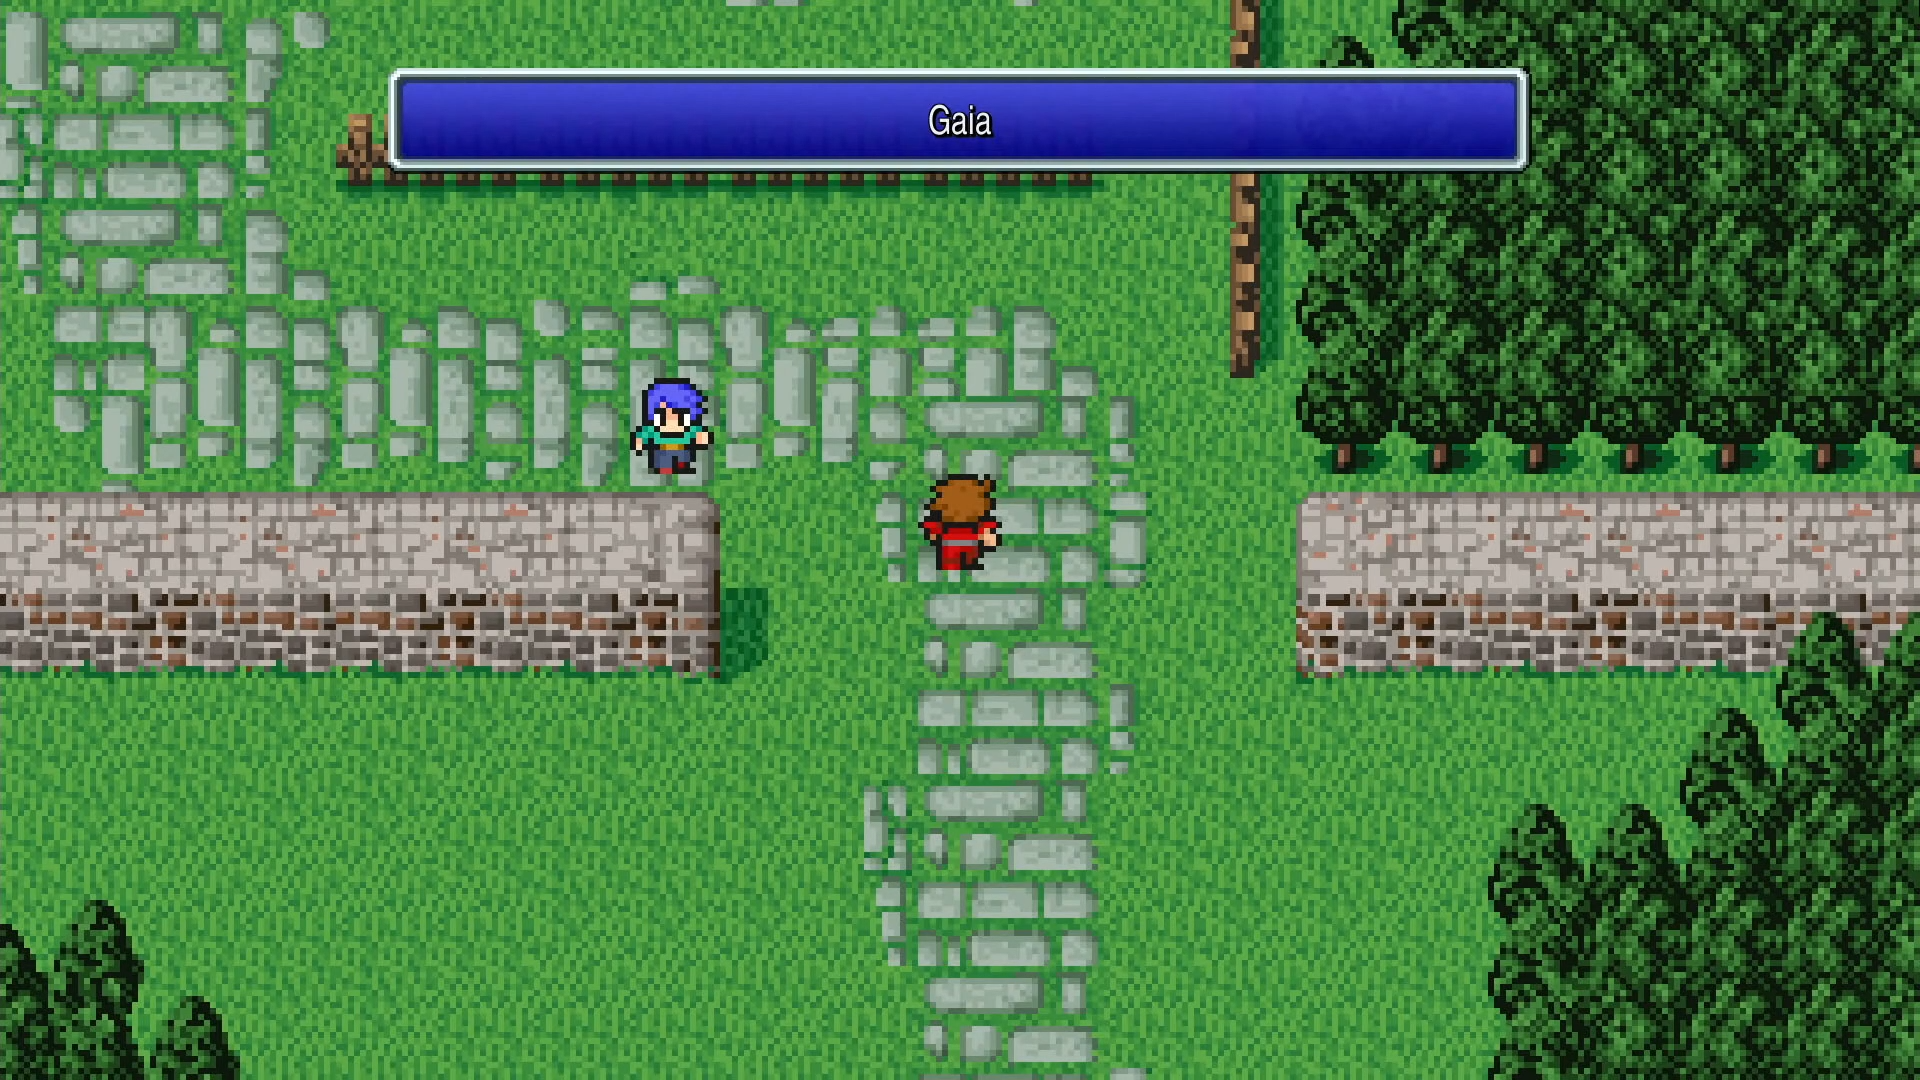
With your party’s classes promoted in Chapter 7, this chapter of your Final Fantasy 1 Pixel Remaster journey focuses on gearing up and acquiring key items needed to reach the next Fiend. Your first destination is the remote town of Gaia, located in a clearing within the mountains on the northern continent.
Shopping in Gaia
Gaia is home to the most powerful spells and some of the best armor in the game. It’s a critical stop for outfitting your newly promoted Wizards.
- High-Level Magic: Gaia sells Level 7 and 8 spells. These can only be learned by White and Black Wizards.
- White Wizard: Curaja is a massive healing upgrade, and Holy is the ultimate Dia-type damage spell.
- Black Wizard: Blizzaga is a powerful ice spell. High-end spells like Stop and Kill are also available.
- Powerful Armor:
- Ruby Armlet (40,000 Gil): An exceptional piece of armor that offers a huge defense boost for any character.
- Protect Ring (16,000 Gil): Offers good defense and, crucially, protects the wearer from instant-death attacks.
The equipment and spells in Gaia are incredibly expensive. The next key item also costs a fortune. If you’re short on Gil, the area around the Citadel of Trials is an excellent place to grind, as the enemies there provide high rewards.
The Bottled Faerie and the Oxyale
To reach the Sunken Shrine, you need a way to breathe underwater. The path to this ability begins with a very expensive purchase.
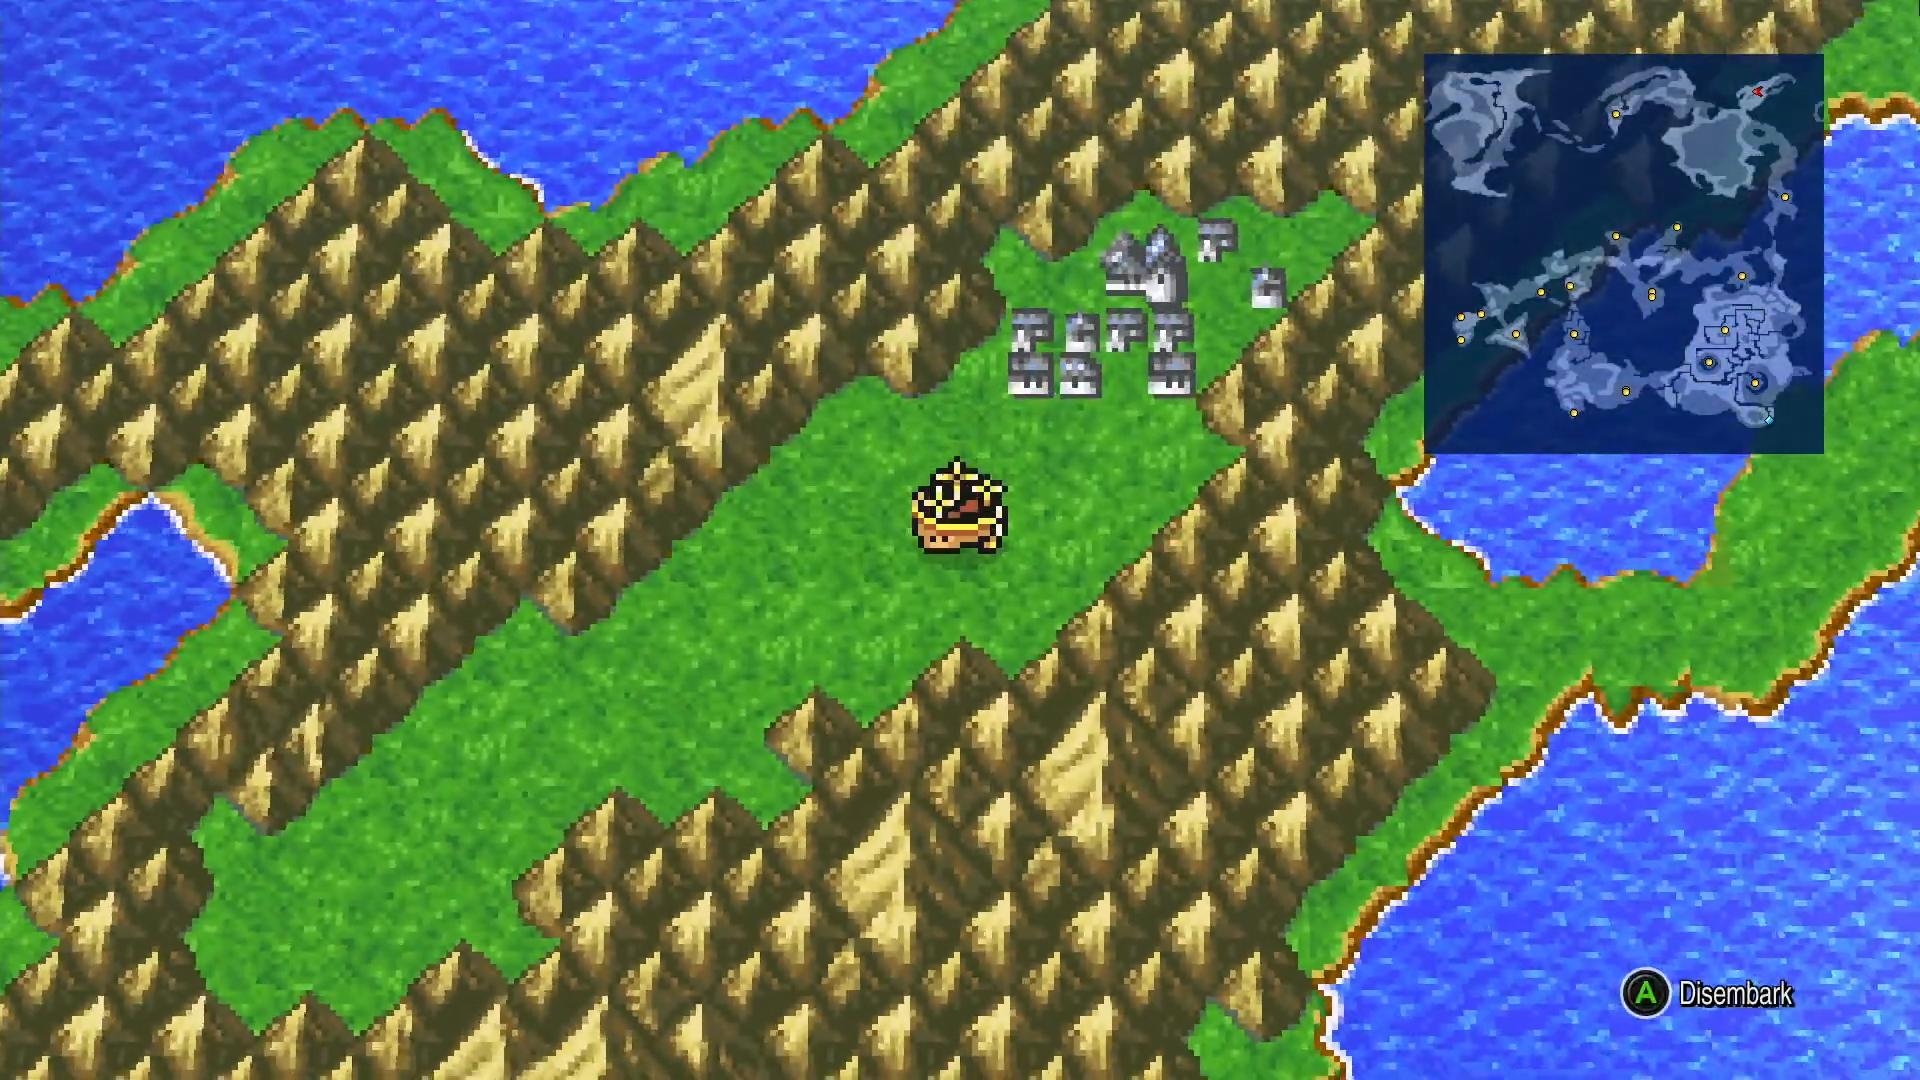
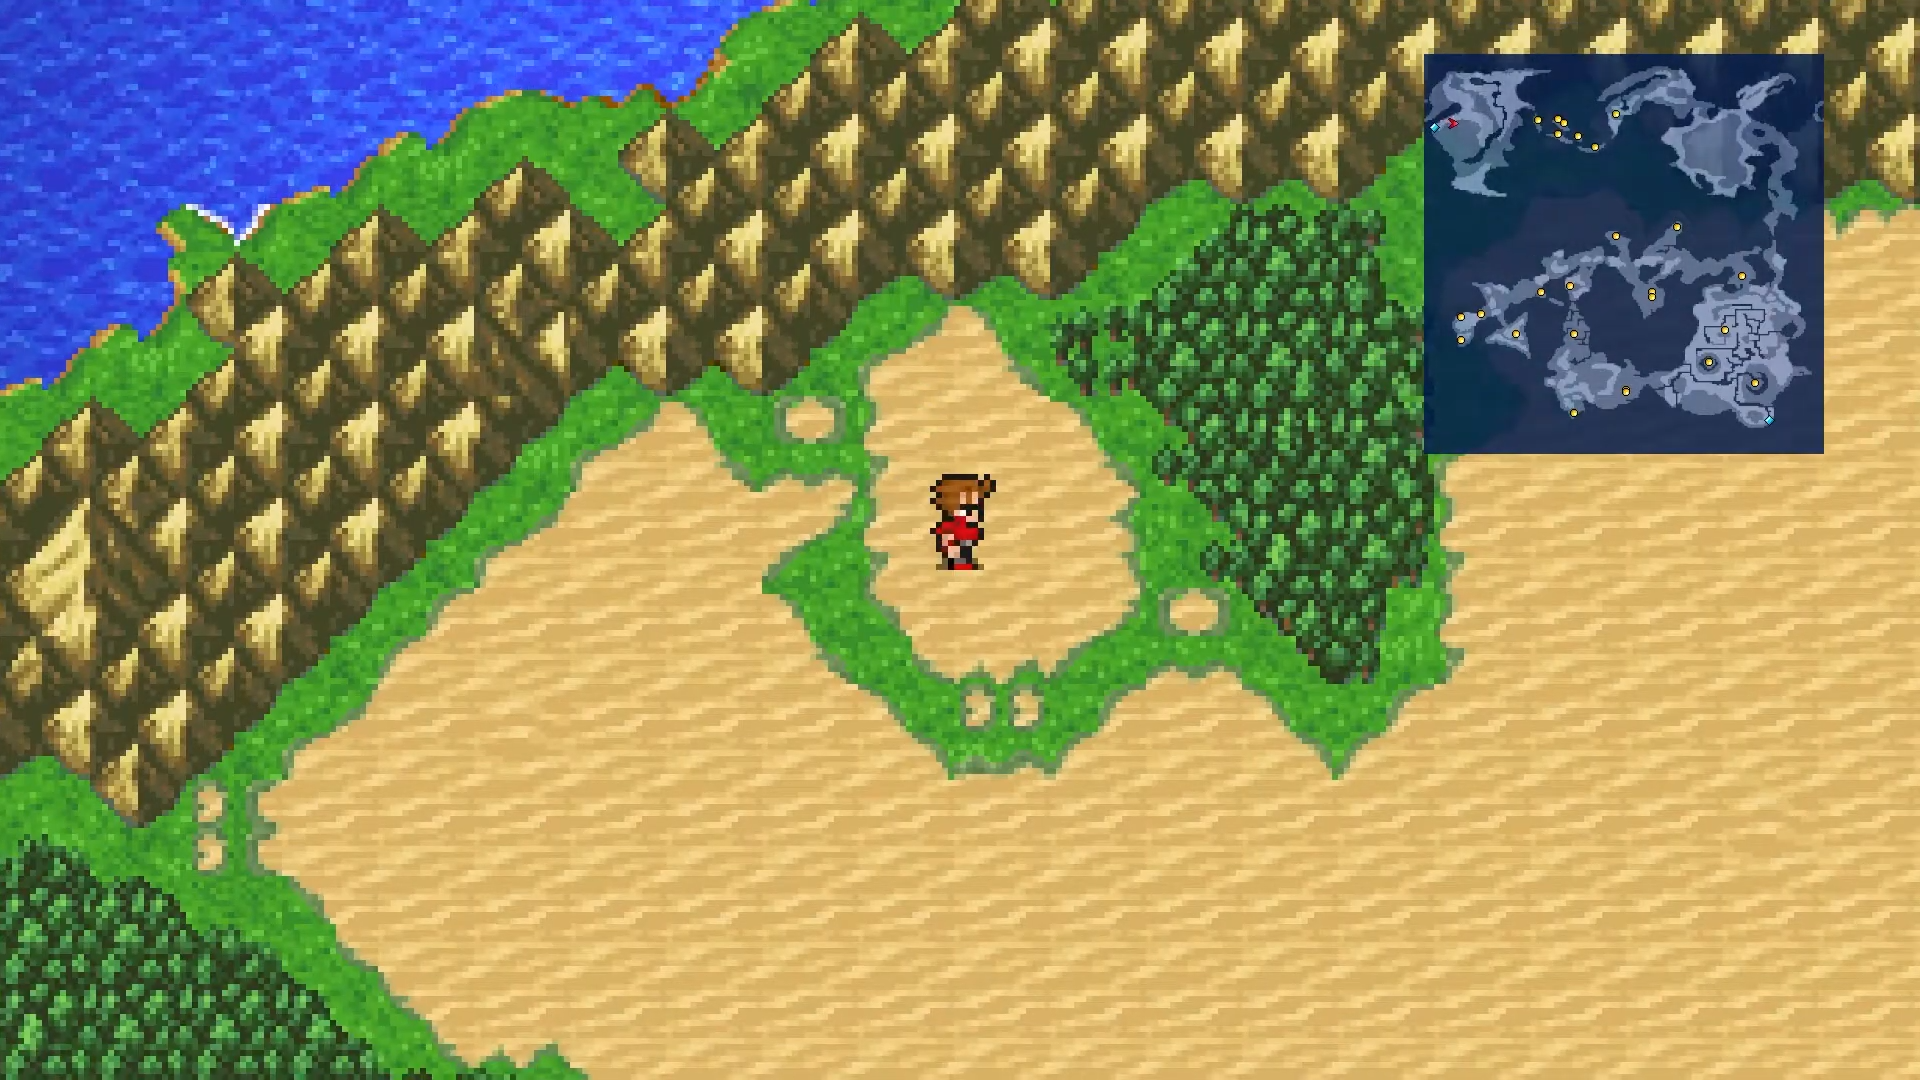
- Visit the Desert Caravan: Fly your airship west of Gaia to the continent where the Citadel of Trials is located. Land near the small patch of desert and enter the Caravan.
- Purchase the Bottled Faerie: The merchant here sells a single, unique item: a Bottled Faerie for a staggering 40,000 Gil. Purchase it.
- Return to Gaia: Fly back to Gaia. As soon as you enter the town, the faerie will escape from its bottle and fly to the spring in the northeast corner.
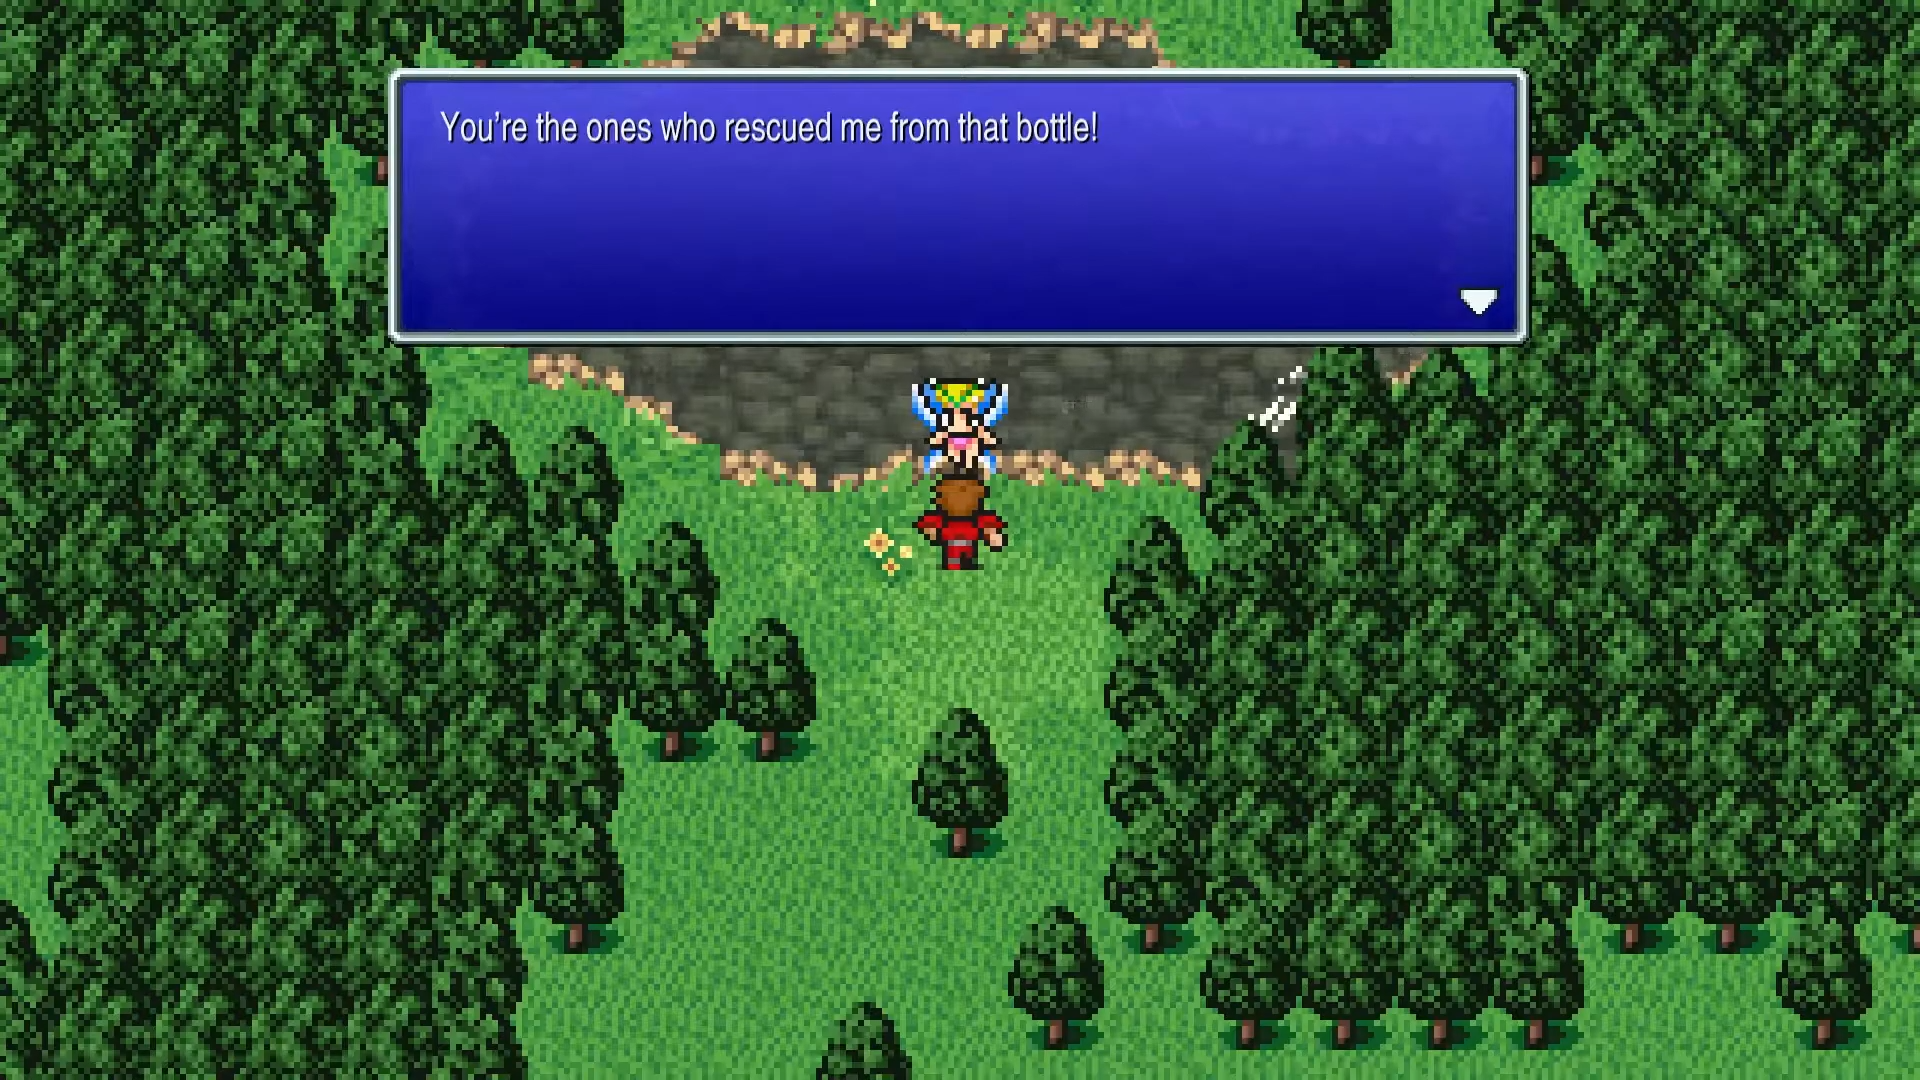
Follow the faerie to the spring and speak with her. In thanks for freeing her, she will give you Oxyale, a magical liquid that will allow your party to breathe underwater indefinitely.
The Waterfall Cavern & the Warp Cube
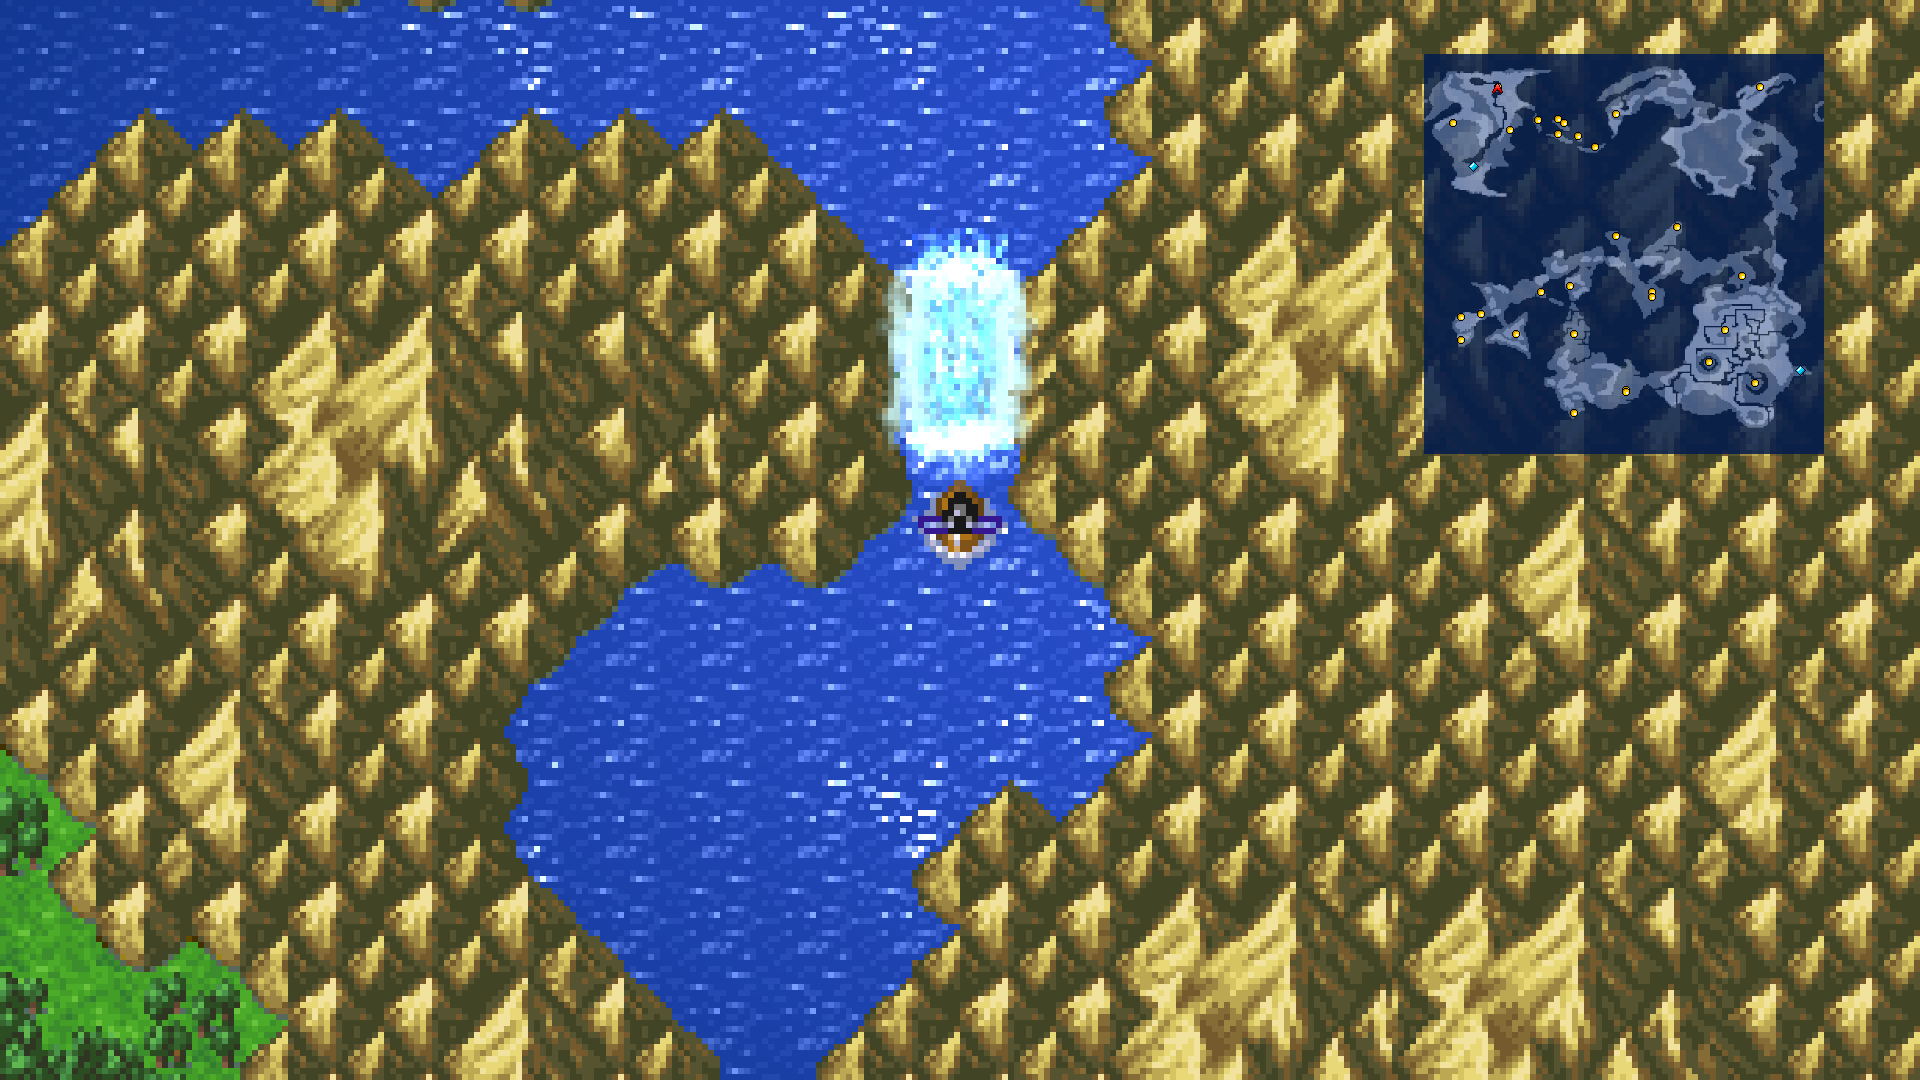
Before heading to the Sunken Shrine, there’s an important side trip to make. Fly to Onrac, the port town on the western continent. From Onrac, use your Canoe from Crescent Lake to travel up the river to the northwest until you reach a waterfall. The Waterfall Cavern entrance is located within this waterfall.
This cavern contains valuable treasures and a crucial item you’ll need later in your quest. The enemies here are a mix of undead and magical creatures, so come prepared with Fire and Dia spells.
Exploring the Cavern
The Waterfall Cavern is a single-floor dungeon with one main room. Navigate to the southwest corner where you’ll find a large chamber guarded by various enemies including Mummies, Cockatrices, a King Mummy, and Pyrolisks.
After defeating the guardian monsters, collect the treasures from the six chests:
- Wizard’s Staff - Can be used as an item to cast Confuse
- Ribbon - Essential protection against all status ailments
- Defender - A powerful sword
- Significant amounts of Gil (13,450 + 6,400 + 5,000)
The Robot and the Warp Cube

After claiming all the treasure, speak with the Robot you’ll find in the room. This mysterious mechanical being will present you with the Warp Cube, a key item that will be essential for your future journey to the Flying Fortress.
The Warp Cube is absolutely crucial for progressing through the game’s final dungeons. Without it, you cannot access the Flying Fortress from the Mirage Tower. Make sure to obtain it before proceeding to the Sunken Shrine.
Preparing for the Sunken Shrine
With the Oxyale and Warp Cube in hand, you are now fully prepared to journey to the Sunken Shrine and confront the Fiend of Water. The Oxyale will allow you to breathe underwater, while the Warp Cube will be needed much later when you reach the wind crystal.
Return to Onrac when you’re ready to begin your underwater adventure.
Shops
Weapons - Gaia
| Weapon | Price | Attack | Classes |
|---|---|---|---|
| Cat Claws | 52000 Gil | 22 | KnightNinjaRed WizardBlack Wizard |
Armour - Gaia
| Armour | Price | Defense | Classes |
|---|---|---|---|
| Ruby Armlet | 40000 Gil | 24 | All Classes |
| Protect Ring | 16000 Gil | 8 | All Classes |
Black Magic - Gaia
| Spell | Price | Level | Classes |
|---|---|---|---|
| Blizzaga | 30000 Gil | 7 | Black MageBlack WizardRed Wizard |
| Break | 30000 Gil | 7 | Black Wizard |
| Stop | 40000 Gil | 8 | Black Wizard |
| Warp | 40000 Gil | 8 | Black Wizard |
| Kill | 40000 Gil | 8 | Black Wizard |
White Magic - Gaia
| Spell | Price | Level | Classes |
|---|---|---|---|
| Curaja | 30000 Gil | 7 | White Wizard |
| Diaja | 30000 Gil | 7 | White Wizard |
| Holy | 40000 Gil | 8 | White Wizard |
| NulAll | 40000 Gil | 8 | White Wizard |
| Dispel | 40000 Gil | 8 | White Wizard |
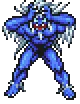
Enemies
| Enemy | HP | Attack | Defense | Weaknesses | Rewards | Location | # |
|---|---|---|---|---|---|---|---|
 Sahagin Prince Sahagin Prince | 204 | 47 | 20 | Lightning | 882 EXP 882 Gil | Sunken Shrine | 093 |
 White Shark White Shark | 344 | 50 | 8 | Lightning | 2,361 EXP 600 Gil Wyrmkiller (5%) | Sunken Shrine | 094 |
 Deepeyes Deepeyes | 304 | 30 | 16 | Lightning | 3,591 EXP 3,591 Gil | Sunken Shrine | 095 |
 Sea Snake Sea Snake | 224 | 35 | 12 | Lightning | 957 EXP 600 Gil | Sunken Shrine | 096 |
 Sea Scorpion Sea Scorpion | 148 | 35 | 18 | Lightning | 639 EXP 300 Gil | Sunken Shrine | 097 |
 Sea Troll Sea Troll | 216 | 40 | 20 | Lightning | 852 EXP 852 Gil | Sunken Shrine | 098 |
 Ghost Ghost | 180 | 93 | 30 | Fire Dia | 990 EXP 990 Gil | Sunken Shrine | 099 |
 Water Elemental Water Elemental | 300 | 69 | 20 | Ice | 1,962 EXP 800 Gil | Sunken Shrine | 100 |
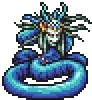 Water Naga Water Naga | 356 | 9 | 8 | Lightning | 2,355 EXP 2,355 Gil | Sunken Shrine | 101 |
 Kraken Kraken | 1800 | 60 | 60 | Lightning | 4,245 EXP 5,000 Gil | Sunken Shrine | 102 |
Treasure
No treasures listed for this part of the walkthrough.