Chapter 3 Walkthrough

With the ship from Chapter 2, your Final Fantasy 1 Pixel Remaster quest continues to the continent to the west. Sail south from the Pravoka area, following the coastline of the main continent until you find a port to dock. From there, a short walk will lead you to the town of Elfheim and the adjacent Elven Castle.
Exploring Elfheim
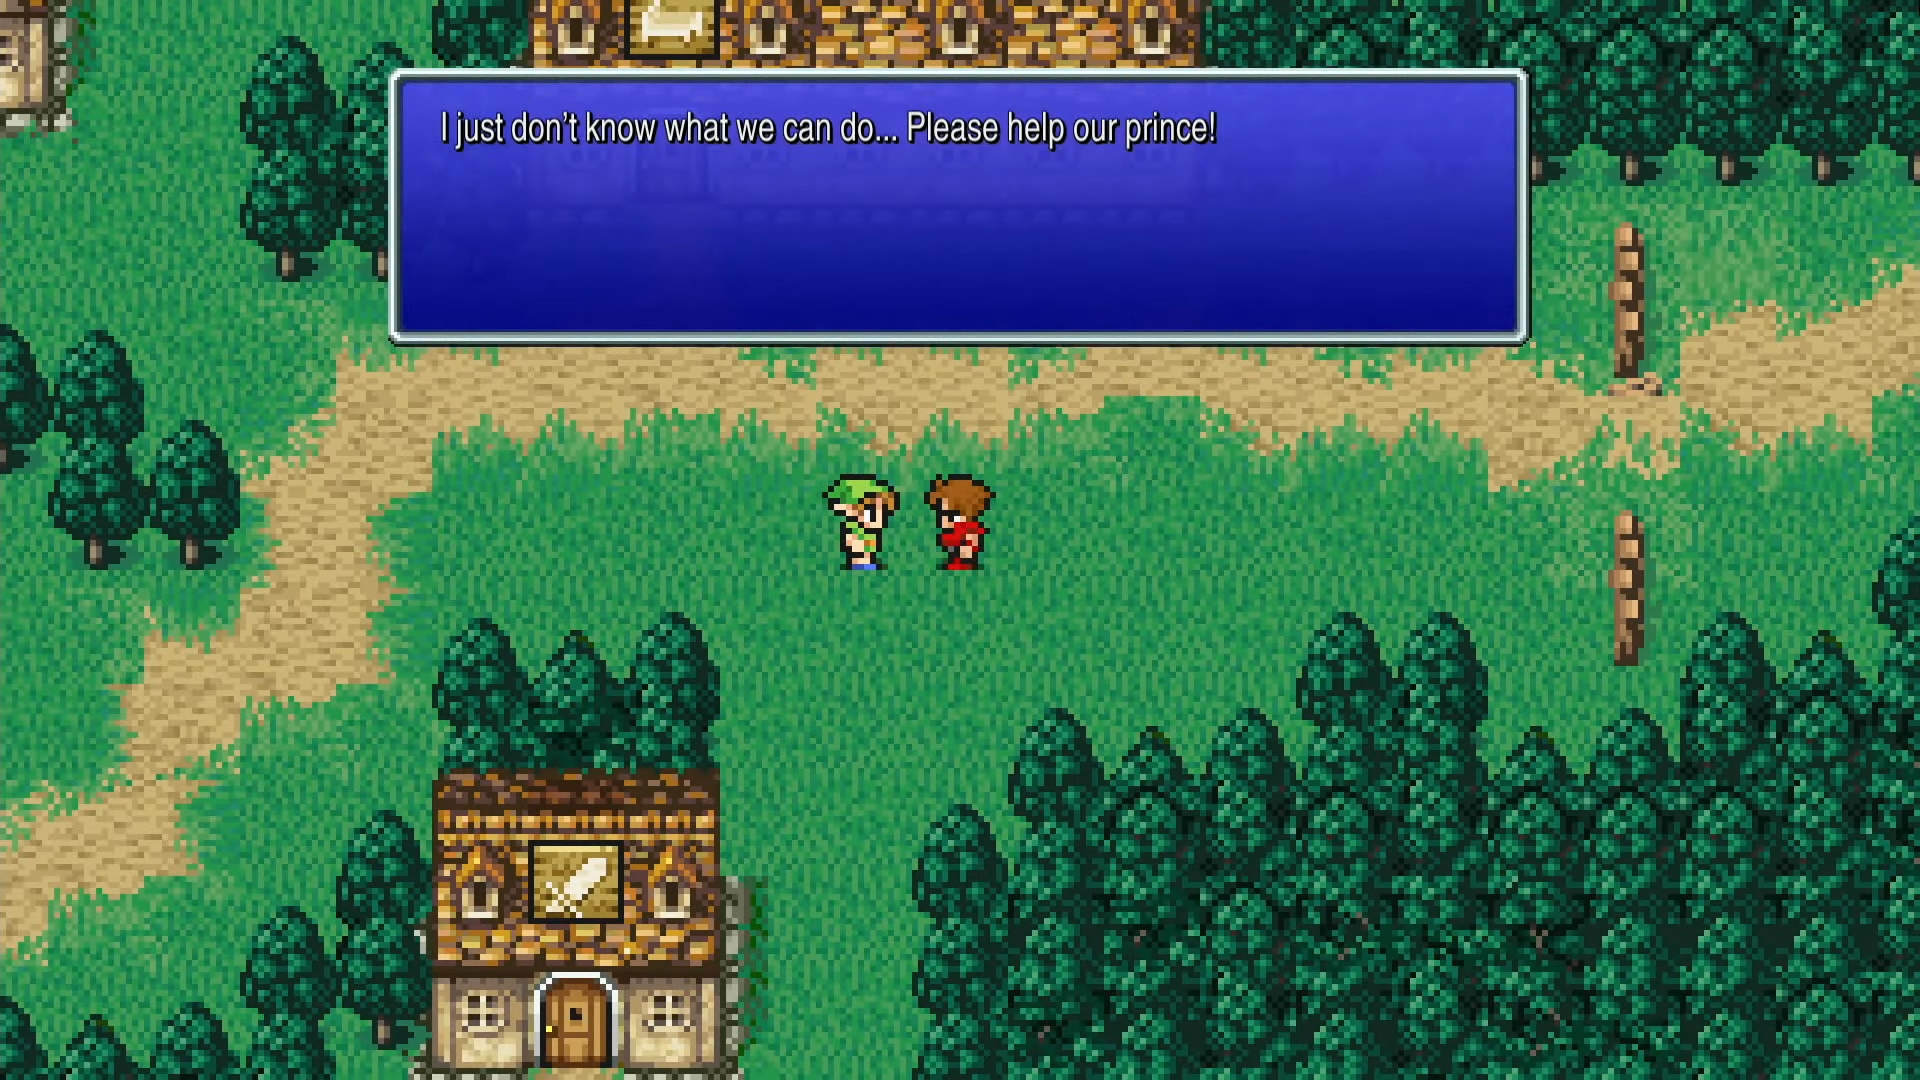
Upon entering Elfheim, you’ll learn that the Elf Prince has been cast into a deep sleep by the dark elf Astos, and no one knows how to wake him. This curse becomes your central mission for this chapter. First, visit the shops to power up your party.
Purchase Powerful New Magic
Elfheim is a critical stop for your mages, offering Level 3 and 4 spells that will dramatically increase your party’s effectiveness.
- Level 3 Spells (1,000 Gil each):
- Fira & Thundara: Essential upgrades for your Black/Red Mages. These powerful area-of-effect spells will be your primary tools for clearing groups of enemies.
- Cura: A vital upgrade for your White/Red Mage’s healing capabilities.
- Level 4 Spells (2,500 Gil each):
- Haste: The single most powerful buff in the game. It doubles a character’s number of hits in an attack. Buy this for your Black/Red Mage immediately.
- Blizzara: A strong multi-target ice spell.
- Poisona: Cures poison, which is extremely useful for the upcoming dungeon.
Your first purchase should be Haste. It will fundamentally change your approach to boss battles. After that, buy Fira and Cura. If you have the Gil, Blizzara and Poisona are excellent additions. Don’t worry about buying every spell now; you can return later.
Visit the Elven Castle
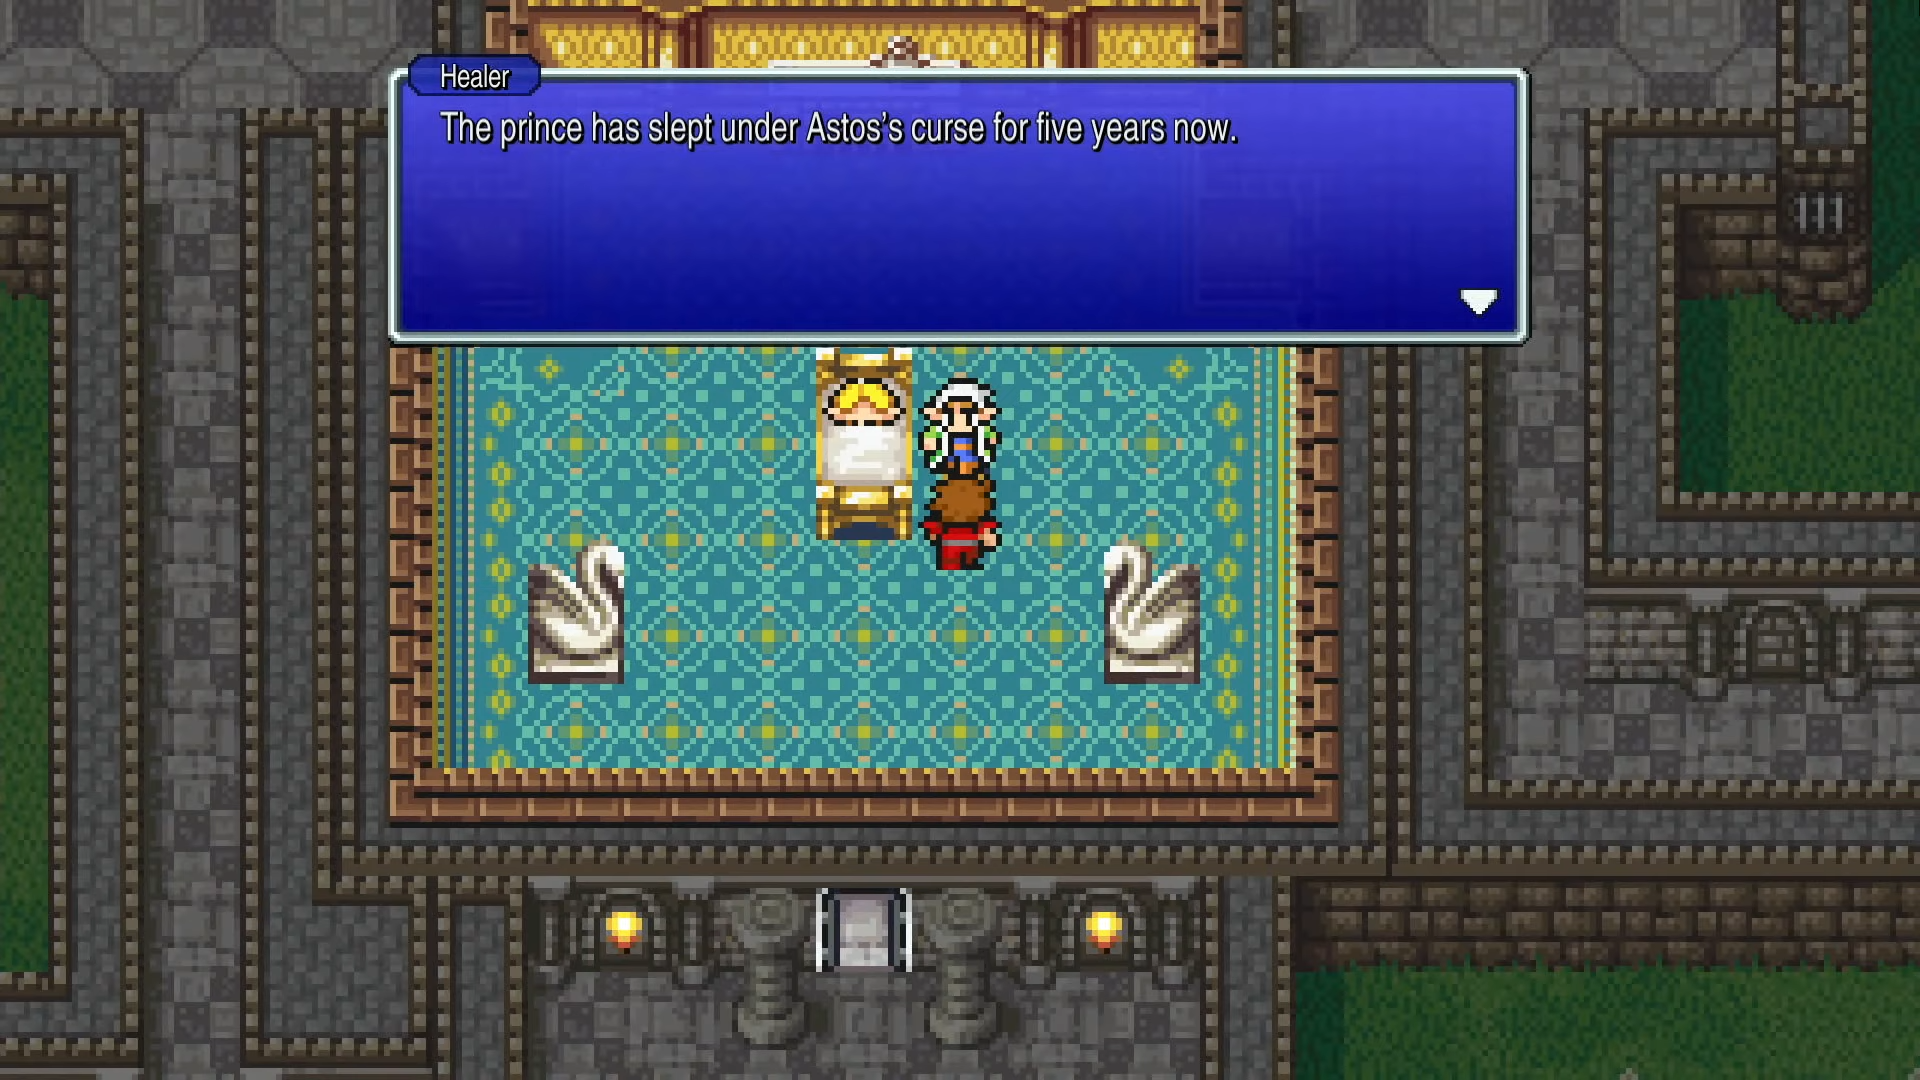
Enter the castle and speak with the elves. You’ll find the Prince in his chambers, unresponsive. His healer explains that only the witch Matoya might know a cure, but she won’t help without her Crystal Eye. This is the clue you received in Matoya’s Cave back in Chapter 2. Before you can deal with that, however, the townsfolk suggest another lead: finding the lost Crown, rumored to be in the nearby Marsh Cave.
The Western Keep & the Marsh Cave
Getting the Quest
From Elfheim, travel west through the forests and then head north as the path opens up. You’ll find the Western Keep. Inside, a king asks for your help. He tells you his kingdom has fallen into ruin and he needs you to retrieve his lost Crown from the Marsh Cave to the south.
Preparing for the Marsh Cave
This is the most dangerous dungeon you’ve faced yet.
- Return to Elfheim to rest at the Inn (100 Gil).
- Stock up on Antidotes (50 Gil each). The cave is filled with enemies that inflict poison. Buy at least 10-15. If you bought Poisona, you’ll be in even better shape.
- Bring a Tent or Cottage to heal outside the dungeon.
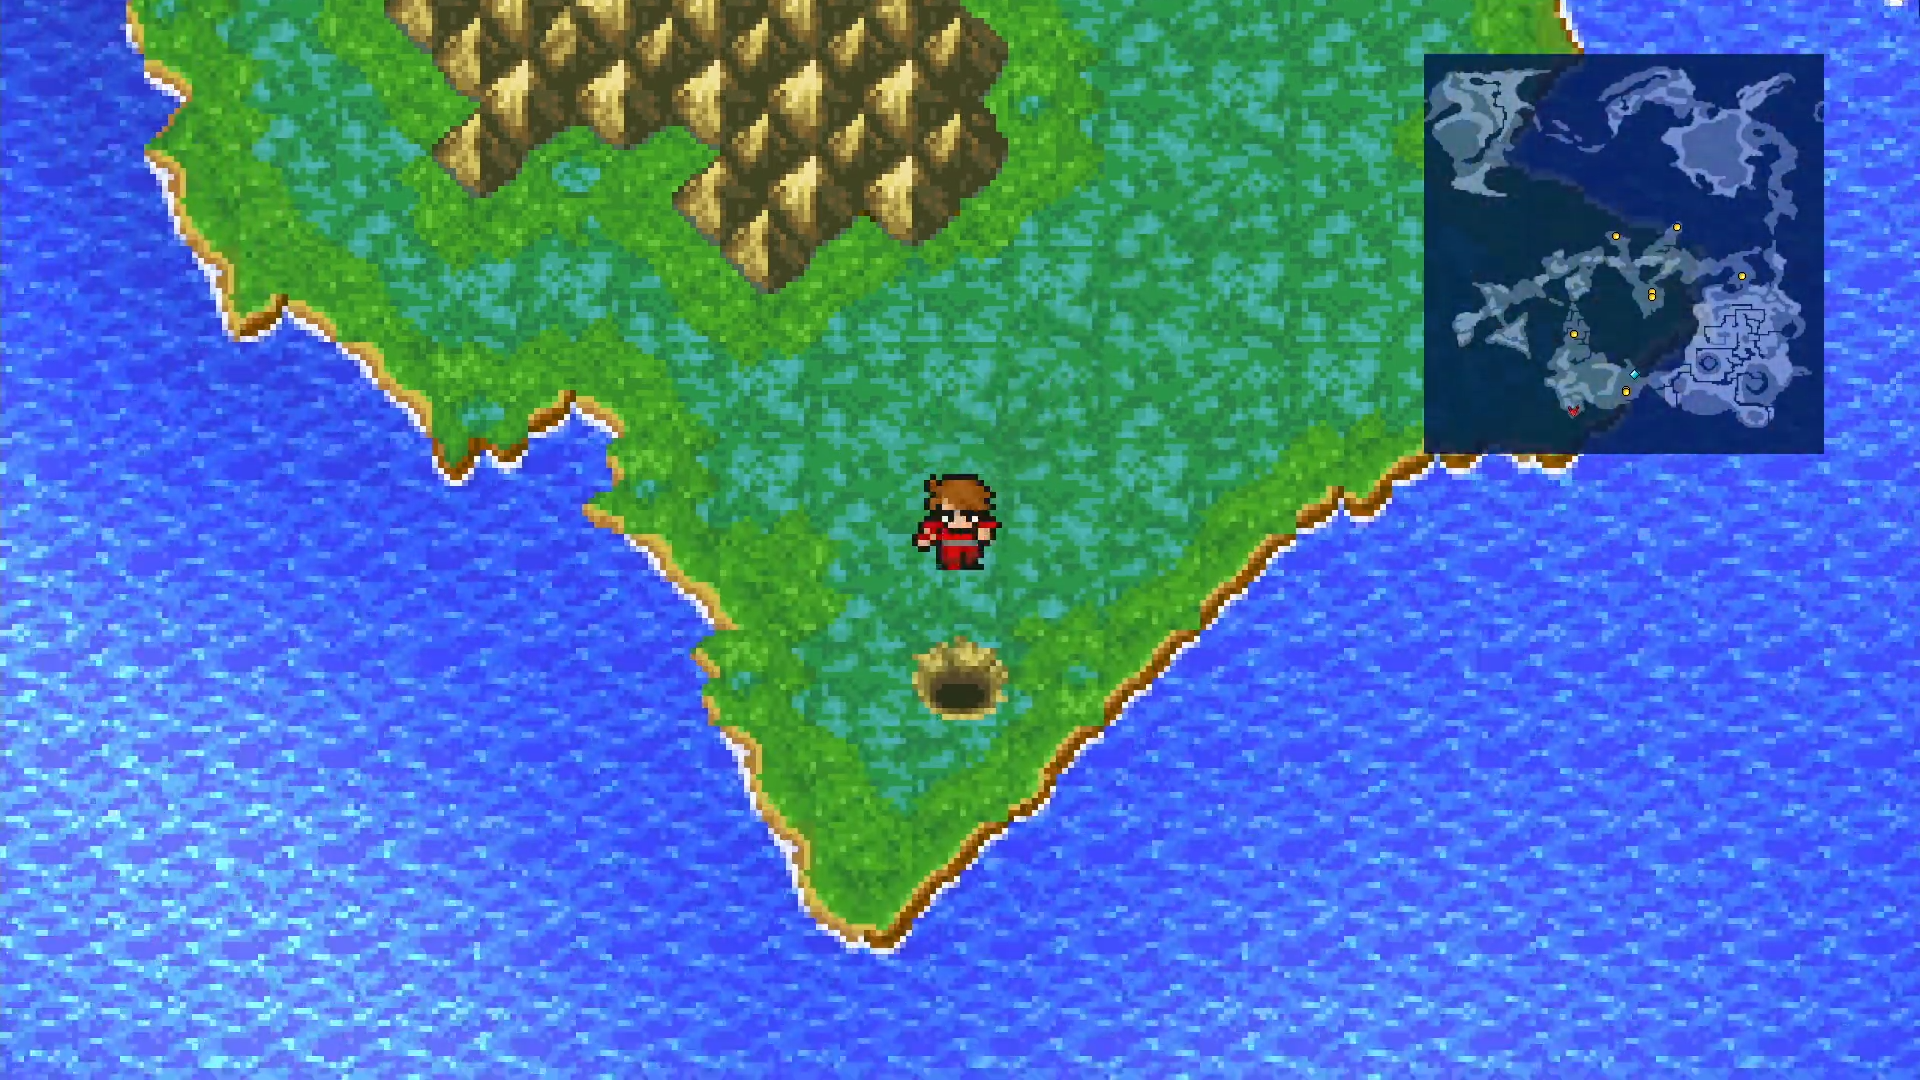
The Marsh Cave is located south of the Western Keep, at the southern tip of the landmass. The dungeon has three floors and is teeming with dangerous monsters like Scorpions, Crawlers, and Green Slimes. Use multi-target spells like Fira and Blizzara to clear rooms efficiently.
The path to the Crown is on the lowest floor (B3). The floor is a grid of locked and unlocked treasure rooms. Explore the accessible rooms to find valuable loot before heading for the main objective. The Crown is located in a guarded room near the center of the floor.

Piscodemons
This room contains a fixed encounter with a group of Piscodemons. They are tough physical attackers that resist Fire and Ice. Their primary weakness is Lightning, making Thundara extremely effective. Alternatively, use Haste on your main fighter and focus them down one by one while keeping your health up with Cura.
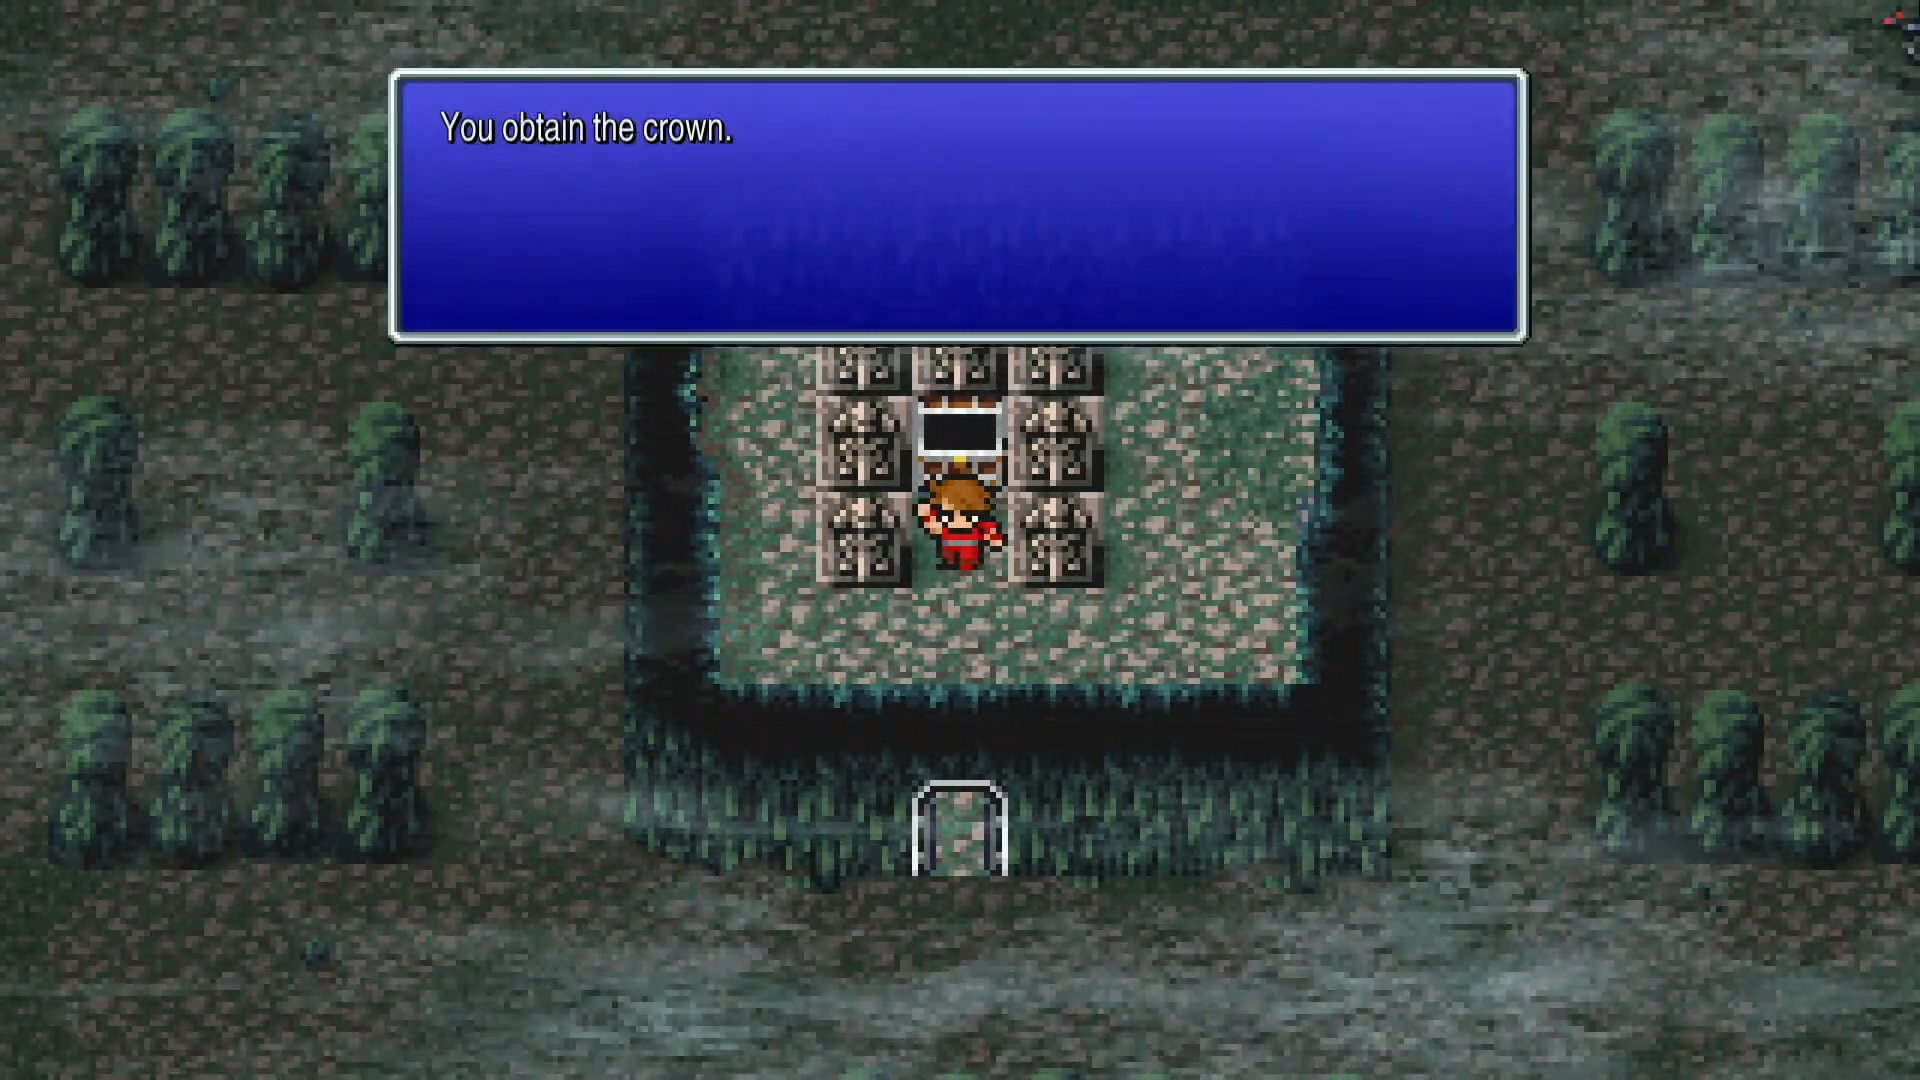
After the battle, you claim your prize: the Crown. With this key item secured, it’s time to leave the Marsh Cave.
The Twist at the Keep
Heal your party with a Tent or return to Elfheim’s Inn. Once you’re prepared, go back to the Western Keep and present the Crown to the king.
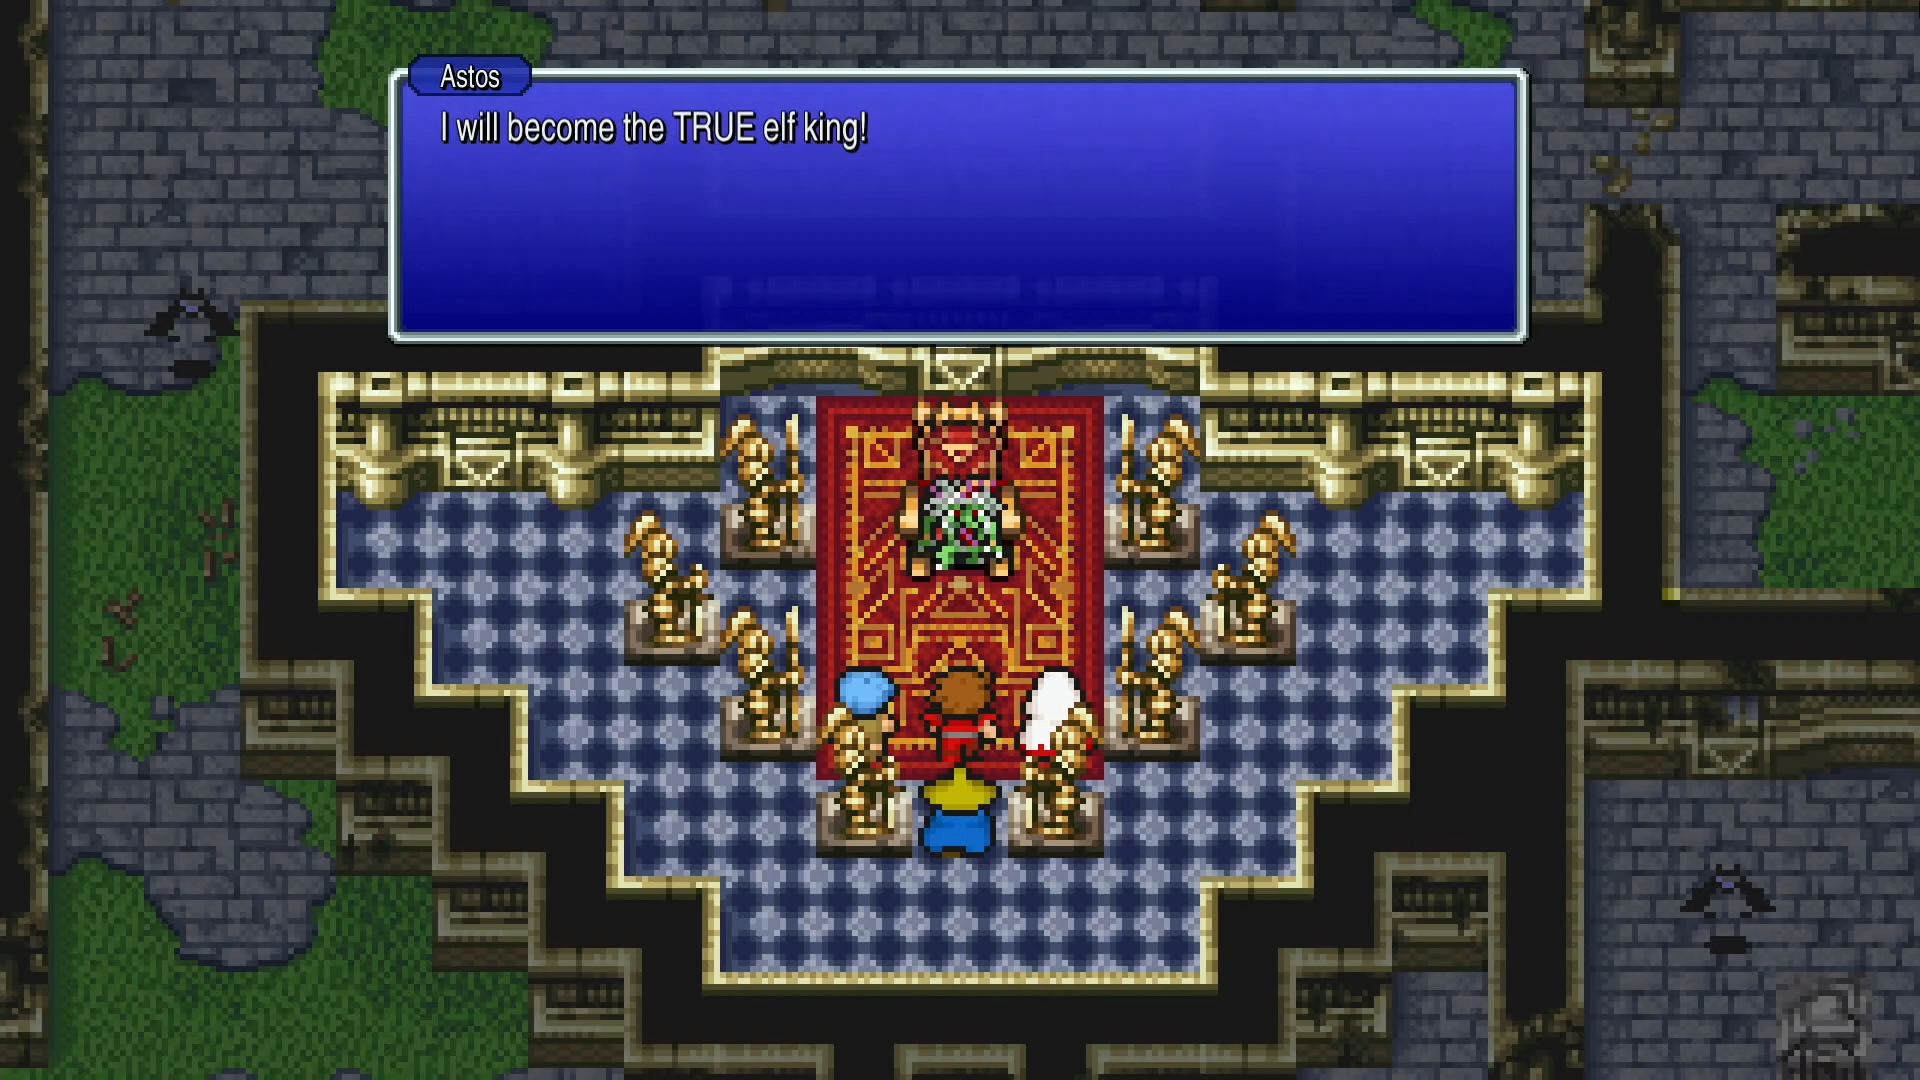
The “king” will reveal his true form: Astos, King of the Dark Elves! He paralyzes your party and attacks.

Astos
Astos is a powerful spellcaster. He can cast high-level magic like Fira, Thundara, and the instant-death spell Death. Your strategy is to defeat him as quickly as possible. On turn one, have your Black/Red Mage cast Haste on your strongest physical attacker (Warrior or Monk). Have your other mages cast Temper on the same character. From turn two onward, unleash a flurry of buffed attacks while your White Mage focuses on healing with Cura.
The Path to the Cure
Upon his defeat, Astos drops the Crystal Eye. Your path is now clear:
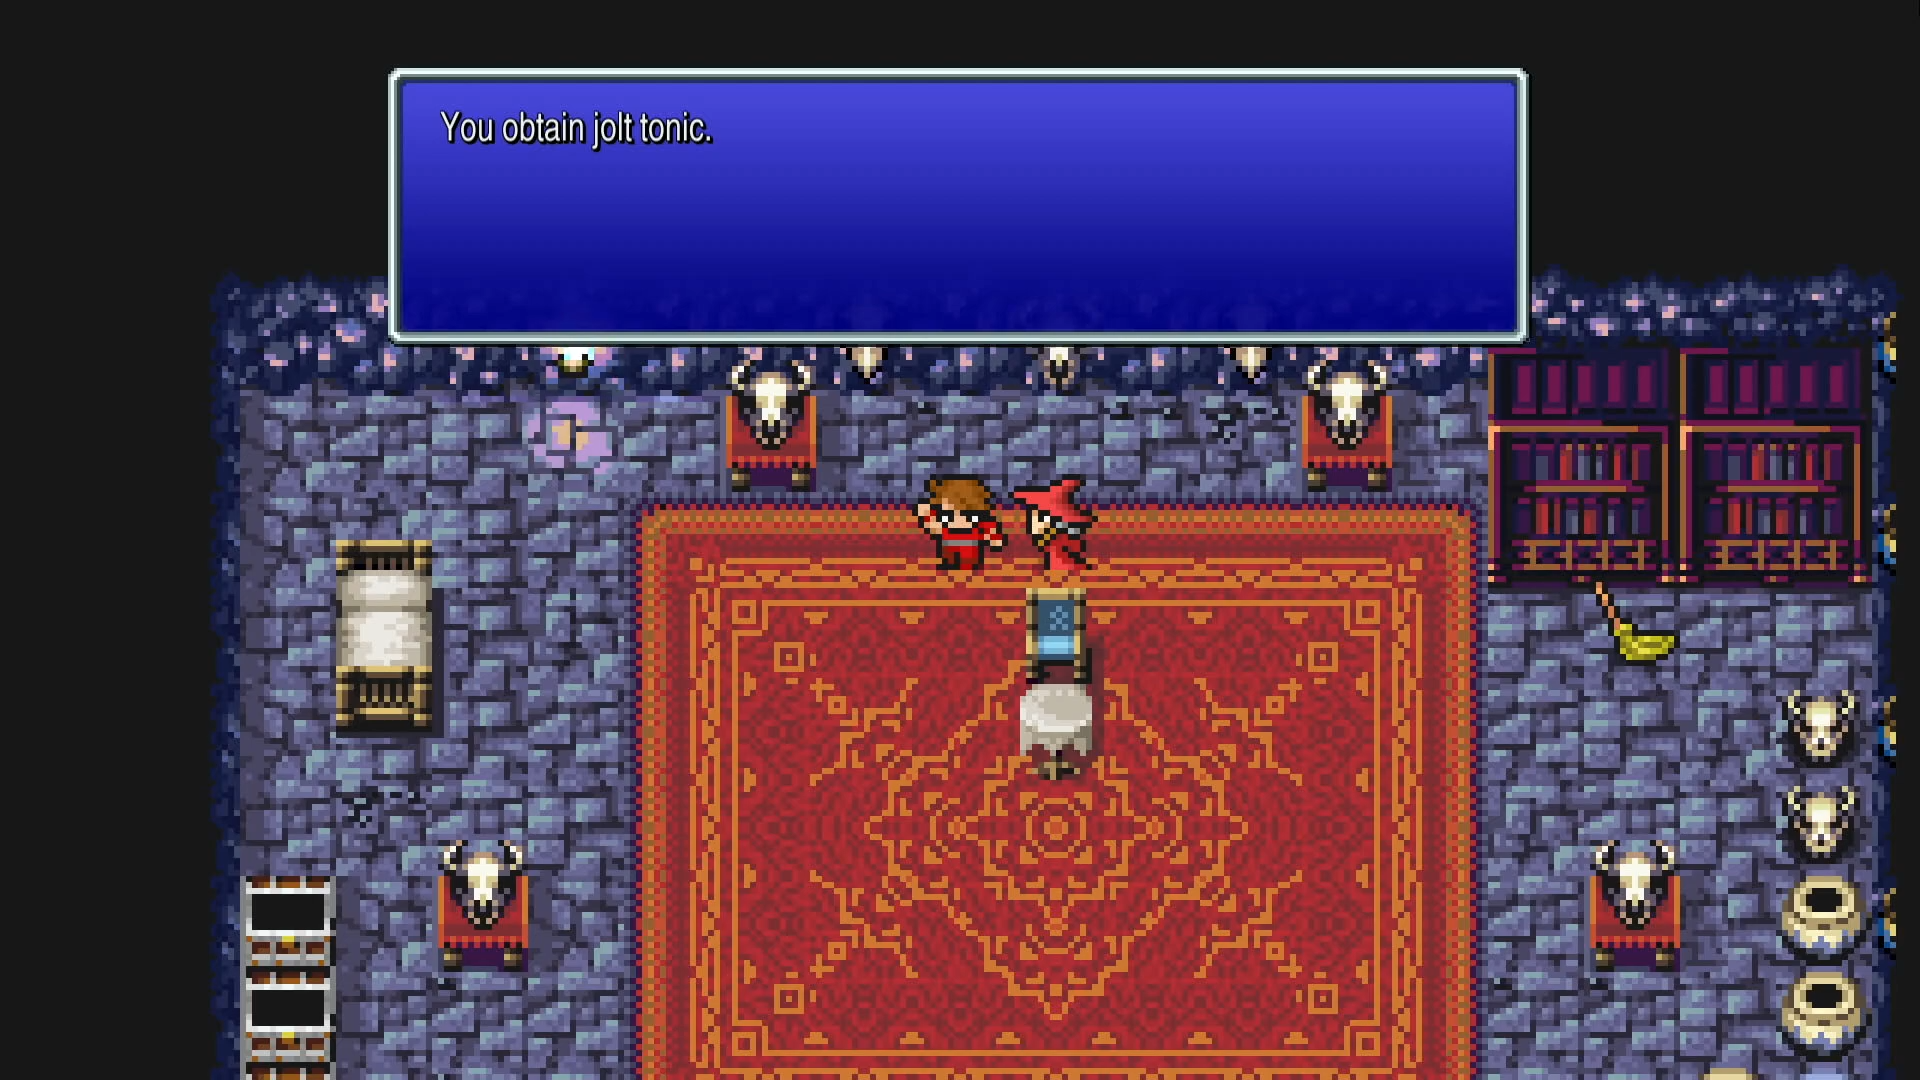
- Sail back to Matoya’s Cave (from Chapter 2). Give her the Crystal Eye, and in return, she will give you the Jolt Tonic.
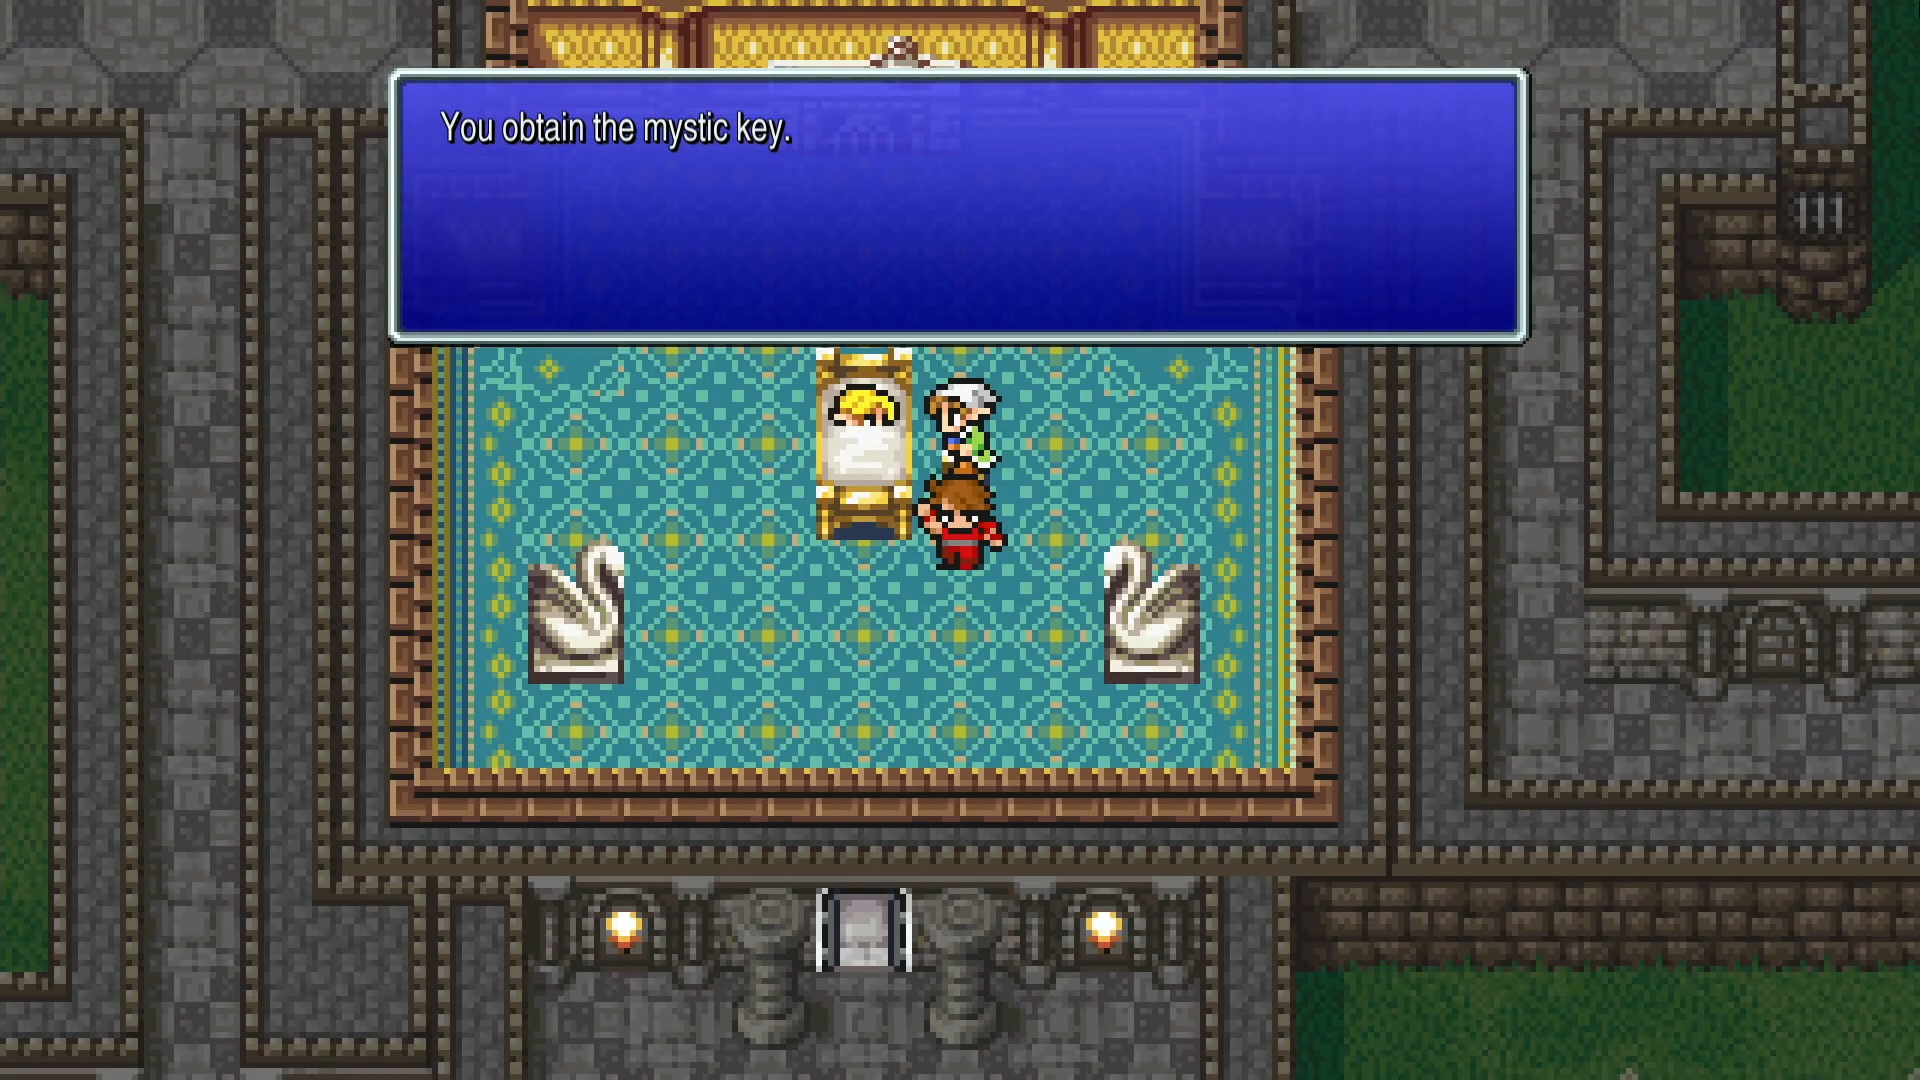
- Return to Elven Castle. Give the Jolt Tonic to the Prince’s attendant.
- The Prince will awaken and reward you with the Mystic Key!
Prepare for Chapter 4
The Mystic Key is your ticket to a wealth of powerful treasures. It can open all the locked doors you’ve seen in Cornelia Castle, the Chaos Shrine, the Marsh Cave, and more. Our Chapter 4 guide covers this world-spanning treasure hunt to collect these powerful artifacts before you proceed to the next crystal. Rest up, save your game, and get ready to unlock some secrets.
Shops
Weapons - Elfheim
| Weapon | Price | Attack | Classes |
|---|---|---|---|
| Iron Nunchaku | 160 Gil | 16 | Monk |
| Dagger | 140 Gil | 7 | WarriorThiefRed MageBlack Mage |
| Crosier | 160 Gil | 14 | WarriorMonk |
| Saber | 360 Gil | 13 | WarriorThiefRed Mage |
Armour - Elfheim
| Armour | Price | Defense | Classes |
|---|---|---|---|
| Iron Armor | 640 Gil | 24 | Warrior |
| Copper Armlet | 800 Gil | 4 | All Classes |
| Iron Shield | 80 Gil | 4 | Warrior |
| Leather Cap | 65 Gil | 1 | All Classes |
| Helm | 80 Gil | 3 | Warrior |
Black Magic - Elfheim
| Spell | Price | Level | Classes |
|---|---|---|---|
| Fira | 1000 Gil | 3 | Black MageRed Mage |
| Hold | 1000 Gil | 3 | Black MageRed Mage |
| Thundara | 1000 Gil | 3 | Black MageRed Mage |
| Focara | 1000 Gil | 3 | Black MageRed Mage |
| Sleepra | 2500 Gil | 4 | Black MageRed Mage |
| Haste | 2500 Gil | 4 | Black MageRed Mage |
| Confuse | 2500 Gil | 4 | Black MageRed Mage |
| Blizzara | 2500 Gil | 4 | Black MageRed Mage |
White Magic - Elfheim
| Spell | Price | Level | Classes |
|---|---|---|---|
| Cura | 1000 Gil | 3 | White MageRed Mage |
| Diara | 1000 Gil | 3 | White Mage |
| NulBlaze | 1000 Gil | 3 | White MageRed Mage |
| Heal | 1000 Gil | 3 | White Mage |
| Esuna | 2500 Gil | 4 | White MageRed Mage |
| Fear | 2500 Gil | 4 | White Mage |
| NulFrost | 2500 Gil | 4 | White MageRed Mage |
| Vox | 2500 Gil | 4 | White Mage |
Enemies
| Enemy | HP | Attack | Defense | Weaknesses | Rewards | Location | # |
|---|---|---|---|---|---|---|---|
 Tarantula Tarantula | 64 | 5 | 12 | N/A | 141 EXP 50 Gil | Marsh Cave | 023 |
 Ghast Ghast | 56 | 8 | 10 | Fire Dia | 117 EXP 117 Gil | Marsh Cave | 024 |
 Scorpion Scorpion | 84 | 22 | 10 | N/A | 225 EXP 70 Gil | Marsh Cave | 025 |
 Shadow Shadow | 50 | 10 | 0 | Fire Dia | 90 EXP 45 Gil | Marsh Cave | 026 |
 Green Slime Green Slime | 24 | 1 | 255 | Fire Ice | 84 EXP 20 Gil Hi-Potion (5%) | Marsh Cave | 027 |
 Crawler Crawler | 84 | 1 | 8 | N/A | 186 EXP 200 Gil | Marsh Cave | 028 |
 Gray Ooze Gray Ooze | 76 | 30 | 7 | Lightning | 255 EXP 70 Gil | Marsh Cave | 029 |
 Gargoyle Gargoyle | 80 | 12 | 8 | N/A | 132 EXP 80 Gil | Marsh Cave | 030 |
 Bloodbones Bloodbones | 144 | 26 | 12 | Fire Dia | 378 EXP 378 Gil | Ice Cavern | 031 |
 Piscodemon Piscodemon | 84 | 30 | 16 | Lightning | 276 EXP 300 Gil | Marsh Cave | 032 |
 Astos Astos | 420 | 30 | 18 | N/A | 2,250 EXP 2,000 Gil Mythril Sword (Rare Drop) | Western Keep | 033 |
Treasure
Bosses
Piscodemons
Strategy
Piscodemons
This is a battle against a group of tough physical attackers. Their primary weakness is Lightning, so a single cast of Thundara from a Black or Red Mage can heavily damage the entire group.
Since they resist Fire and Ice, your best alternative is to buff your main fighter. Cast Haste on your Warrior or Monk and focus all physical attacks on one Piscodemon at a time to thin their numbers quickly. They hit twice per turn, so have your White Mage ready with Cura to heal anyone who takes significant damage.
Boss Stats
Rewards
Astos
Strategy
Astos
Astos is a dangerous spellcaster whose greatest threat is the instant-death spell, Death (RUB). The goal is to defeat him before he can successfully cast it. Your own offensive spells are largely ineffective due to his high Magic Defense. The key to victory is buffing a single physical attacker to immense power.
On turn one, have your mages cast Haste and Temper on your Warrior or Monk. On subsequent turns, continue stacking Temper on that same character while they attack—the effect stacks and their damage will skyrocket. Use your White Mage exclusively for healing with Cura. This fight is a pure damage race.