Chapter 13 Walkthrough
This is the final chapter of your Final Fantasy 1 Pixel Remaster journey. After defeating the four Fiends in the past, the path to the deepest chamber of the Chaos Shrine is open. Before you step through that final door, take a moment for the ultimate preparation.
Final Preparations
This is the point of no return. Use a Cottage or Tent to fully restore your party’s HP and MP. Review your equipment and spells one last time.
- Equipment: Ensure your Knight has the Excalibur from Mount Duergar and your best attacker (Ninja or Master) has the Masamune from the previous floor. Every party member should be equipped with a Ribbon from various locations including the Waterfall Cavern and Sunken Shrine.
- Key Spells: Make sure you have Haste, Temper, Curaga, Protera, Invisira, and your most powerful attack spells like Flare and Holy from Lufenia.
- Key Items: The White Robe (casts Invisira) and Giant’s Gloves (casts Saber) from the Sunken Shrine can be invaluable for conserving MP.
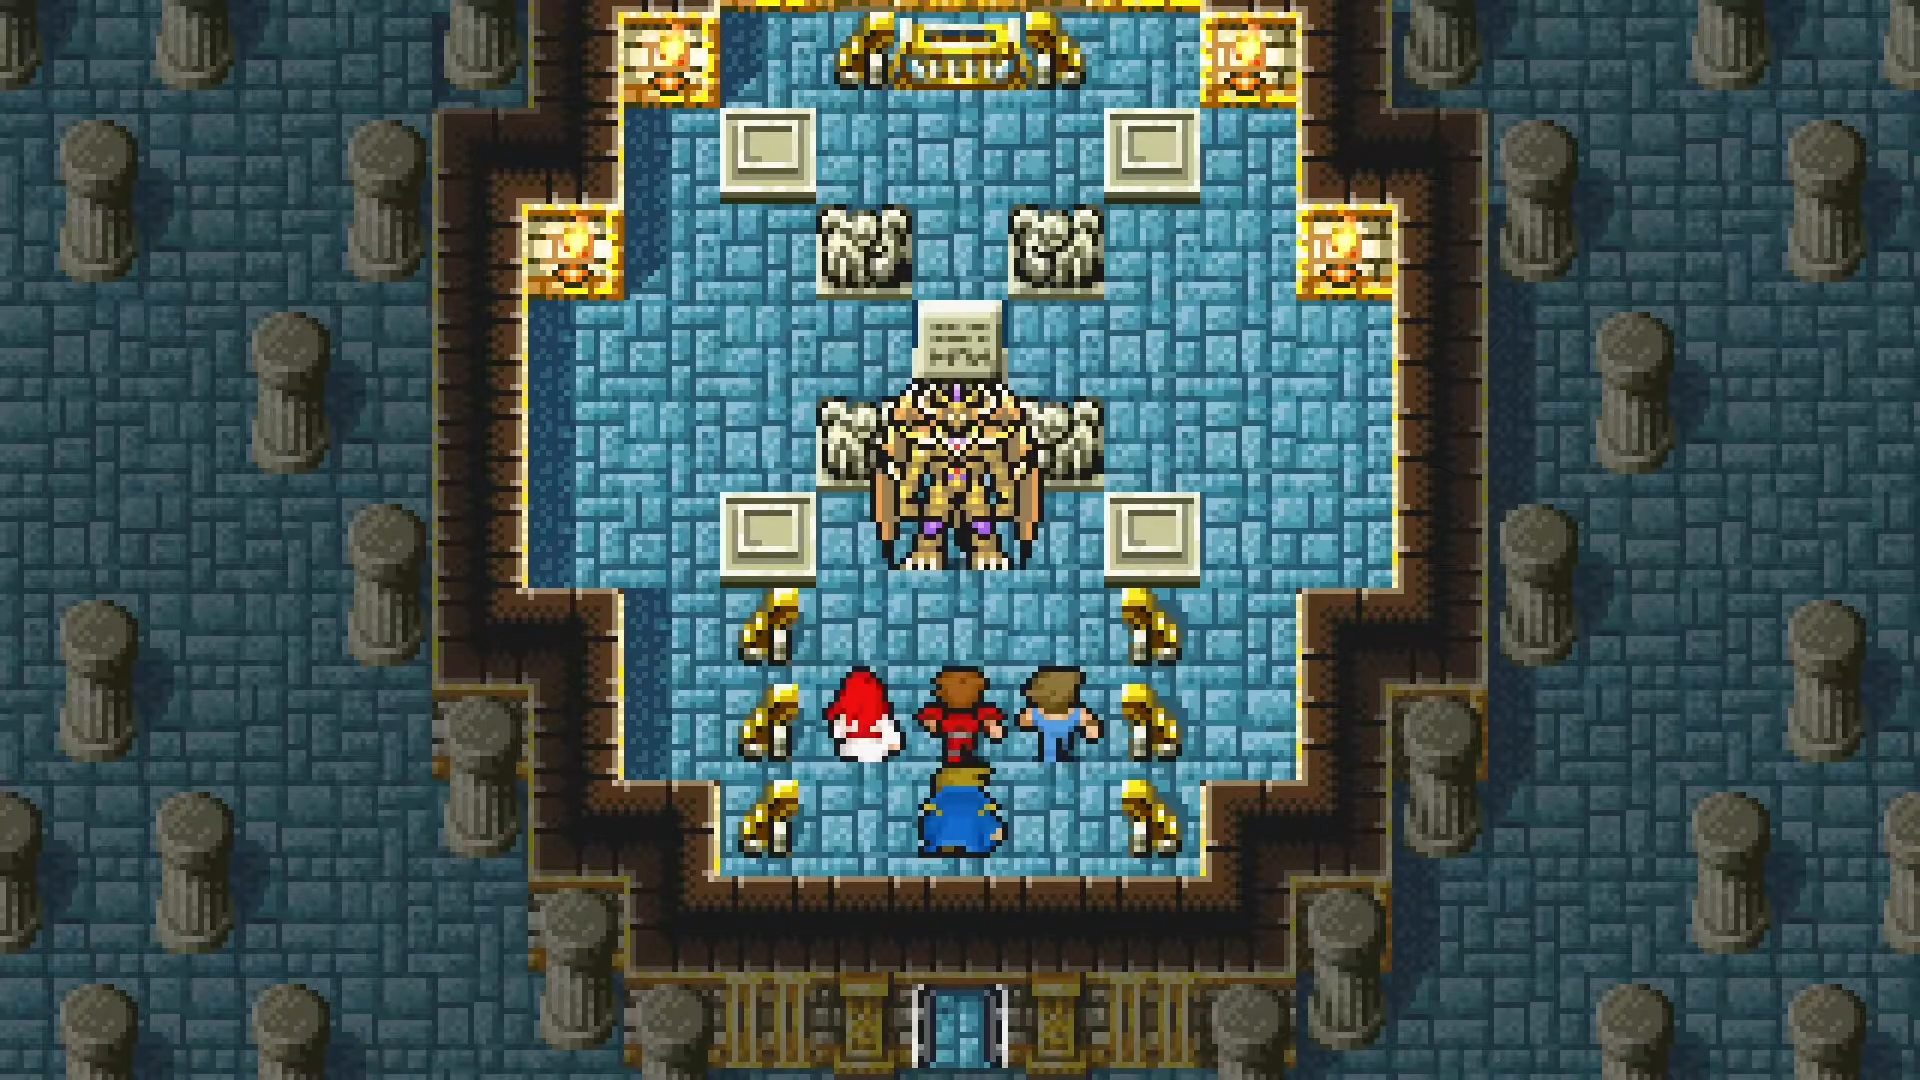
When you are ready, step forward and confront the architect of the time loop. You will discover that the ultimate evil, Chaos, is none other than Garland from your very first battle, empowered by the hatred of the four Fiends and cast 2000 years into the past.
The Final Battle: Chaos
This is the most challenging fight in the game. Chaos has an immense 20,000 HP, devastating physical attacks, and a full arsenal of the most powerful spells, including Curaja to heal himself.
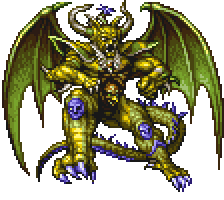
Chaos
Victory requires a flawless buffing strategy learned throughout your journey. Spend the first several turns on defense. Stack party-wide protection spells like Protera and Invisira from Crescent Lake. Cast NulAll from Gaia to mitigate his powerful magic. Once your defenses are solid, switch to offense. Cast Haste on your two strongest fighters. Then, have your mages relentlessly stack Temper from Pravoka on your primary attacker. Their damage will grow to incredible levels. Keep your health topped off with Curaga and you will eventually overwhelm him.
Game Completion
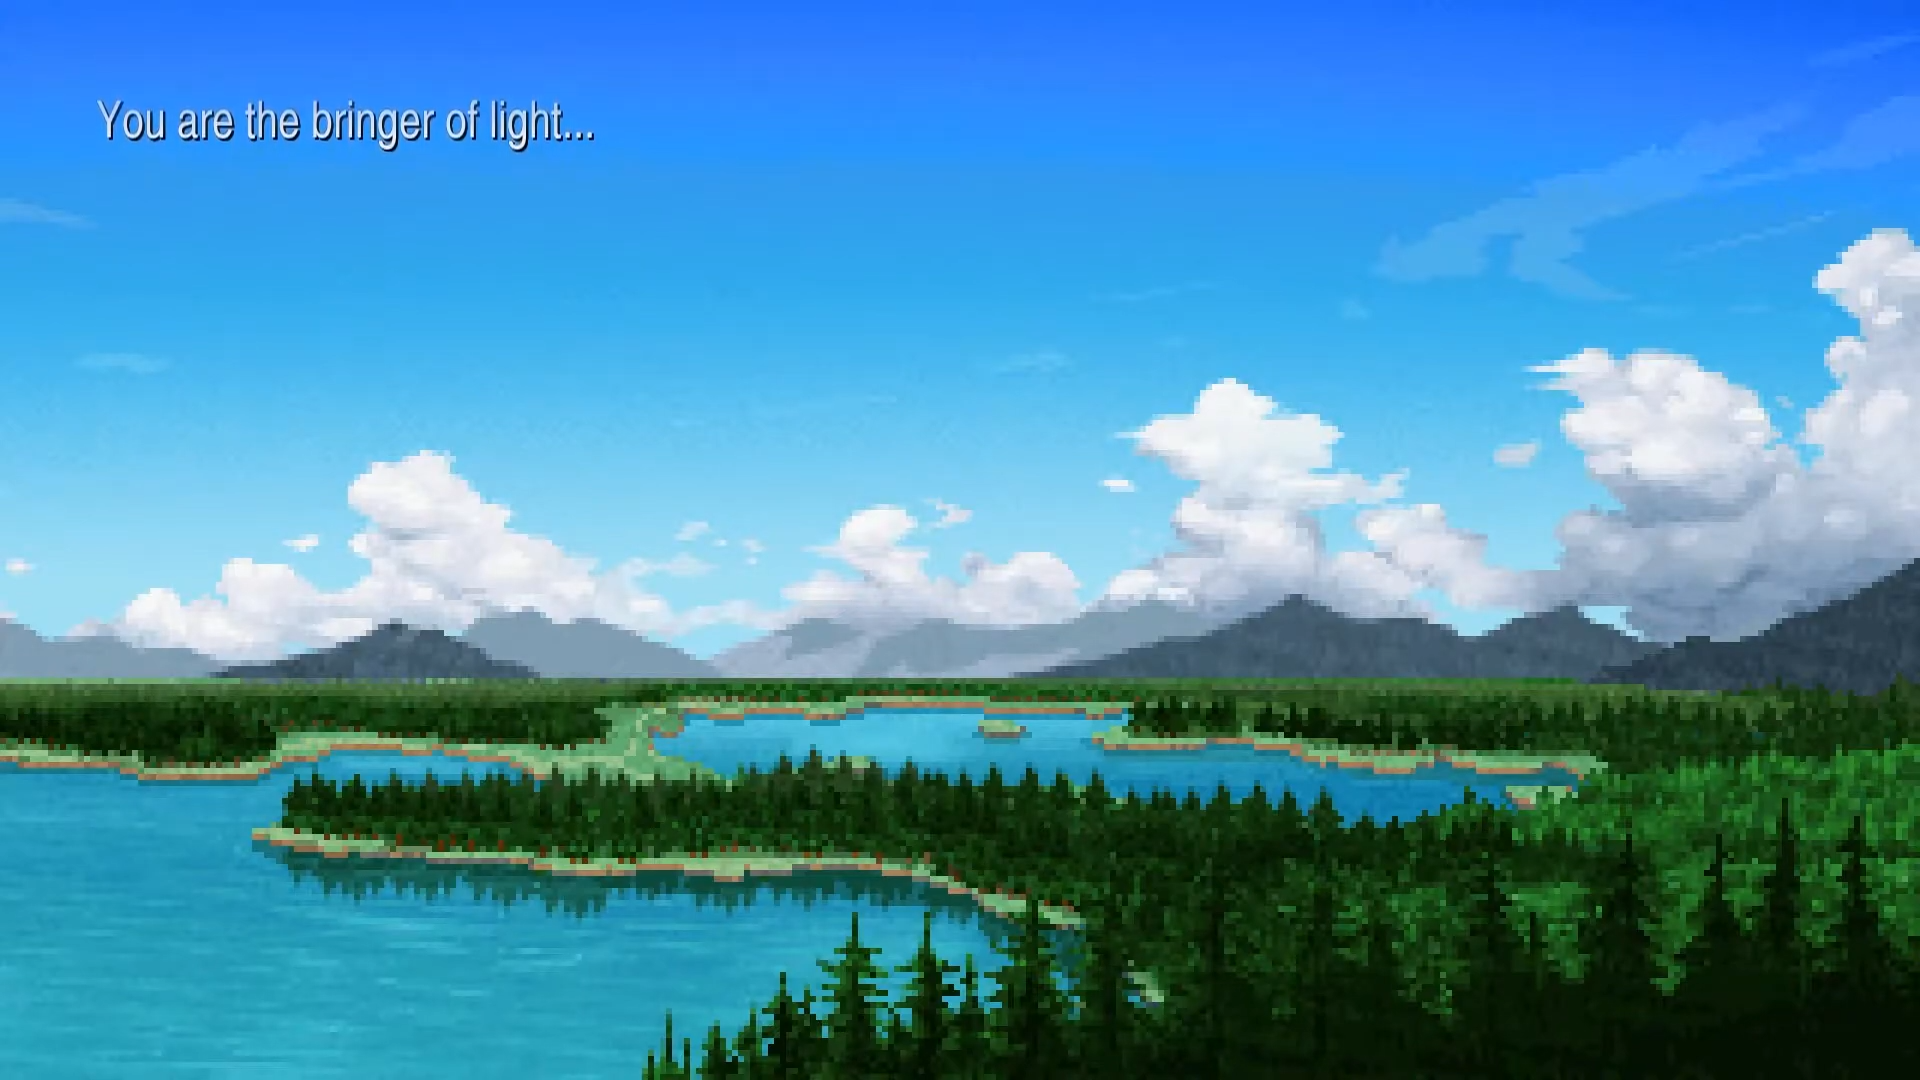
Upon defeating Chaos, the 2000-year time loop mentioned in Princess Sarah’s rescue is shattered. The paradox is resolved, and the Warriors of Light, their task complete, watch as history is corrected and lasting peace is restored to the world.
Congratulations, you have completed Final Fantasy 1!
Enemies
| Enemy | HP | Attack | Defense | Weaknesses | Rewards | Location | # |
|---|---|---|---|---|---|---|---|
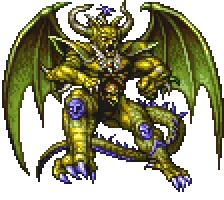 Chaos Chaos | 20000 | 170 | 100 | N/A | 0 EXP 0 Gil | Chaos Shrine (Past) | 128 |
Bosses
Chaos
Strategy
Chaos (Past)
Chaos is the ultimate test of your strategy. With 20,000 HP and the ability to cast devastating spells like Earthquake, Tsunami, and even Curaja to fully heal himself, a simple offensive rush will fail. Victory depends on a patient and methodical buffing strategy.
Phase 1: Defense (Turns 1-4): Your only goal is survival. Cast NulAll to protect against his magic. Then, stack party-wide defensive buffs. Have your White Wizard cast Invisira and Protera every turn. The White Robe can be used by another character to cast Invisira as well. The goal is to make your party nearly impossible to hit with physical attacks. Heal with Curaga as needed.
Phase 2: Offense (Turns 5+): Once your defenses are solid, switch to offense. Cast Haste on your two best physical attackers (Knight and Ninja/Master). Then, have your mages (and anyone not attacking) spam Temper on your single strongest fighter—usually the one with the Masamune or Excalibur. Since Temper stacks, their damage will grow exponentially. Keep attacking with your buffed-up hero while maintaining your defenses and healing, and you will eventually bring the god of discord down.