Chapter 12 Walkthrough
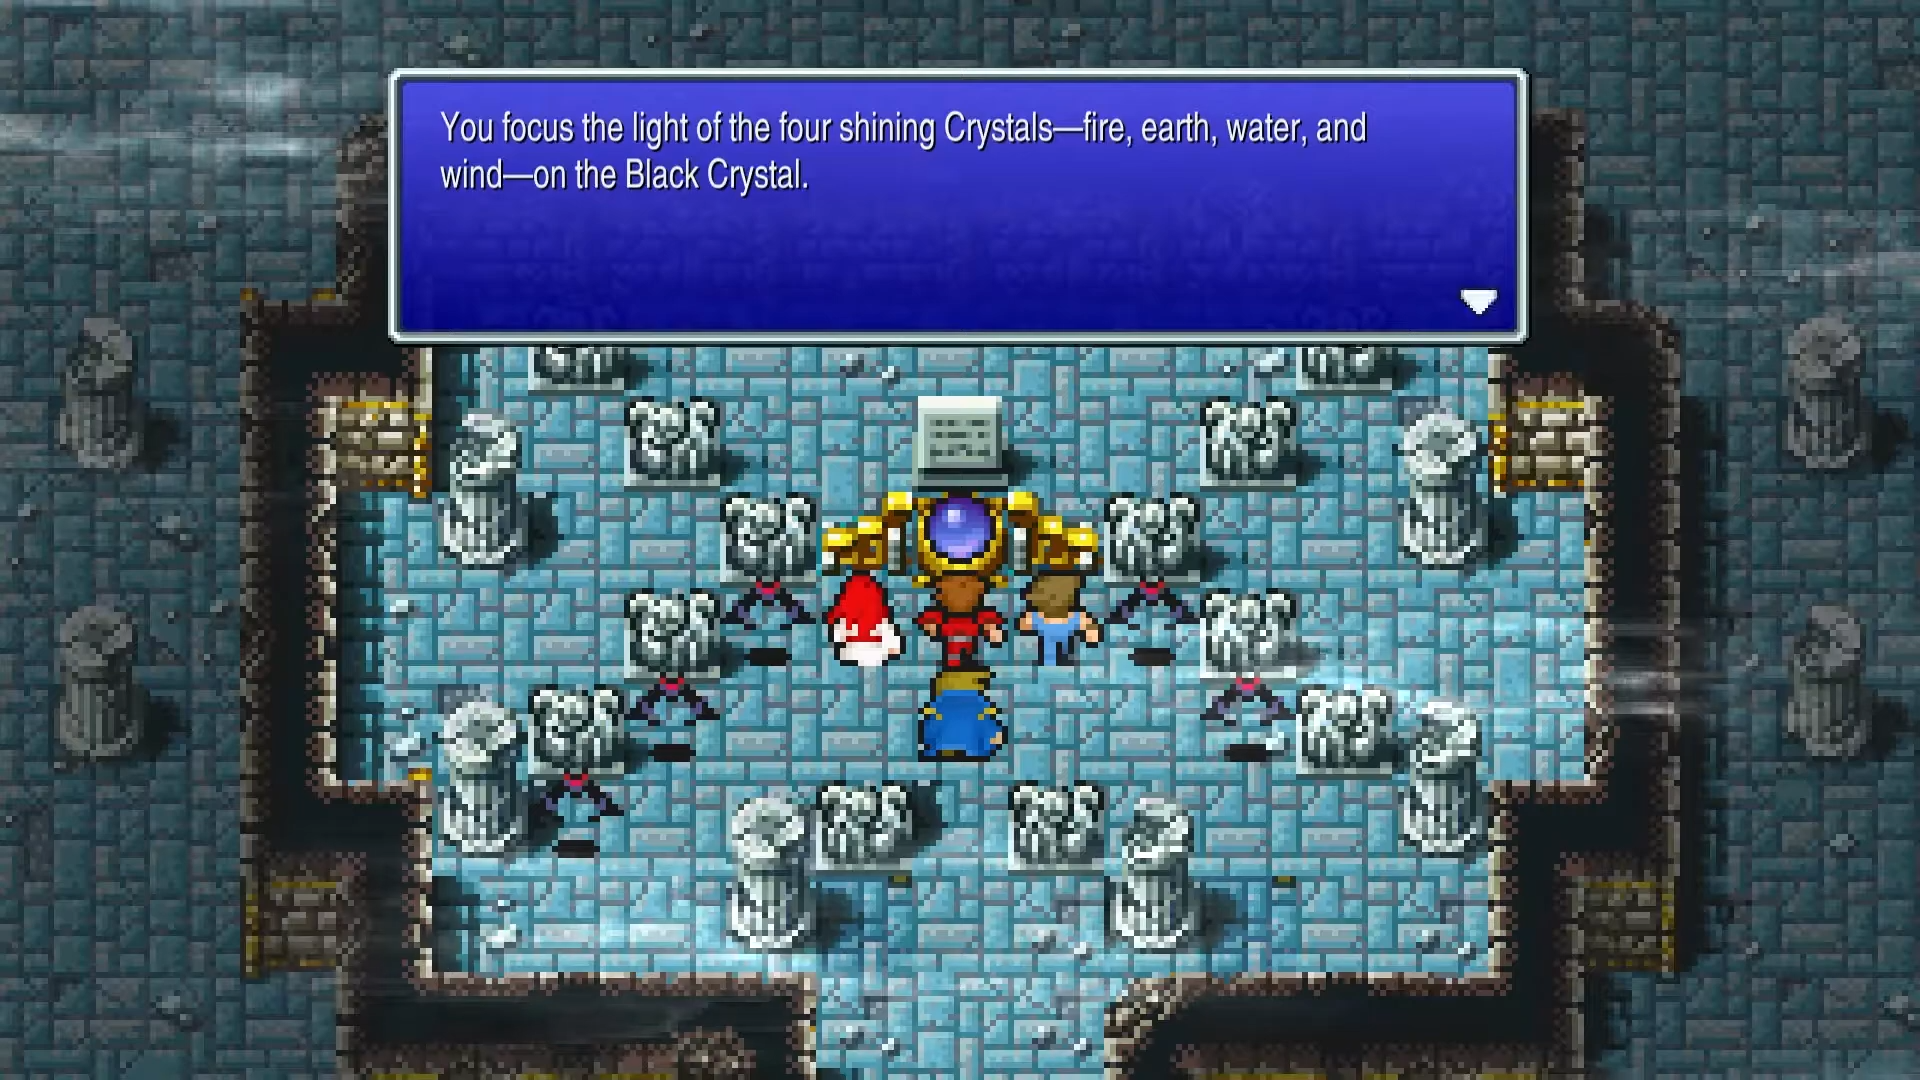
With all four crystals restored, the final leg of your Final Fantasy 1 Pixel Remaster quest begins. Before proceeding, ensure you’ve forged the Excalibur at Mount Duergar. When you’re ready, fly to the Chaos Shrine where your journey started. Approach the dark crystal in the central chamber and use the Lute that Princess Sarah gave you. The power of the restored crystals will open a time portal, sending you 2000 years into the past to confront the source of the time loop.
The Final Dungeon
The Chaos Shrine of the past is the final and most grueling dungeon in the game. It is a multi-level labyrinth, with each floor guarded by an enhanced version of the Fiends you’ve already defeated. Conserve your best spells and items for these encounters.
Once you enter the time portal, you can still use spells like Exit or Teleport to leave. However, if you defeat any of the Fiends inside, they will not respawn if you leave and return.
The Four Fiends Return
You must navigate through four elemental-themed floors, each culminating in a boss battle.
- Cavern of Earth Floor (B1): You’ll arrive in a familiar cave setting. Navigate to the end of the floor to face the first guardian.
Lich (Past)
This version of Lich from the Cavern of Earth is much stronger and now resists Ice and Lightning. His only weakness is Dia magic. Have your White Wizard cast Diaga or Holy, while your fighters, buffed with Haste and Temper, deal physical damage. Be prepared for him to cast Flare.
- Mount Gulg Floor (B2): A lava-filled floor awaits. At the end, you’ll confront Marilith once more.
Marilith (Past)
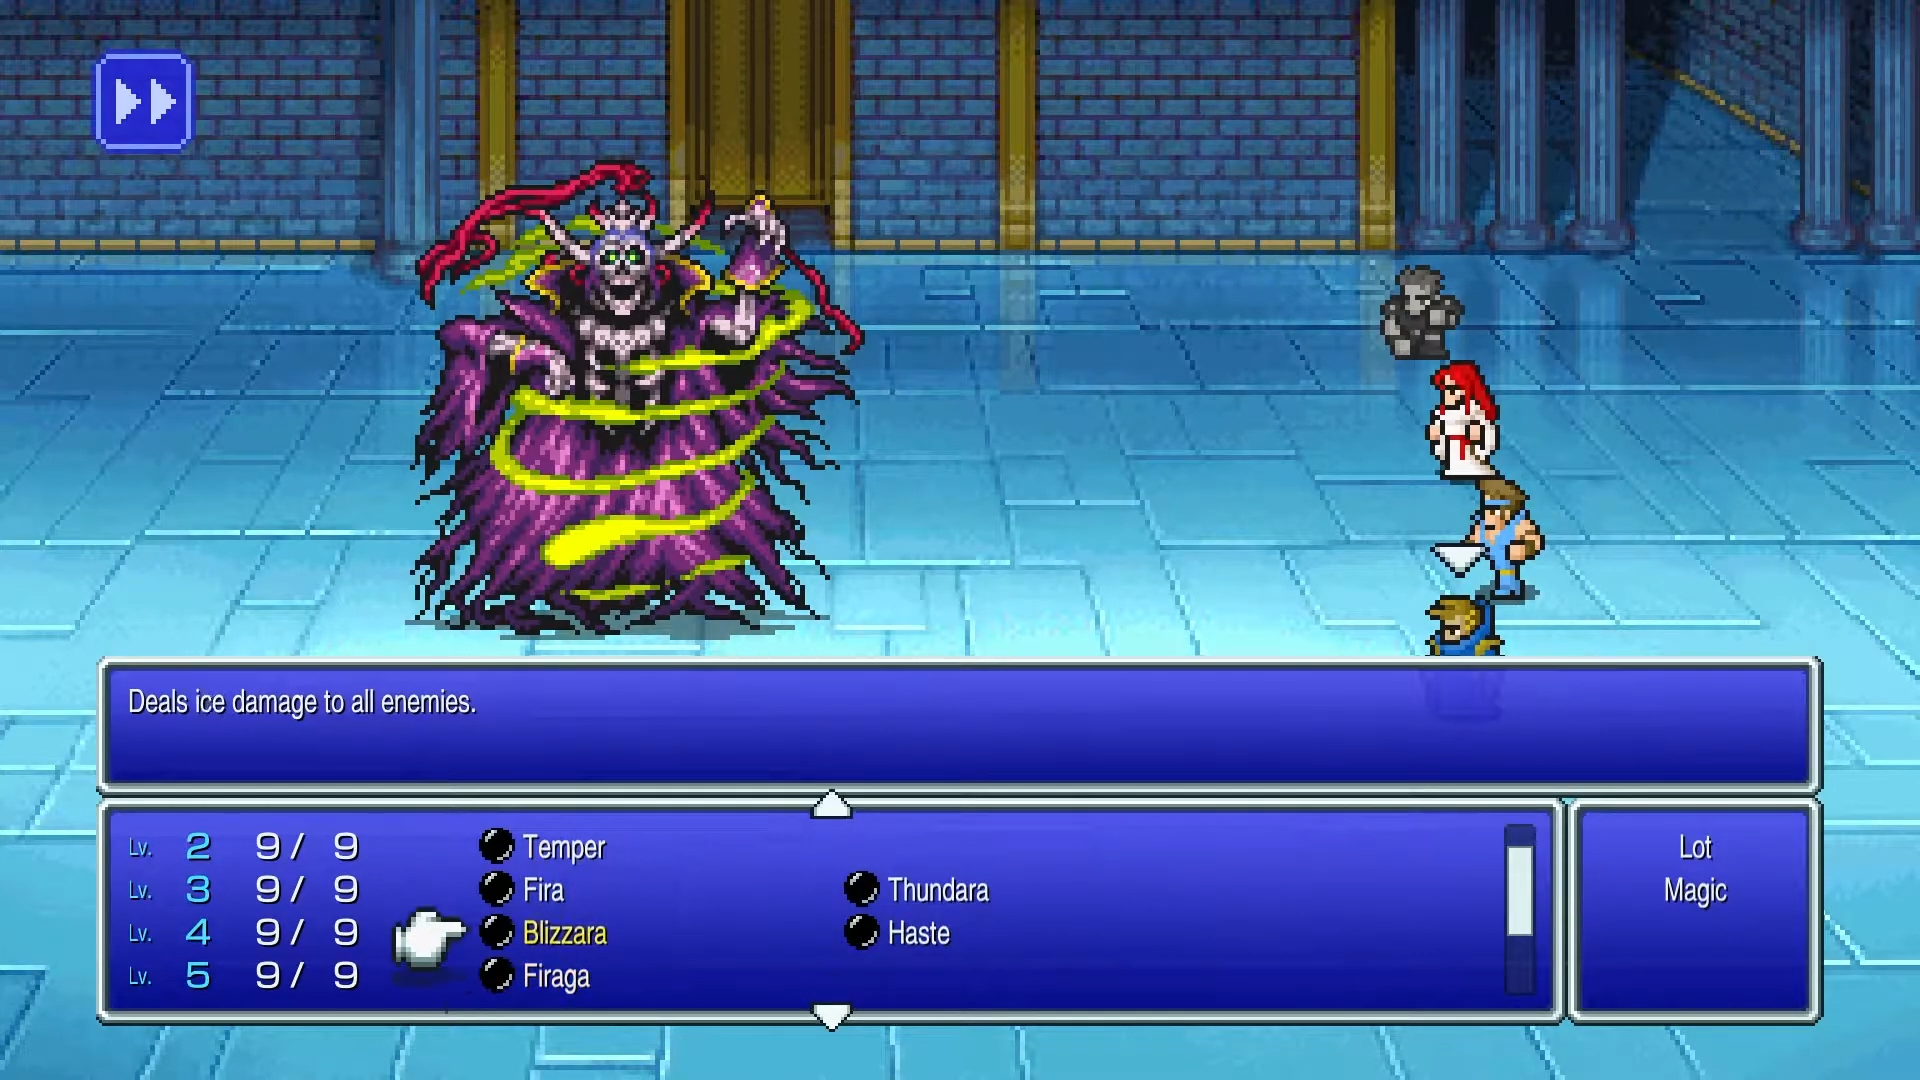
Marilith from Mount Gulg is now resistant to all elements and has no weaknesses. This is a pure physical battle. Cast Protera and Invisira to survive her 6-hit attack, then use Haste and stack Temper on your strongest attackers.
- Sunken Shrine Floor (B3): Navigate a water-themed floor to find the third Fiend.
Kraken (Past)
Kraken from the Sunken Shrine is no longer weak to Lightning. Like Marilith, this is a battle of attrition. Use party-wide defensive buffs to survive his 8-hit barrage and unleash your strongest physical attacks with Haste and Temper.
- Flying Fortress Floor (B4): On the final elemental floor, you’ll face the last guardian.
Tiamat (Past)
Tiamat from the Flying Fortress is a monster with immense HP and resistance to all elements. The strategy remains the same as your first encounter: cast NulAll or the individual Nul-element spells to survive her breath attacks. Attack with your best buffed-up fighters and use non-elemental magic like Flare and Holy.
The Ultimate Weapon

Before you fight Tiamat on the fourth floor, be sure to explore a side path to find a chest containing the Masamune. This legendary sword is one of the best weapons in the game and can be equipped by any class, making it a phenomenal upgrade for a Ninja, Master, or Wizard.
With the four Fiends defeated once more, the path to the deepest level of the shrine opens. Heal your party, use a Cottage if you have one, and prepare for the final battle.
Enemies
| Enemy | HP | Attack | Defense | Weaknesses | Rewards | Location | # |
|---|---|---|---|---|---|---|---|
 Lich (Past) Lich (Past) | 2800 | 50 | 80 | Dia | 2,000 EXP 1 Gil | Chaos Shrine (Past) | 124 |
 Marilith (Past) Marilith (Past) | 3200 | 60 | 80 | N/A | 2,000 EXP 1 Gil | Chaos Shrine (Past) | 125 |
 Kraken (Past) Kraken (Past) | 3600 | 60 | 80 | N/A | 2,000 EXP 1 Gil Eye Drops (5%) | Chaos Shrine (Past) | 126 |
 Tiamat (Past) Tiamat (Past) | 5500 | 75 | 90 | N/A | 2,000 EXP 1 Gil | Chaos Shrine (Past) | 127 |
Treasure
Bosses
Lich (Past)
Strategy
Lich (Past)
This enhanced version of Lich is significantly more powerful. He now resists Ice and Lightning, meaning your only elemental advantage is Dia magic from your White Wizard. He has also added the devastating Flare spell to his arsenal. Buff your party with Haste and Temper, attack with your strongest weapons like the Excalibur, and have your White Wizard focus on casting Holy or Diaga.
Boss Stats
Rewards
Marilith (Past)
Strategy
Marilith (Past)
The second encounter with Marilith is a pure test of strength. She now resists all four primary elements, leaving no weaknesses to exploit. Her 6-hit physical attack is as dangerous as ever. The key to victory is defense: cast Protera and Invisira immediately. Once your party is protected, use Haste and stack Temper on your best fighters to overwhelm her with physical damage.
Boss Stats
Rewards
Kraken (Past)
Strategy
Kraken (Past)
Unlike the first fight, Kraken in the past is no longer weak to Lightning. His 8-hit physical attack remains one of the most dangerous moves in the game. The strategy is identical to the one for Marilith: prioritize survival with Protera and Invisira, then unleash a relentless, buff-stacked physical assault with your Knight and Master/Ninja.
Boss Stats
Rewards
Tiamat (Past)
Strategy
Tiamat (Past)
The final guardian, Tiamat, has immense HP and resists all elements. She uses a variety of powerful breath attacks that can devastate your party. Casting NulAll is the most efficient way to protect your party. If you don’t have it, use the individual Nul-element spells. Your offensive strategy should rely on your strongest physical attackers (buffed with Haste and Temper) and non-elemental magic like Flare and Holy.